PE-DESIGN 10
FAQs & Troubleshooting |
New Features of PE-DESIGN 10
New PE-DESIGN Security Device
-
The PE-DESIGN Software Key replaces the card writer as the security device for PE-DESIGN 10.
Displaying Thumbnails of Embroidery Files
-
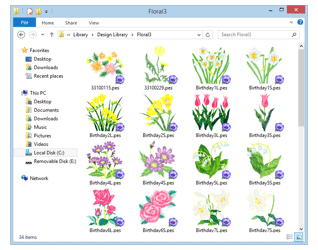
Embroidery (PES) files can be displayed as thumbnails in Windows Explorer.
Improved Functions for Editing Patterns as Outlines
-
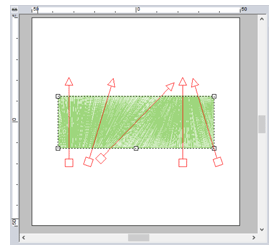
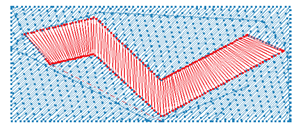
Multiple lines indicating the sewing directions of an outline pattern can be specified. Sewing direction lines can be added, moved, deleted and reversed without changing the shape of the outline pattern.
-
Blocks entered with Manual Punch tools can be edited as outline patterns.
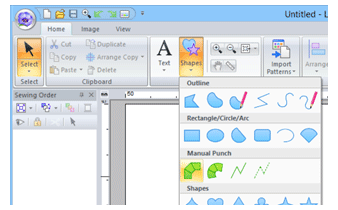
- In this way, gradations, entry/exit points, under sewing and line sewing can be specified for blocks.
-
In addition, blocks can be edited using shapeediting functions, such as the Remove Overlap/ Merge, Set Hole Sewing and Create Offset Lines commands as well as the Applique Wizard.
Enhanced Functions for Creating Stitching Variations
-
The stitching variations available for line sewing (Line sew type) has been increased.
-
Chain Stitch

-
Cutting

-
Chain Stitch
-
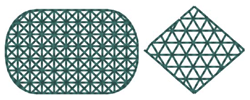
The stitching variations available for region sewing (Region sew type) has been increased.
-
Net Fill Stitch
-
Zigzag Net Fill Stitch

-
Net Fill Stitch
-
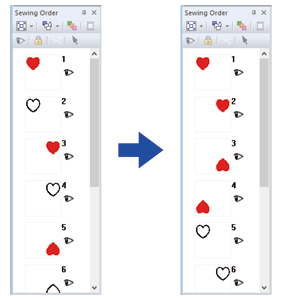
The Optimize Sewing Order command has been added. This command adjusts the sewing order and entry/exit points to reduce the number of thread color changes and jump stitches.
-
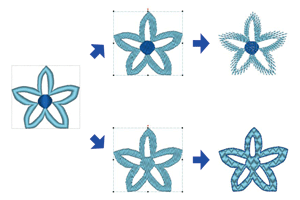
Convert to Outline commands for stitch patterns have been added. These commands convert stitch patterns to shape patterns.
-
The functions for editing points in stitch patterns have been improved.
-
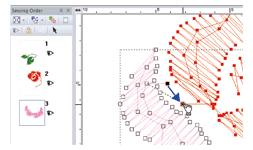
The Split at Point command splits one stitch pattern into two.

-
The Connect Points command connects two stitch patterns to create a single one.
-
The Split at Point command splits one stitch pattern into two.
-
The functions for editing points in shape patterns have been improved.
-
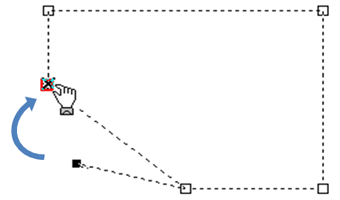
The Split at Point command splits one open shape pattern into two and splits one closed shape pattern into an open one.

-
The Connect Points command connects two shape patterns to create a single one and connects the two end points of an open pattern to create a closed one.
-
The Split at Point command splits one open shape pattern into two and splits one closed shape pattern into an open one.
-
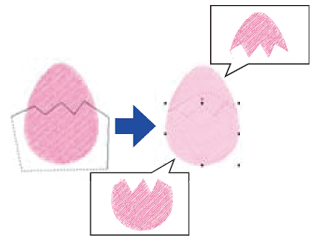
The Split Outline tool has been added. This tool splits off the part of the shape pattern enclosed by the specified points.
-
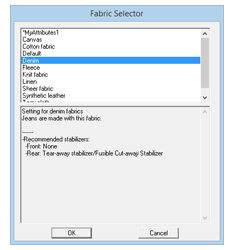
The Fabric Selector command has been added. This command allows you to change the current sewing attribute settings to the recommended settings for the selected fabric type.
-
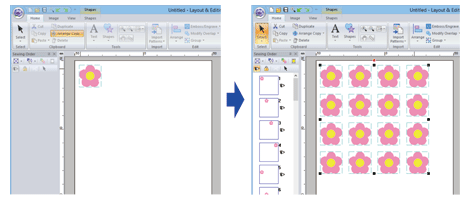
The Matrix Copy command has been added. This command creates copies of the selected pattern at an equal distance apart.
-
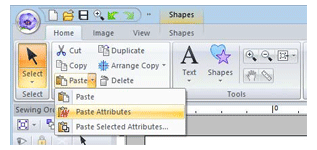
The Paste Attributes command has been added. This command allows the colors, sew types and sewing attributes from the copied pattern to be pasted to the selected pattern.
-
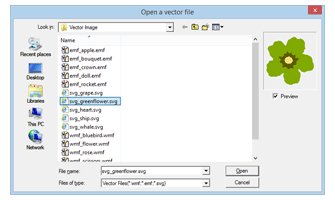
EMF and SVG files can also be converted to embroidery data.
-
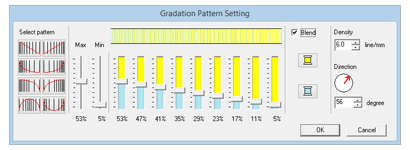
The Gradation Pattern Setting dialog box has been improved. The gradation of patterns can more easily be adjusted.
-
Patterns can be imported from Design Center into Layout & Editing as shape patterns.
Additional and Enhanced Wizards
-
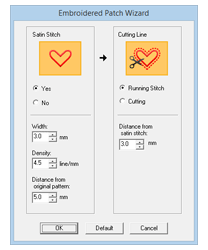
The Embroidered Patch Wizard has been added. This wizard creates satin stitches and cutting lines around the original selected pattern.
-
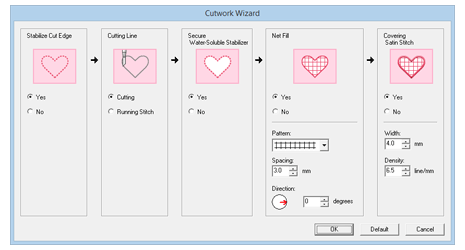
The Cutwork Wizard has been added. With this wizard, a cutwork pattern can easily be created.
-
The Applique Wizard has been enhanced.
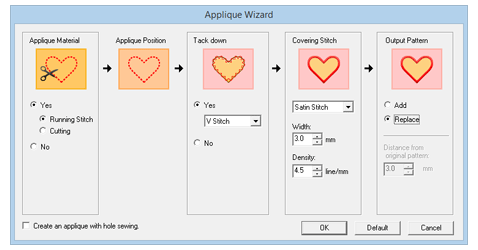
- This wizard can be used with combination patterns that include both stitch patterns and text patterns
- This wizard can also create appliqué patterns around the original selected pattern.
-
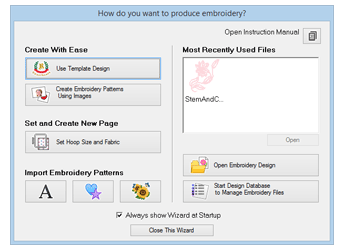
The Startup Wizard has been enhanced. This wizard enables access to the desired functions and files with a single click.
-
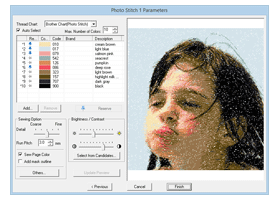
Functions in the Photo Stitch 1 have been improved.

Improved User Interface Is Easier To Use
-
RichFaces Context menus from right-clicking have been incorporated into the advanced user interface. These menus allow users to easily find the desired commands.
-
The Guideline function has been added. This function helps you align the embroidery patterns.

-
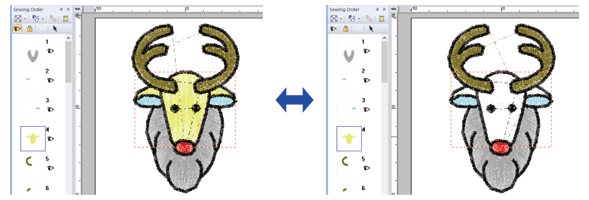
The Show Stitched Objects command has been added. This command allows embroidery patterns to be displayed or hidden in the Design Page.
-
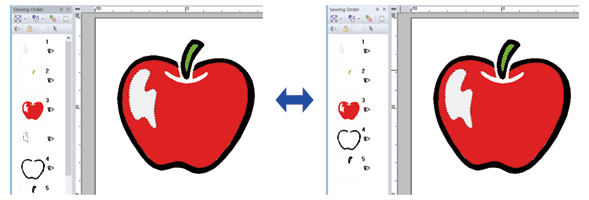
The Hide Objects Not Stitched command has been added. This command allows frames containing patterns that will not be sewn to be displayed or hidden in the Sewing Order pane.
-
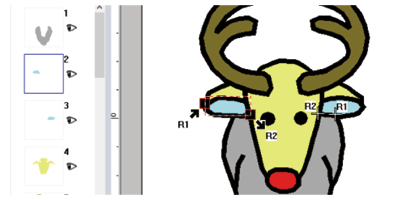
The function for displaying entry/exit points has been improved. This function also displays the entry/exit points of next (or previous) patterns in the sewing order.
-
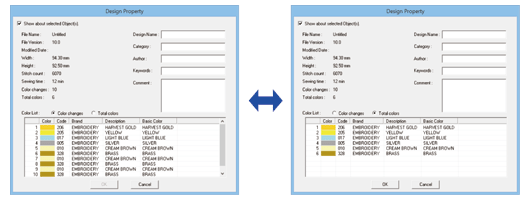
The color list can be set to display Color changes or Total colors.
-
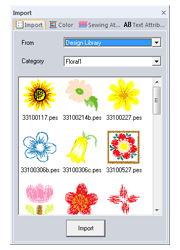
The Import pane has been enhanced. From this pane, embroidery patterns can be easily added to the Design Page.
-
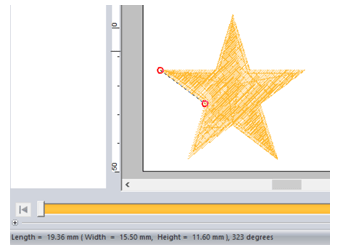
The Measure tool has been improved.
Enhanced Lettering Functions
-
Font/character variations have been increased and improved.
-
The number of regular built-in text fonts has been increased to 120 types.
-
The number of built-in Small Text fonts has been increased to 10 types.
-
The number of symbols and accented characters has been increased for some regular built-in fonts.
- The characters for some regular built-in fonts have been improved. In addition, the character spacing and the size of characters have been adjusted.
-
The number of regular built-in text fonts has been increased to 120 types.
-
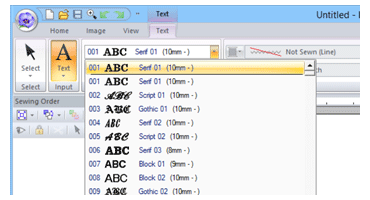
The user interface for selecting the font has been improved.
-
The names of built-in fonts appear in the Font selector.
-
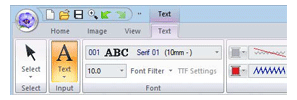
The recommended minimum size of regular built-in fonts appears in the Font selector.
-
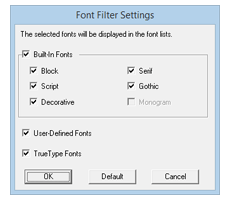
The Font Filter command has been added. This command filters the fonts in the Font selector to list the selected font types.
-
The names of built-in fonts appear in the Font selector.
Others
-
Embroidery sample variations have been increased.
-
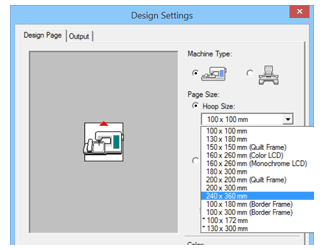
A new embroidery frame setting (240 × 360 mm frame) is available in the Design Settings dialog box. (*Availability depends on the embroidery machine model.)
Content Feedback
To help us improve our support, please provide your feedback below.
