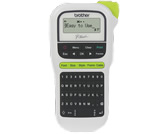
PT-H110
FAQs & Troubleshooting |
How to create a cable label
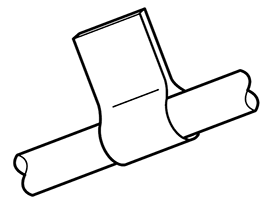
The cable label function allows you to create two types of cable labels.

Cable Label template 1 : ![]()
Cable Label template 2 : ![]()
To create a cable label, follow the steps below.
-
Press the [Cable] key (
 /
/  ).
).
-
Press the Cursor key (
 ) to select your desired template and then press the [OK] key.
-
In case of the template 1:
A message " Input Text " is displayed for approximately one second. Enter text and then press the [OK] key.
In case of the template 2:
A message " Input Text 1 " is displayed. Enter the first text and then press the [OK] key.
A message " Input Text 2 " is displayed. Enter the second text and then press the [OK] key.
[Print] is displayed. -
Press the [OK] key.
[Copies: 1] is displayed. - Press the Cursor key or the number keys to specify the number of copies within the range of 1 - 9, and then press the [OK] key.
- You cannot set label length when printing cable labels.
- To clear all text and settings or text only, press the [Clear] key, press the Cursor key to select [Text&Format] or [Text Only], and press the [OK] key.
- You can set the Font, Size, Style and Frame while entering texts.
-
To exit templates and return to the text input screen, do one of following:
-
Press the Escape key (
 ).
). - Press the Cursor key to select [Exit], and then press the [OK] key when [Print] appears.
-
Press the Escape key (
-
To preview labels, press the Preview key (
 /
/  ) when [Print] is displayed on the LCD.
 - You cannot save labels created using templates to memory.
Content Feedback
To help us improve our support, please provide your feedback below.
