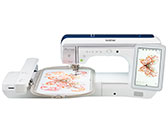
Innov-is XP1

FAQs & Troubleshooting

FAQs & Troubleshooting

Tutorial videos on how to use the machine [Video instructions]

Tutorial videos for basic operations, various functions, accessories and maintenance.

Click on the image to play the video instructions.

  • The movies are being streamed from YouTube. (Opening new window.)
  • The movies are the same as those built into the product.
  • Video contents may change without prior notice.


1. Basic Operation
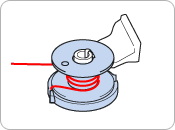
Basic Operation 01

Winding and setting the bobbin

Basic Operation 02

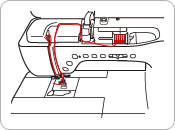
Threading the upper thread

Basic Operation 03

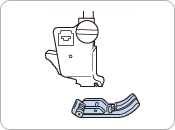
Changing the presser foot

Basic Operation 04

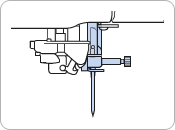
Replacing the needle

Basic Operation 05

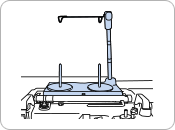
Assembling the spool stand


2. Sewing

Sewing 01

Basic Sewing

Sewing 02

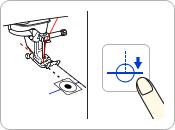
Using the pivot function

Sewing 03

Automatic fabric sensor system

Sewing 04

Operating the projector with the dual purpose stylus to select or edit a stitch pattern

Sewing 05

Projecting and setting the guideline marker for the sewing line with the projector


3. Embroidery

Embroidery 01

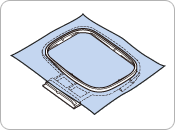
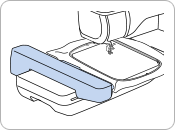
Preparing the machine for embroidery and hooping the fabric in the embroidery frame

Embroidery 02

Basic steps for embroidering patterns

Embroidery 03

Projecting and checking the embroidery pattern onto the fabric with the projector

Embroidery 04

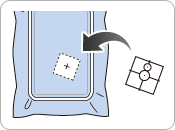
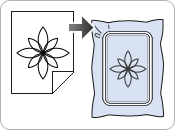
Aligning the embroidering position using the built-in camera and the embroidery positioning sticker

Embroidery 05

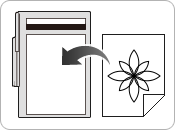
Aligning the embroidery position while displaying the fabric as a background image for the pattern

Embroidery 06

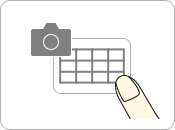
Aligning the embroidering position in the camera view window with the grid lines

Embroidery 07

Creating the stippling design around an embroidery pattern (Simple stippling operation)

Embroidery 08

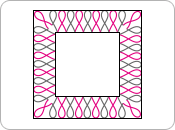
Creating the echo quilting patterns around the embroidery pattern

Embroidery 09

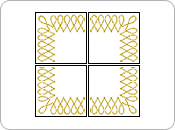
Embroidering the quilting border patterns larger than the embroidery frame

Embroidery 10

Basic Instructions on how to embroider Anna Aldmon Quilt designs


4. My Design Center

My Design Center 01

Attaching the scanning frame for My Design Center with scan

My Design Center 02

Creating a pattern from the line drawings with the line scan function

My Design Center 03

Creating a pattern from the color illustrations with the illustration scan function

My Design Center 04

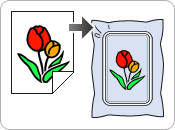
Creating a quilt with the stippling pattern around the embroidery pattern


5. Settings

Settings 01

Operating the LCD screen and the projector with the dual purpose stylus

Settings 02

Specifying settings for the projector

Settings 03

Calibrating the camera needle position

Settings 04

Setting the machine to automatically raise and lower the presser foot

Settings 05

Specifying the wireless network connection settings


6. Accessory

Accessory 01

Attaching and using the dual feed foot

Accessory 02

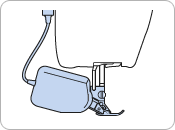
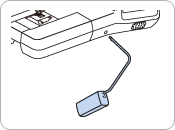
Attaching and using the knee lifter

Accessory 03

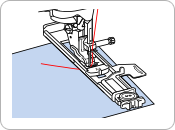
Making buttonholes with the buttonhole foot A+


7. Maintenance

Maintenance 01

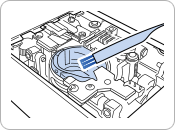
Cleaning the race

Maintenance 02

Upgrading the machine's software


8. Upgrade Kit I

The following four additional tutorial videos are added to the machine with the Upgrade kit I.
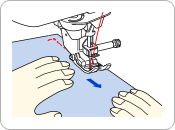
Upgrade Kit I 01

[ Sewing ]

Basting stitch

Upgrade Kit I 02

[ Embroidery 1 ]

Embroidering couching patterns


Note:

This feature is available on machines activated with the Upgrade kit I.

Upgrade Kit I 03

[ Embroidery 1 ]

Auto-split quilt borders


Note:

This feature is available on machines activated with the Upgrade kit I.

Upgrade Kit I 04

[ App ]

My Stitch Monitor (Mobile App)


Note:

This feature is available on machines activated with the Upgrade kit I.


9. Upgrade Kit II

The following five additional tutorial videos are added to the machine with the Upgrade kit II.

Upgrade Kit II 01

[ Sewing ]

End point setting function


Note:

This feature is available on machines activated with the Upgrade kit II.

Upgrade Kit II 02

[ Embroidery 2 ]

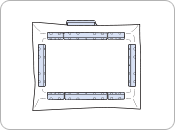
Magnetic sash frame


Note:

The magnetic sash frame in the movie is the optional accessory to be purchased separately.
Before using this frame, make sure that your machine’s software has been updated to the latest version.

Upgrade Kit II 03

[ Embroidery 2 ]

Two color quilting sash


Note:

This feature is available on machines activated with the Upgrade kit II.

Upgrade Kit II 04

[ Embroidery 2 ]

Hexagon quilting sash


Note:

This feature is available on machines activated with the Upgrade kit II.

Upgrade Kit II 05

[ App ]

My Design Snap (Mobile App)


Note:

This feature is available on machines activated with the Upgrade kit II.


10. Upgrade Kit III

The following six additional tutorial videos are added to the machine with the Upgrade kit III.
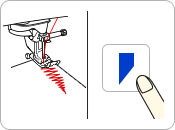
Upgrade Kit III 01

[ Sewing ]

Changing the start and end angles of the stitch pattern by using stitch tapering function


Note:

This feature is available on machines activated with the Upgrade kit III.

Upgrade Kit III 02

[ Embroidery 2 ]

Embroidering split embroidery patterns


Note:

This feature is available on machines activated with the Upgrade kit III.

Upgrade Kit III 03

[ Embroidery 2 ]

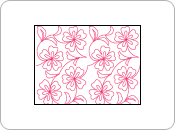
Embroidering a quilting pattern across the entire fabric by using edge-to-edge quilt function


Note:

This feature is available on machines activated with the Upgrade kit III.

Upgrade Kit III 04

[ Embroidery 2 ]

Deselect region setting


Note:

This feature is available on machines activated with the Upgrade kit III.

Upgrade Kit III 05

[ My Design Center ]

Using the stamp key

Upgrade Kit III 06

[ My Design Center ]

Importing motif stitch pattern data or decorative fill pattern data


Note:

This feature is available on machines activated with the Upgrade kit III.


If your question was not answered, have you checked other FAQs?

Have you checked the manuals?

If you need further assistance, please contact Brother customer service:

Related Models

Innov-is XP1

Content Feedback

To help us improve our support, please provide your feedback below.

Step 1: How does the information on this page help you?

Step 2: Are there any comments you would like to add?

Please note this form is used for feedback only.