DC200ULE
FAQs & Troubleshooting |
How to set up the wireless connection using WLAN Assistant Wizard with USB cable. (Windows only)
Follow the instructions below to connect the machine and computer using wireless LAN.
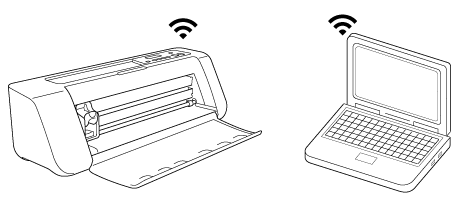
- USB Cable is sold separately.
- This connection is for Windows only and not available for Macintosh.
Installing DesignNCut Manager on your computer
Setting the wireless connection using WLAN Assistant Wizard with USB cable
To connect the machine to a wireless network using this method, the security information (SSID and network password --key--) for your wireless LAN access point/router is required.
The network password may also be called a network key, security key or encryption key.
First, find your security information and note it below.
| SSID |
|
|
| Authentication method | Encryption method | Network Password (Key) |
| WPA-Personal | TKIP | |
| AES | ||
| WPA2-Personal | AES | |
| Open | WEP | |
| None (without encryption) | ||
| Shared key | WEP |
The wireless connection cannot be set up if you do not have the security information.
Where to find the security information:
(1) Check the manual for your wireless LAN access point/router.
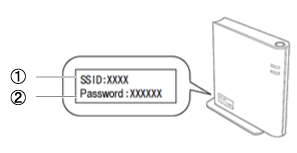 |
(1) SSID (2) Network Password (Key) |
(2) The default SSID may be the manufacturer’s name or the model name.
(3) If you cannot find the security information, contact the manufacturer of the router, your network administrator or your Internet provider.
Installing DesignNCut Manager on your computer
-
Logon to your computer as an administrator.
-
Install DesignNCut Manager on the computer.
- If you installed the DesignNCut Manager, startup the DesignNCut Manager and go to Setting the wireless connection using WLAN Assistant Wizard with USB cable
- If not, go to step 3.
-
Click here to download the DesignNCut Manager.
-
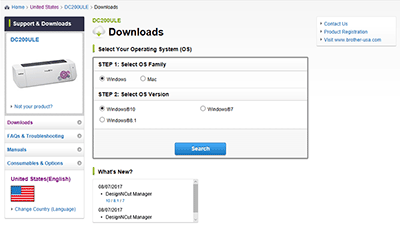
Select your Operating System and version, and then click [Search] .
-
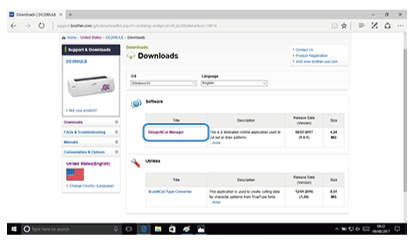
Select DesignNCut Manager.
-
Read the License Agreement, and then click Agree to the EULA and Download.
-
Download the software to the local folder on your computer and install.
-
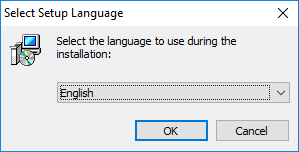
When the following screen appears, select language for the installation and click [OK] .
-
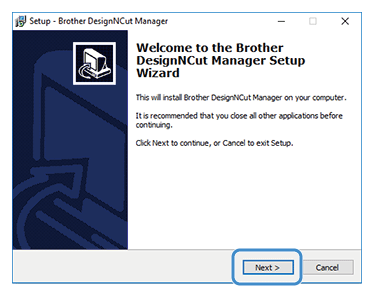
When the following screen appears, click [Next] to continue.
-
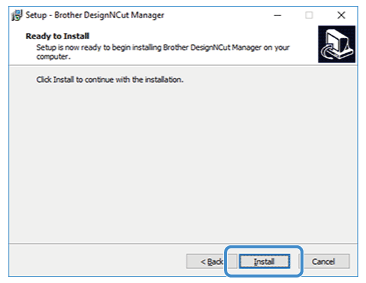
When the following screen appears, click [Install] to continue.
-
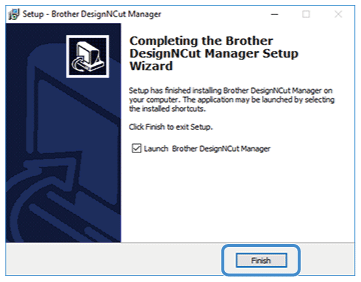
When the following screen appears, the DesignNCut Manager has been installed on your computer.
Click [Finish] .
-
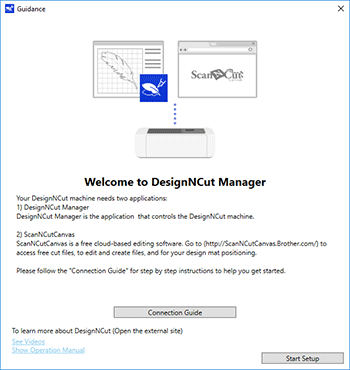
When the Welcome To DesignNCut Manager appears on your screen follow the on-screen instructions.
Setting the wireless connection using WLAN Assistant Wizard with USB cable
-
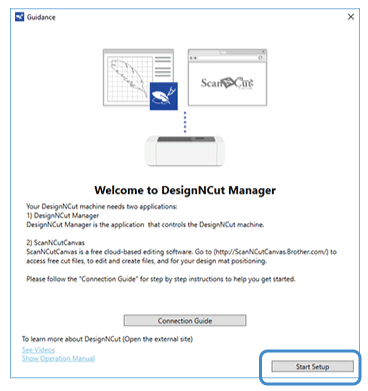
Click [Start Setup] on the guidance screen.
-
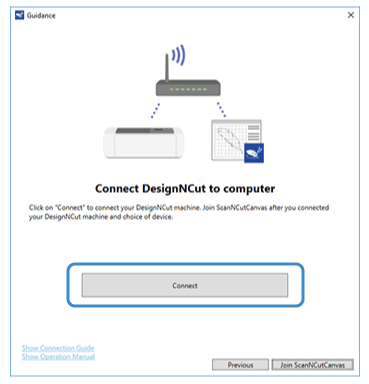
Click [Connect] .
-
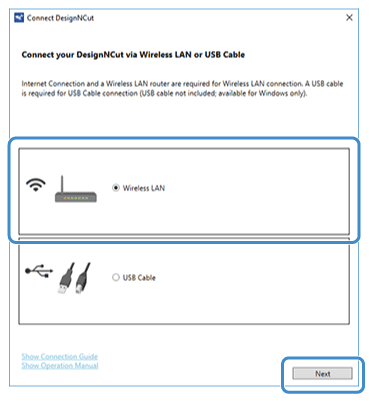
Select Wireless LAN, and then click [Next] .
-
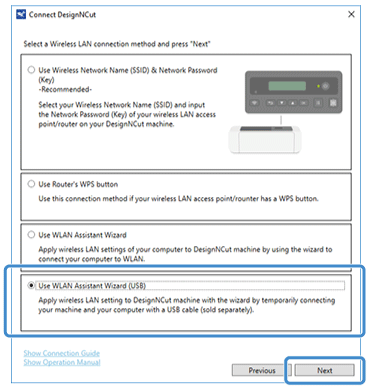
Select Use WLAN Assistant Wizard (USB), and then click [Next] .
-
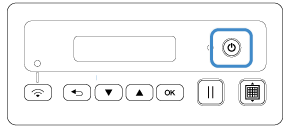
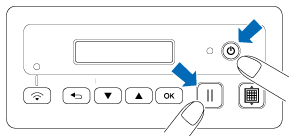
Turn off the DesignNCut machine, by pressing
 .
.
-
Press
 and the
 on the operation panel at the same time, once the power comes on release
 while still pressing down
 .
.
-
When the message Machine mode? appears on the machine’s LCD, press
 to select WLAN.
-
When the message Turn the machine off, then on again. appears, turn the machine off, then on again.
Once your machine is back on, the message Standby (WLAN) appears.
-
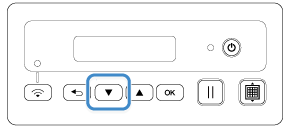
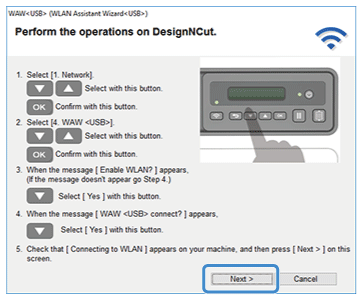
Press
 to go to 1.Network, and then press
 .
.
-
Press
 to go to 4.WAW <USB>, and then press
  .
.
-
When the message Enable WLAN? appears on the machine’s LCD, press
 to select Yes.
-
When the message WAW<USB> connect? appears on the machine’s LCD, press
 to select Yes.
Connecting to WLAN will appear on the machine's LCD.
-
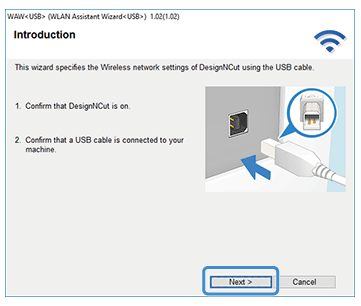
Plug the USB cable connectors into the corresponding USB ports on the computer and on the machine.
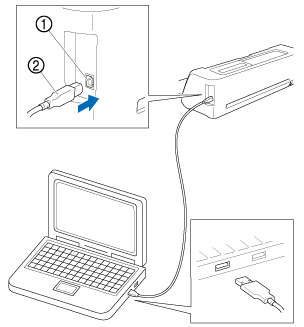
(1) USB port for a computer
(2) USB cable
-
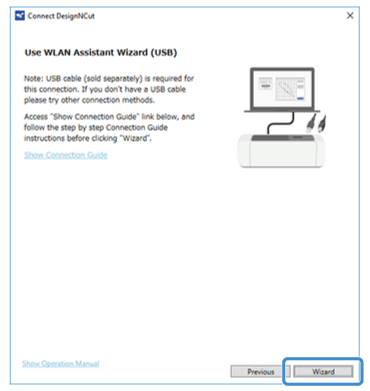
Go back to your DesignNCut Manager.
When the following screen appears, click [Wizard] .
-
Click [Next] .
-
Click [Next] .
-
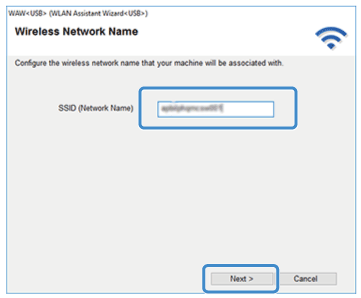
Enter the network name (SSID) of the wireless network and click [Next] .
-
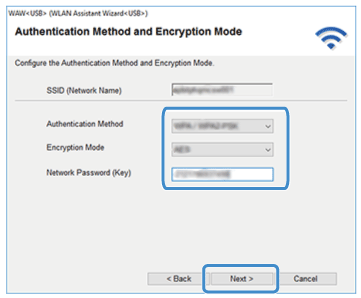
Enter the Authentication Mathod, Ecryption Mode and network password (key) of your wireless LAN access point/router, and then click [Next] .
-
Make sure that the network information that you entered is correct, and then click [Next] .
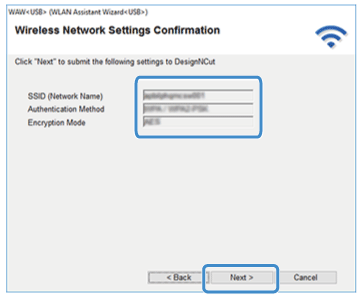
-
Give your machine time to connect to your wireless network.
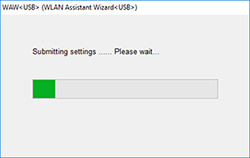
-
When the message Connected to WLAN. Press [OK] button. appears on the machine’s LCD, press
 on your machine.
-
The Wireless LAN Connect light will turn on.
Give the Wireless LAN Connect light time to turn on.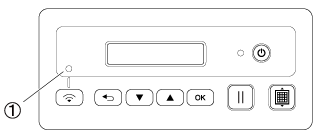
(1) Wireless LAN Connect light
-
When the Wireless LAN Connect light turns on, click [OK] .
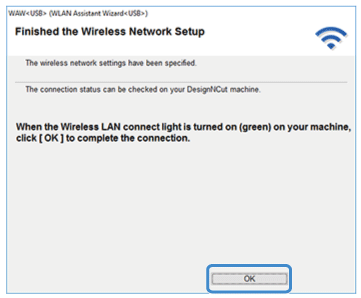
-
Select the machine number and then click [OK] .
Depending on the settings of the wireless LAN access point/router, the machine name may not be displayed correctly. In that case, select the number or letter that is listed in the screen, and click [OK] .
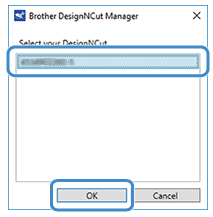
To check your machine's number, press
 to display the 2. Machine Info on the machine’s LCD, and then press
 . When 1. No. appears on the LCD, press
 .
.
Your machine’s number will be displayed on the machine’s LCD.
-
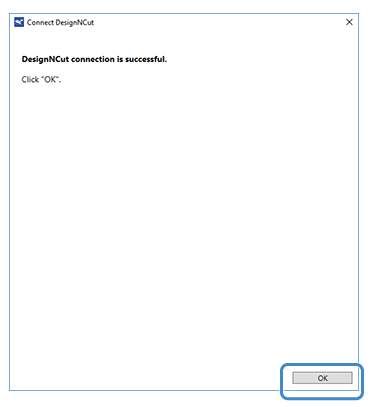
When DesignNCut Connection is successful. appears in the dialog box, click [OK] .
-
Create a CanvasWorkspace (Web) account.
- If you created an account, click [Next] and continue to step 27.
- If no, click CanvasWorkspace (Web) on the following screen to access to <https://canvasworkspace.brother.com> to register a new account.
After registering, click [Next] and go to step 27.
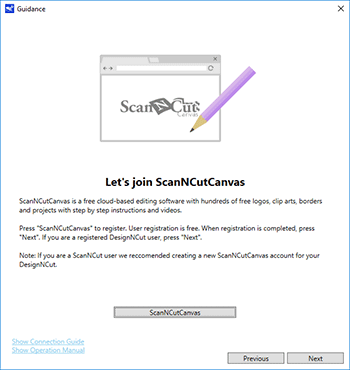
- If you have a CanvasWorkspace (Web) account for your ScanNCut we recommend creating a new account for DesignNCut.
- CanvasWorkspace (Web) is our easy to use free cloud-based editing software. CanvasWorkspace (Web) allows you to edit and create files at your convenience. It has hundreds of Free Projects & Cut files with step by-step instructions and how-to videos. CanvasWorkspace (Web) also allows you to upload SVG, DXF (AutoCAD files) & FCM files to use as your cut files. CanvasWorkspace (Web) is also used for cut data mat positioning.
-
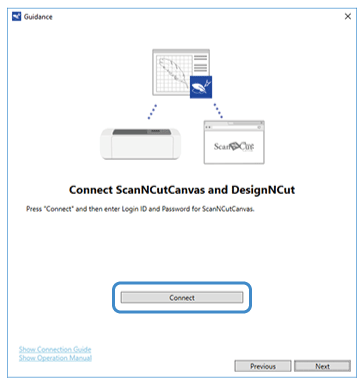
Click [Connect] .
-
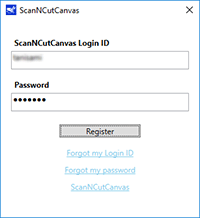
Register dialog box will appear.
Type in the login ID and password registered with CanvasWorkspace (Web) , and then click [Register] .
-
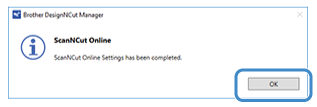
When the ScanNCut Online Settings has been completed. dialog box appears, click [OK] .
-
Click [Next] .
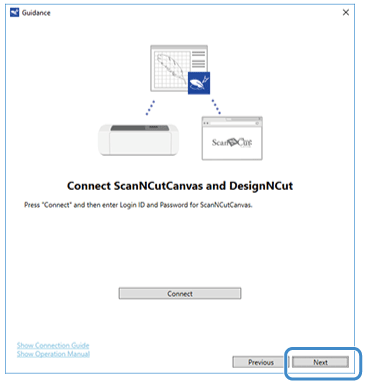
Once you completed the connection and CanvasWorkspace (Web) registration you can create a pattern on CanvasWorkspace (Web) <https://canvasworkspace.brother.com> and cut the data with DesignNCut by operating DesignNCut Manager.
Refer to How do I transfer the pattern (to cut, draw, line emboss, etc.) using a Wireless LAN connection?
Click [How to Use] on the DesignNCut Manager to see tutorial for the basic usage.
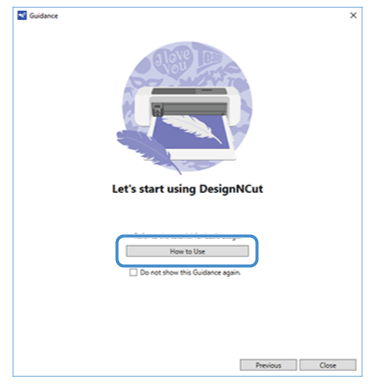
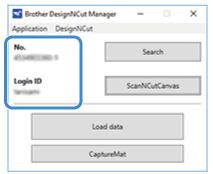
After the settings have been completed, your machine number and your CanvasWorkspace (Web) login ID will be shown in the DesignNCut Manager’s main window.
