SDX85C
FAQs & Troubleshooting |
Scanning a Background Image (Background Scanning).
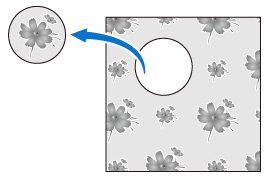
In this example, we will use material with a cutout in its upper-left corner as a background image.
The background scanning function is also useful when cutting out patterns from material with a design on it. By arranging the patterns on the screen in the desired patterned area of the material, cutouts with a specific design can be created.
- This function cannot be used when an optional scanning mat is used.
-
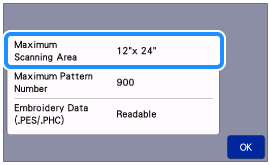
Depending on the machine model, the sizes of mats that can be used will differ.Check the Maximum Scanning Area under Machine Information of the settings screen.
-
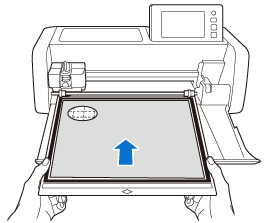
Attach the material for the background to the mat, and then press
 in the operation panel.
-
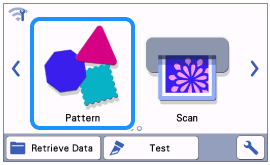
Select
 in the home screen.
-
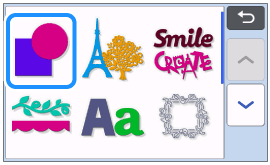
Select the category for the pattern to be cut out in the pattern category selection screen.
For this FAQ, select .
.
-
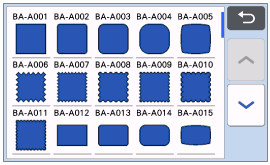
Select the pattern.
-
After selecting the cutting/drawing pattern, touch
 in the mat layout screen to start the background scanning function.
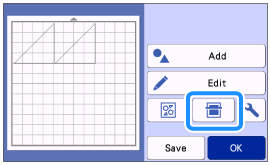
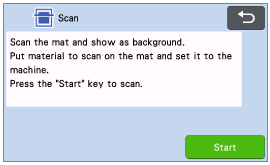
>> The following message appears.
-
Touch the "Start" key to start scanning.
After the material has been scanned, it appears as the background in the mat layout screen.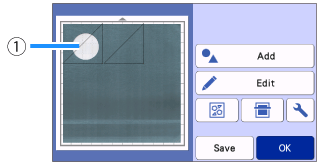
(1) Material with a cutout displayed as background.
If it is difficult to see the arranged patterns, adjust the background contrast in the settings screen. Touch
 in the mat layout screen to display the settings screen.
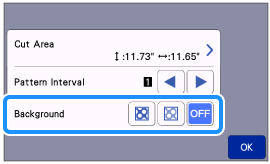

Makes the background image darker. 
Makes the background image lighter. 
Does not display the background image.
-
Touch
 key.
key.
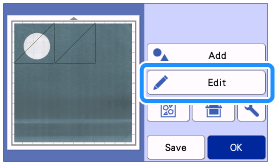
>> The mat editing screen appears.
The pattern can also be moved by touching and dragging it in the screen.
-
Use the layout editing functions to move the patterns.
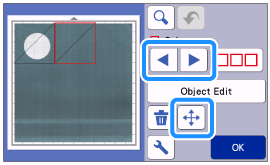
The pattern can also be moved by touching the pattern(s) displayed in the layout editing screen and dragging it in the screen.
-
Check that the patterns in the screen do not overlap the cutouts in the background material and then touch the "OK" key.
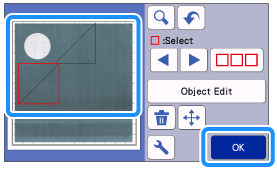 When the scanned material is unloaded, the background is cleared.
