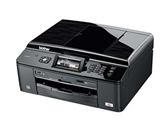
MFC-J825DW
FAQs & Troubleshooting |
The message "Disc Jam" is displayed on my Brother machine.
Follow the steps below depending on the error message the LCD shows.
- Case1: The LCD shows "Disc Jam [Front]"
- Case2: The LCD shows "Disc Jam [Rear]"
- Case3: The LCD shows "Disc Tray hits at the back"
Case1: The LCD shows "Disc Jam [Front]"
The disc jammed while printing. The Disc Tray was automatically ejected from the front of the machine.Remove the Disc Tray from the Disc Guide.Click here to see Disc Tray is jammed at the front of the machine.
Case2: The LCD shows "Disc Jam [Rear]"
The disc jammed while printing. Make sure there is enough space behind the machine. Lift the scanner cover. Gently push the Disc Tray toward the back of the machine and remove the Disc Tray.Click here to see Disc Tray is jammed at the back of the machine.
Case3: The LCD shows "Disc Tray hits at the back"
Cause 1:
There is not enough space behind the machine for the Disc Tray to feed. The Disc Tray was automatically ejected from the front of the machine. Remove the Disc Tray from the Disc Guide.Click here to see Disc Tray is jammed at the front of the machine.
Cause 2:
The Disc Tray is stuck inside the back of the machine. Make sure there is enough space behind the machine. Lift the scanner cover. Gently push the Disc Tray toward the back of the machine and remove the Disc Tray.Click here to see Disc Tray is jammed at the back of the machine.
Disc Tray is jammed at the front of the machine
- Unplug the machine from the AC power outlet (electrical socket).
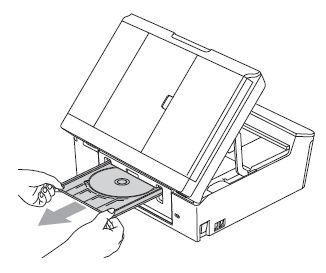
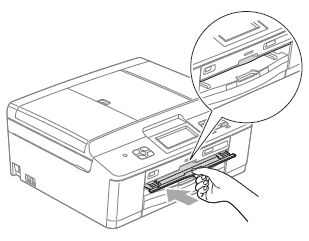
- Remove the Disc Tray from the Disc Guide.
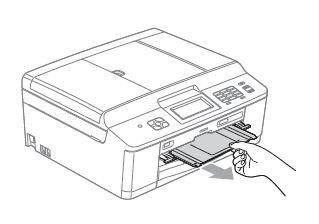
- Close the Disc Guide.
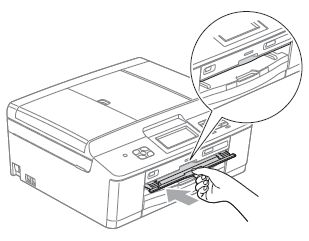
- Re-connect the power cord.
Disc Tray is jammed at the back of the machine
- Unplug the machine from the AC power outlet (electrical socket).
- Make sure there is enough space behind the machine for removing the Disc Tray.
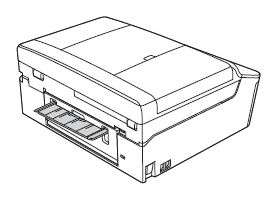
- Using both hands, grasp the plastic tabs on both sides of the machine and lift the scanner cover to the open position.
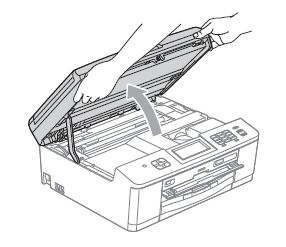
- Gently push the Disc Tray toward the back of the machine.
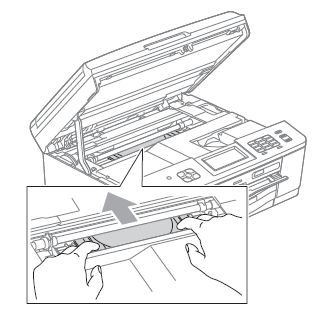
- Remove the Disc Tray from the back of the machine.
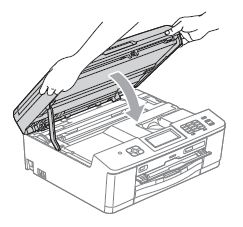
- Using both hands, grasp the plastic tabs on both sides of the machine and gently close the scanner cover.
- Close the Disc Guide.
- Re-connect the power cord.
Content Feedback
To help us improve our support, please provide your feedback below.
