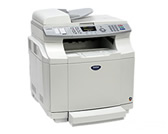
MFC-9420CN
FAQs & Troubleshooting |
How do I replace the transfer roller?
To replace the transfer roller, follow these steps:
Step1: Remove the old Transfer Roller Assembly:
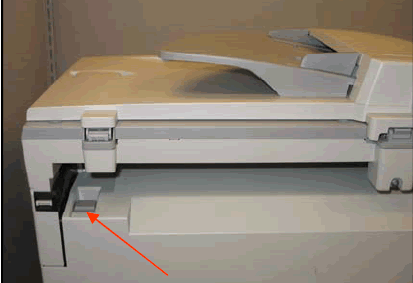
- While standing behind the machine, open the rear cover by squeezing the latch on the upper left corner of the cover.
- With the rear cover open, grasp both sides of the transfer roller assembly (located on the rear cover) by the white handles.
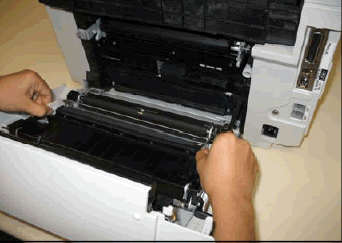
- Push the white handles slightly towards each and hold in this position.
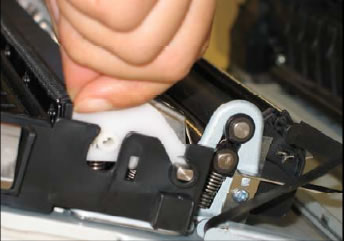
- Lift the assembly on both sides until it reaches an angle of approximately 45 degrees. The shaft of the assembly rest in a small socket - it cannot be removed until it is lifted to the proper angle.
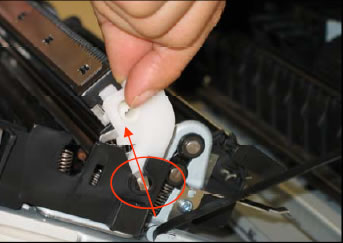
- Lift the assembly away from the printer.
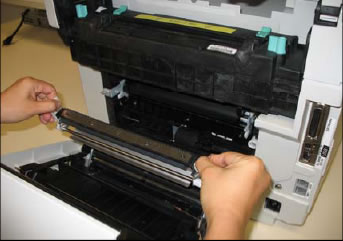
Step2: Install the new Transfer Roller Assembly:
- Install the roller assembly using the same method used to remove it - place it back into the slot at angle of approx. 45 degrees. Notice the orientation of the roller.
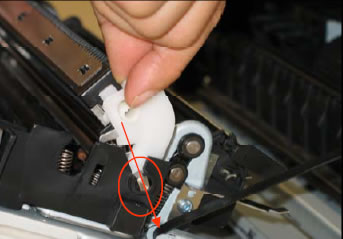
- Push down on the white handles until they stop to seat the assembly. The assembly is locked in place by the small tabs on the arms (photo) that stick through the small holes on the base assembly.
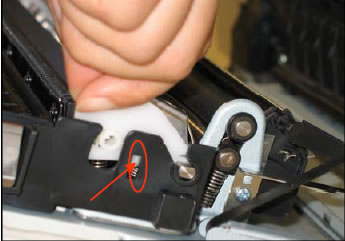
- Be sure that metal static guide (silver metal part with sharp teeth) is NOT seated as shown in this photo—it should NOT be facing up. The assembly will be dam-aged if installed in this position and /or the rear cover will not close properly.
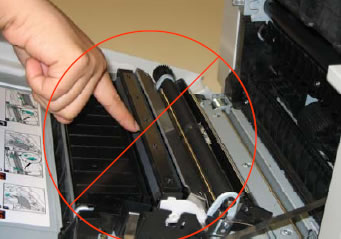
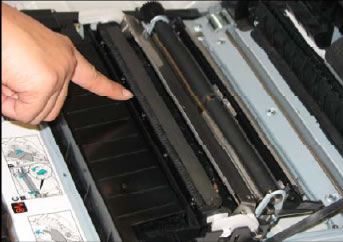
- Again, check the orientation of the static guide before closing the rear cover. The assembly should be installed in this position (silver static guide is not in the UP posi-tion). Close the rear cover. The installation is complete.
Content Feedback
To help us improve our support, please provide your feedback below.
