SDX125TS
FAQs & Troubleshooting |
How Do I Perform Trial Cutting for Roll Feeder? (Test Cut)
Before making your project, perform test/trial cut with the same material, and check that the desired result can be achieved.
Cutting test pattern and check the test/trial cut results
-
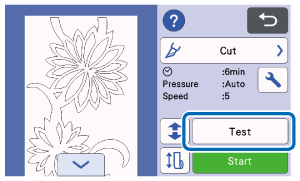
Touch the Test in the cutting screen.
A test pattern is automatically arranged in the test screen.

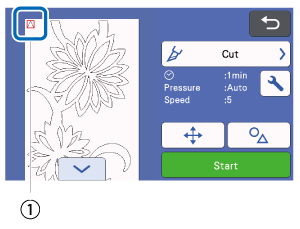
(1) Test pattern
-
Make sure that the test pattern does not overlap the pattern for your project.
To reposition the test pattern, touch . The test pattern can also be moved by dragging it in the screen.
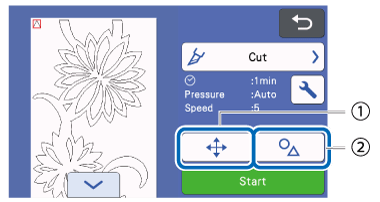
(1) Change the pattern arrangement.
(2) Touch to adjust the pattern shape and size.
 Change the pattern arrangement.
Touch to make adjustments in the editing screen when changing the arrangement of the pattern.
If changes are applied to the pattern arrangement, the pattern will be automatically arranged in the same location the next time trial cutting is performed.
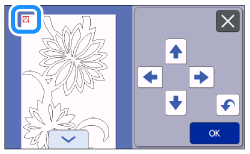

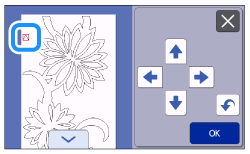
>> Touch OK when moiving the test pattern is finished.  Touch to adjust the pattern shape and size.
If changes are applied to the pattern shape and size, the pattern will be automatically arranged with the same shape and size the next time trial cutting is performed.
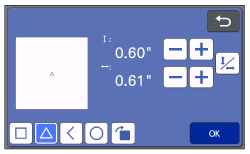
>> Touch OK when the adjustment is finished.
As a default, the test pattern is arranged in the upper-left corner of the cutting area.
In order to check the result of trial cutting while leaving the material fed in, the test pattern must be placed at the default location or lower than it.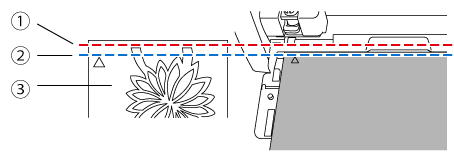
(1) Top edge of cutting area
(2) Line where trial cutting pattern is arranged as a default
(3) Test preview screen
-
Touch the Start to start cutting.
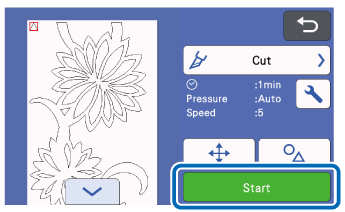
>> When cutting is finished, the following screen appears.
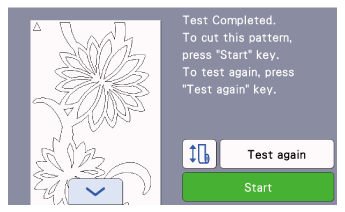
-
Checking the trial cutting results.
【Appropriate cutting pressure】
The appropriate cutting pressure is when the surface layer of the material is cut cleanly and the backing paper is not cut.
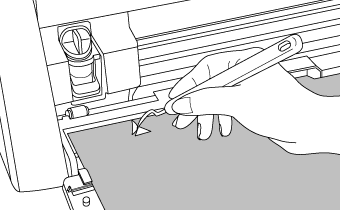
If the location of the test pattern was changed upper than the default location, it’s necessary to feed out the material to check the trial cutting results.
-
After the test pattern can be cut successfully, touch Start to cut your project.
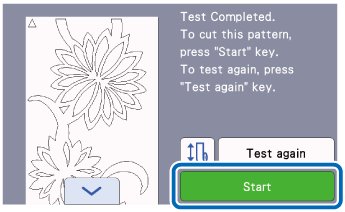
【If the test pattern could not be cut cleanly】
Go to Changing the Cutting Pressure (Half Cut) to adjust the setting for the cutting pressure (half-cut).
Changing the Cutting Pressure (Half Cut)
The appropriate cutting pressure for half-cuts is automatically set; however, some types of material may not be cut cleanly.
If the material could not be cut cleanly, refer to the following table, and adjust the setting for the cutting pressure. Since the blade may penetrate the material, perform trial cutting after each time that the setting is increased.
Be careful not to increase the pressure too much. Otherwise, the blade may break. If the pressure is too strong, the material may not be cut cleanly.
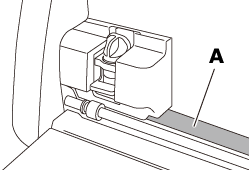
If the blade penetrates the material, faint cut marks may remain on the machine's surface where the blade makes contact (A). In that case, cutting may no longer be performed correctly. Contact Brother Customer Service or Brother authorized service center.
| Trial cutting result | Adjustment |
| Part of the pattern or the entire pattern is not cut. |
Pressure too light: Touch |
| There are deep cuts completely through the backing paper. | Pressure too strong: Touch |
Change the Cut Pressure (Half Cut) setting according to the following procedure.
-
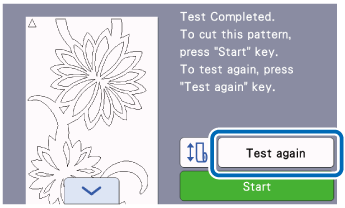
When the following screen appears after trial cutting is finished, touch the Test again to display the test screen.
-
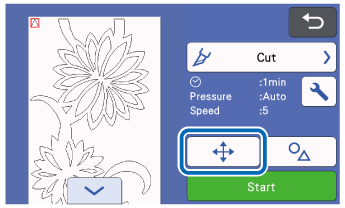
Touch
 to move the test pattern to a differ location.
The test pattern can also be moved by dragging it in the screen.
-
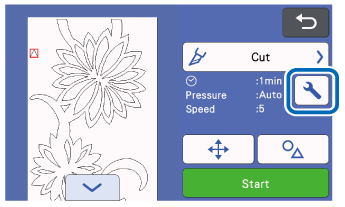
Touch
 in the test screen to display the settings screen.
-
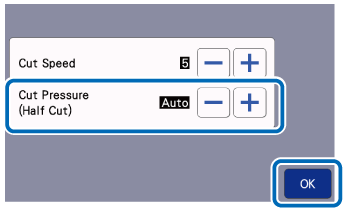
Touch
 or
or  to adjust the Cut Pressure (Half Cut).
After adjusting the settings, touch the OK.
-
Check that the settings have changed in the test screen (A), and then perform trial cutting again.
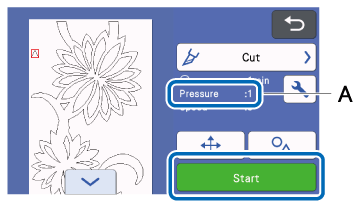
>> After the test pattern can be cut successfully, cut your project.
