HE-240
FAQs & Troubleshooting |
How do I retrieve a specific embroidery pattern from the computer?
Operating Systems with the following specifications can be used
- Microsoft Windows Me/ 2000/ XP/ Vista/ 7
- Windows 98SE requires a driver.
Download "USB Driver for Windows 98SE" from the download page.
Types of embroidery data that can be used
- Only ".pes" and ".dst" embroidery data files can be used with this machine.
Using data other than that saved using our data design systems or sewing machines may cause the embroidery machine to malfunction.
Tajima (.dst) Embroidery Data
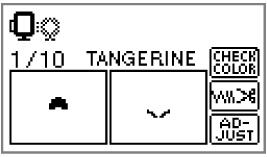
- Tajima (.dst) data is displayed in the pattern list screen by file name (the actual image cannot be displayed).
Only the first eight characters of the file name can be displayed. - Since Tajima (.dst) data does not contain specific thread color information, it is displayed with our default thread color sequence.
Check the preview and change the thread colors as desired.
-
Plug the USB cable connectors into the corresponding USB port connectors on the computer and on the machine.
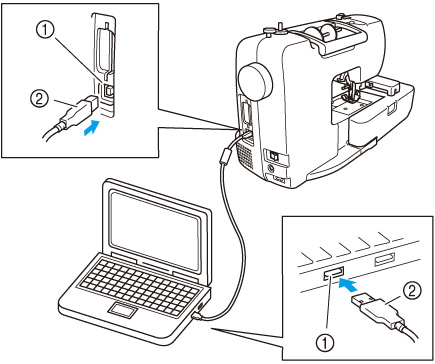
 USB port connector for computern
 USB cable connector
- The USB cable can be plugged into the USB port connectors on the computer and machine whether or not they are turned on.
- Embroidery patterns can be retrieved with or without the embroidery unit attached to the machine.
- The "Removable Disk" icon appears in "My Computer" on the computer.
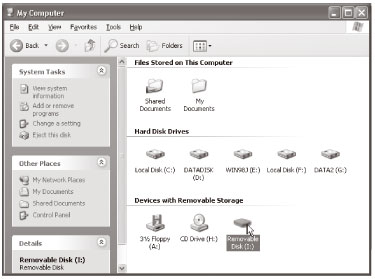
- Copy the pattern data to "Removable Disk".
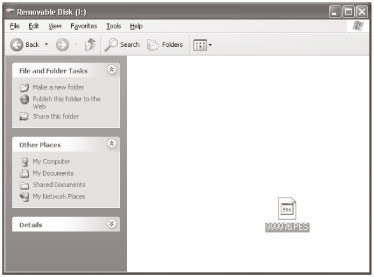
- Pattern data in "Removable Disk" is written to the machine.
- While data is being written, do not disconnect the USB cable.
- Do not create folders within "Removable Disk".
Since folders are not displayed, pattern data within folders cannot be retrieved. - While the machine is sewing, do not write data to or delete data from "Removable Disk".
- Press
 (Computer (USB) key).
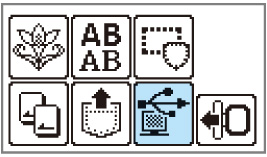
- The saved patterns are displayed.
-
Select the pattern you wish to retrieve.
Switch screens using (Previous page key) and
  (Next page key).
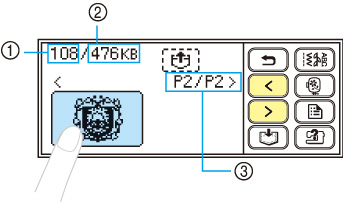
 Total amount of memory used
 Total amount of memory space
 Number of the currently displayed page from the total number of pages
- The selected pattern is shown in reverse highlighting.
-
Press
 (Retrieve key).
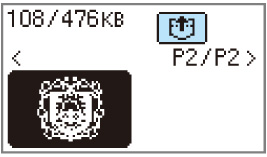
- The saved pattern is retrieved.
- The embroidery screen appears, and you can embroider the retrieved pattern.
-
Adjust the pattern as desired, and then begin embroidering.
- If there are 13 or more patterns saved in "Removable Disk", the patterns cannot be displayed.
When the message "Reduce the number of patterns. Only up to 12 patterns can be handled." appears, delete patterns from "Removable Disk" so that it contains no more than 12 patterns.
Then, close the error message, repeat the procedure starting from step 4 and then press (Computer (USB) key) to retrieve the pattern.
- If patterns copied to "Removable Disk" are not saved in the machine's memory, their data is lost when the machine is turned off.
In order to retrieving patterns directly from the machine the next time that they are needed, save the data in the machine's memory before turning off the machine.
For details, refer to "Saving patterns" of the Operation Manual.
Content Feedback
To help us improve our support, please provide your feedback below.