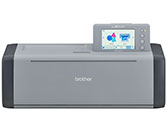
SDX135PRO
FAQs & Troubleshooting |
Retrieving Roll Feeder Data On the Machine and Cutting
Retrieve data created in CanvasWorkspace on the cutting machine, and then cut the material with the roll feeder.
Retrieving the Data
-
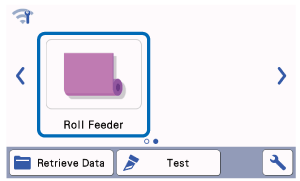
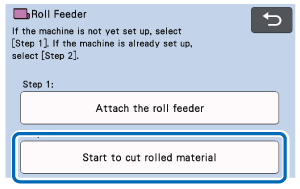
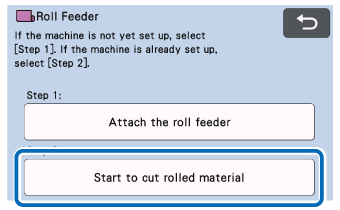
After selecting Roll Feeder in the home screen, select Start to cut rolled material in the screen shown below.

-
Select the location of the data to be retrieved, and then select the desired pattern.
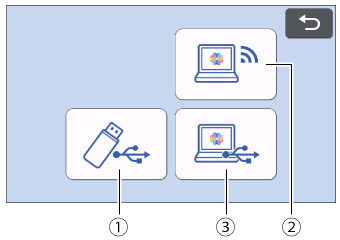
(1) Retrieve from a USB flash drive.
(2) Retrieve from CanvasWorkspace
(via a wireless network connection).(3) Retrieve from CanvasWorkspace
(using a USB cable).
(1) Retrieve from a USB flash drive.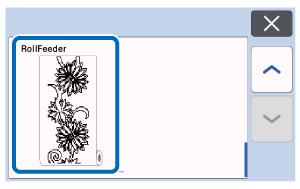

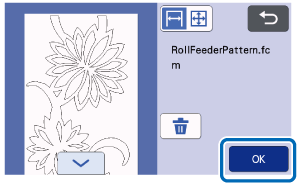
Select the desired data. Confirm the data, and then touch the OK.
(2) Retrieve from CanvasWorkspace (via a wireless network connection).
(3) Retrieve from CanvasWorkspace (using a USB cable).
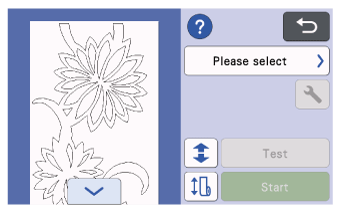
A preview screen for the pattern layout appears when transferring the data from the CanvasWorkspace is completed.
Cutting the Material
-
Make sure that the auto blade holder has been installed in the carriage of the machine.
-
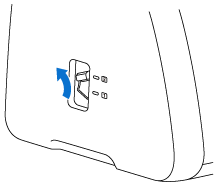
Raise the scanner lever (on the left side of the machine) to “2”.
-
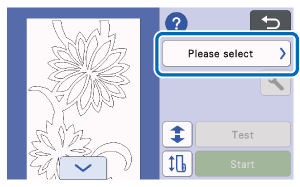
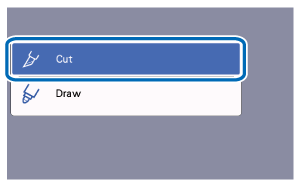
Select Cut in the preview screen.

-
To perform trial cutting, touch the Test.
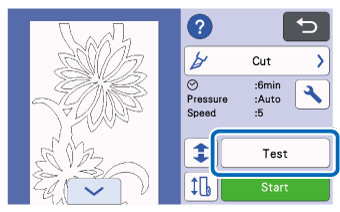
When the roll feeder is used, half-cutting is automatically. Touch
 to check the settings.
-
To perform trial feeding, touch
 .
.
Before cutting, you can check if the material can be fed in straight and whether the length of the material is sufficient for the length of the cutting pattern.
-
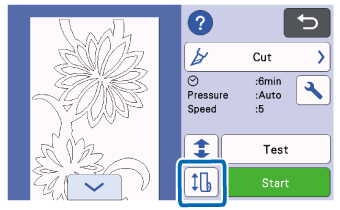
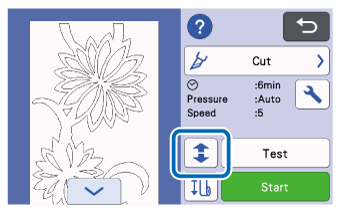
To change the cutting start position, touch
 .
.
The cutting start position can be moved up or down (in the feeding direction) to the desired location.
-
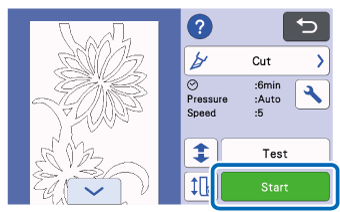
Touch the Start to start cutting. When cutting is finished, the machine stops at the bottom of the pattern.
-
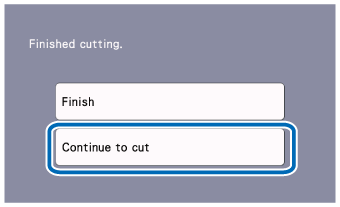
To cut off the material at the point where cutting stopped, select Finish.
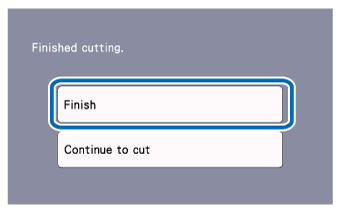
When finish cutting,>>go to step 9.
When selecting Continue to cut, you can continue cutting additional patterns without cutting off the material.
If you cut repeatedly the same pattern,
>repeat the operation from step 3.
If you cut a different pattern,
>go to Continuing to cut with a different pattern.
-
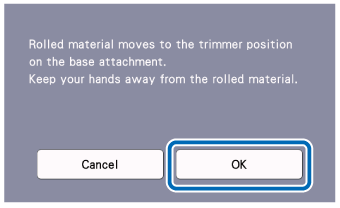
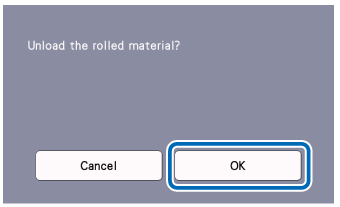
The following screen to move the rolled material appears. Click OK.
-
Remove the trimmer from the roll holder.
Install the trimmer over the material.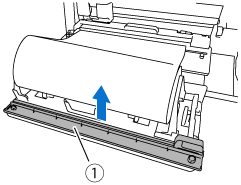

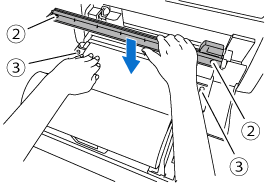
(1) Trimmer (2) Hole in trimmer
(3) Pin on base attachment
* Combine (2) with (3)
-
Firmly press the trimmer down on the right side of the material.
While holding them in place, slide the trimmer blade from right to left to cut off the material.
Slide the trimmer blade while pressing down gently.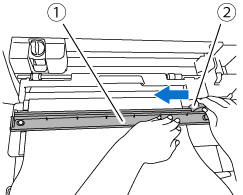
(1) Trimmer
(2) Trimmer blade
-
After cutting off the material, confirm the instructions and then touch the OK.
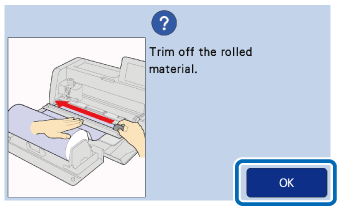
-
To feed out the cut-off material, touch the OK.
Continuing to cut with a different pattern
-
Touch Continue to cut.
-
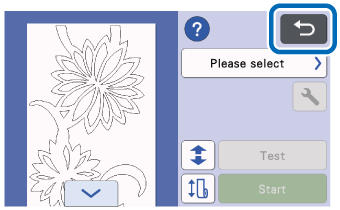
Touch
 in the preview screen.
 >> When
 is touched, the message OK to delete data showing on the screen? appears. Touch the “OK” key.
-
Select Start to cut rolled material, and then retrieve a different pattern.
If you send the data via a wireless connection or a USB cable, you must send a new data for the roll feeder with the CanvasWorkspace.
Refer to Instructions for Creating Roll Feeder Data with CanvasWorkspace and Sending It to the Cutting Machine.
After sending the data, try cutting from step 2.
If you retrieve the data using a USB flash, go back to step 2 and try again.
