CM350
FAQs & Troubleshooting |
Region Embossing
The maximum available size of material is 12" × 12" (305 mm × 305 mm).
Making a template
In order to create region embossing, a template must be made.
If you already have a template, continue from Embossing regions section.
-
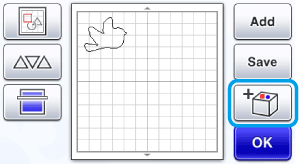
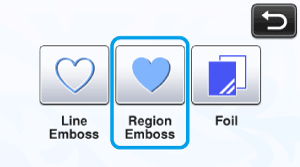
Recall the embossing pattern in the cutting machine, touch
 , and then select Region Emboss.

- If patterns have a narrow width or thin lines, final embossed results will vary.
- Embossing patterns can also be downloaded from CanvasWorkspace.
- Flip asymmetrical (mirror image) patterns to create the embossed effect on the front surface of the material.
-
Select Create template and follow the on-screen instructions to perform the region emboss initial setting.
After finishing the initial setting, select Create template again and start to create the template.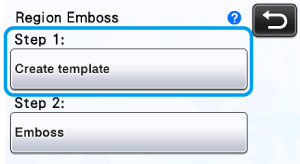
- To perform the initial setting again, refer to How do I perform the initial setting (position adjustment) for region embossing?.
-
If you lose the Adjustment sheet for region embossing, prepare another cardboard and make initial setting.
Refer to What should I do if I lost the "Adjustment sheet for region embossing"? .
-
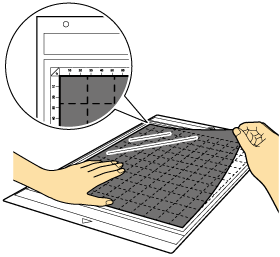
Attach the material to be embossed to the low tack adhesive mat and then scan it.
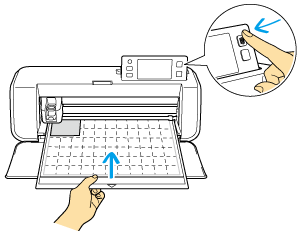
- If a highly adhesive mat is used, the surface of the material may not be smooth.
- Attach the material so it does not extend from the attaching area of the cutting mat.
-
If the pattern extends out of the scanned material shown on the LCD display screen, adjust the position of the pattern, or touch
 and adjust the pattern size.
-
Check the template, and then touch the OK key.

-
Remove the material to be embossed from the mat.
The template sheet does not have a front or back side.
-
Firmly attach the template sheet to the cutting mat.
-
Use the standard cut blade (turquoise) to cut the template sheet.
Blade scale setting: 4
Cut pressure setting: 3

-
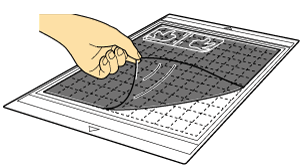
Feed out the mat, peel off the cut template sheet, and then remove any leftover cutouts from the mat.
Embossing regions
-
Touch the Emboss key.

< If a template has already been made >
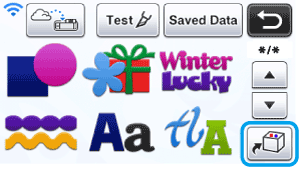
Touch in the pattern category selection screen, select Region Emboss, and then touch the Emboss key.
-
Fold the template in half along the cut dotted line, and then attach the template to the mat so that the fold is aligned with the bottom edge of the attaching area of the mat.
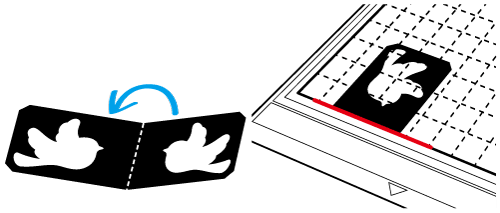
If the template is attached aligned with both the left and right sides of the mat, it may not be scanned.
-
Sandwich the material (side to be embossed facing down) between the two halves of the folded template, positioning the pattern at the desired location.
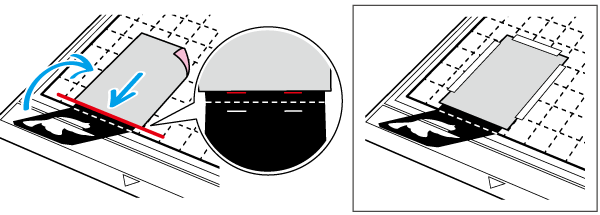
- Region embossing cannot be performed with metal sheets.
- When sandwiching the material, align it with the dotted line 3 mm from the fold in the template.
- If necessary, secure the material with commercially available masking tape, etc. Affix the masking tape so it does not overlap the pattern.
-
Cut the scanning support sheet to a size that covers the template.
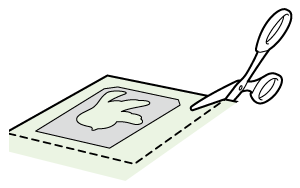
-
Peel the backing off the scanning support sheet, and then attach it to the mat so that it covers the template.
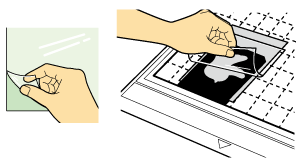
Attach the scanning support sheet so there are no bubbles or wrinkles between it and the template.
If there are bubbles or wrinkles or the template is not firmly attached, scanning may not be completed correctly.
-
Feed in the mat, and then scan according to the onscreen instructions.
From the LCD display screen, select an area so only the lines to be embossed will be detected.
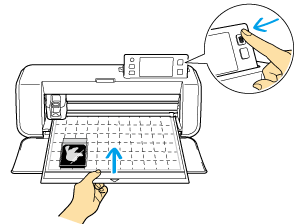


-
Without feeding out the mat, slowly peel off the scanning support sheet away from you, making sure not to move or press down on the mat with your fingers.
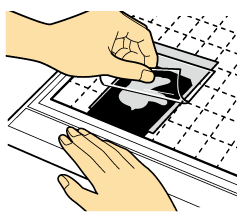
- If the mat is fed out, the embossing data will be misaligned and embossing cannot be completed correctly.
- Reattach the backing to the scanning support sheet before storing it.
-
Fold open the template toward you.
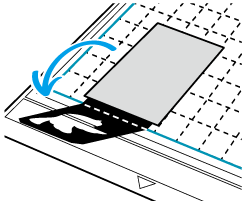
-
Remove the holder cap, insert the 1.5 mm embossing tool into the embossing tool holder so that ▼ on the tool aligns with ▲ on the holder. After securing the holder cap, insert the holder into the cartridge.
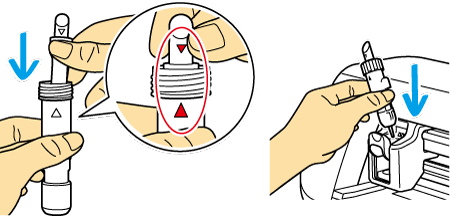
- If the 3 mm embossing tool is used, a softer embossing effect can be created.
- Before inserting the holder into the cartridge, check if the tool moves up and down in the holder. If the tool moves, remove the cap, and then attach it again.
-
Touch
 , and then specify the embossing pressure.

Material Thickness Embossing Pressure 1.5 mm tool 3 mm tool Paper (thick) 0.25mm 4 4 - This table of values provides general guidelines. Before making your project, perform trial embossing with the same material.
- If necessary, adjust the setting for Inward Offset.
- If the desired embossing effect is not achieved, adjust the embossing pressure. The embossing effect differs depending on the type and thickness of the material.
Some materials may tear if the embossing pressure is too strong or the embossing speed is too fast.
-
Touch the Emboss key, and then select the tool to be used from those shown in the screen.


-
Press the Start/Stop button to start embossing.
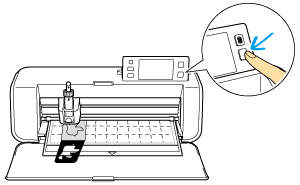
-
Use the spatula to carefully peel the material from the mat.
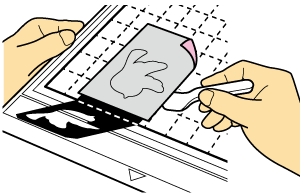
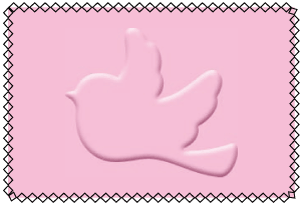
Troubleshooting
-
Patterns to be scanned cannot be correctly detected.
- If the template and material have similar colors or if the material has a pattern, place a sheet of white paper on top of the material so the template can be detected, sandwich them between the two halves of the folded template, and then scan again.
- If the scanning support sheet or template sheet is dirty or bent, use a new one.
- If the template sheet is not firmly attached, reattach the scanning support sheet so that it covers the template, and then scan again.
- The scanning area of the scanner may have become dirty. Clean the scanner glass at the bottom of the machine. For details, refer to Cleaning the Scanner Glass.
-
Embossing is not clear.
- If the embossing depth is insufficient, increase the embossing pressure.
- If the edges are not clear, decrease the inward offset in the settings screen for Premium functions. However, if the offset is too small, embossing cannot be completed correctly.
-
The material tears.
- If the material tears, decrease the embossing pressure.
-
Patterns to be scanned cannot be correctly detected.
