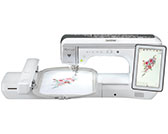
Innov-is XP3
FAQs & Troubleshooting |
How to Create a Pattern with Line Scan. [My Design Center]
Custom patterns can be created from drawings. You can create patterns by scanning your drawings using the included scanning frame or importing an image from USB media or SD card.
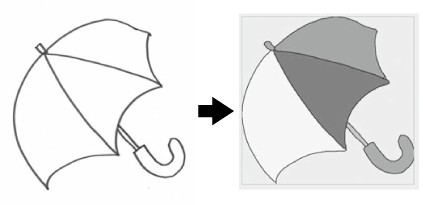
Recommended line drawings for Line Scan
- Line drawings must be drawn clearly using lines with approximately 1 mm thickness.
- Line drawings should be drawn in a strong contrast.
- If the lines are too short or gathered too densely, they will not be scanned correctly.
- For details on creating patterns using color illustrations, refer to How to Create a Pattern with Illustration Scan. [My Design Center].
- If you cannot scan the drawings as expected, you can edit the design in My Design Center.
- Line drawings are scanned without recognizing the thickness of lines. If you want to change the thickness of lines, specify in the settings screen.
- Line drawings are scanned as black lines. If you want to change the colors, specify in My Design Center.
Using the Scanning Frame to Create a Pattern with Line Scan
-
Press
 .
.
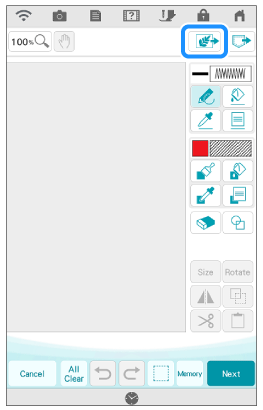
-
Press
 .
.
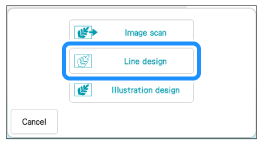
>> The image display screen appears.
-
Press
 .
.
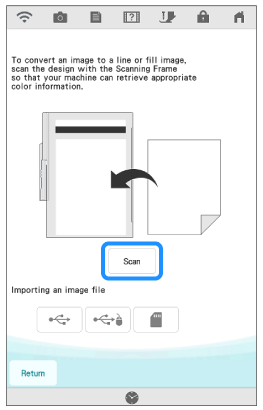
* When you create an embroidery pattern by scanning an image with My Design Center, make sure that the scanning frame is attached to the machine. Refer to How to attach the scanning frame. [My Design Center].* If you want to create an embroidery pattern by importing an image data from USB media or SD card, press ,
,  or
or  .
.
- The scanned background image can be converted to line scan data. At this time, it is unnecessary to scan the line drawing again.
- When scanning starts, some of the machine lights will turn off in certain circumstances, in order to increase the scan quality. The machine lights will return to their original brightness when scanning ends.
- You can import an image of 2 MB or smaller from USB media or SD card.
When the following message appears, press OK .
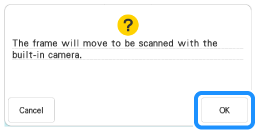
>> Scanning begins.
* To stop scanning and return to the screen in step3, press .
.
-
When scanning is finished, specify the “Gray-Scale Detection level” on the screen if necessary.
The “Gray-Scale Detection level” can change the black and white threshold for the image.
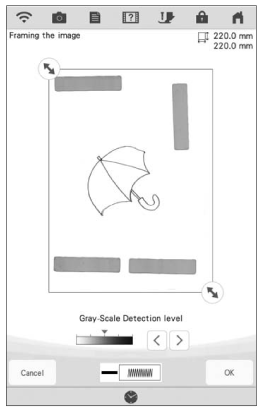
* If you do not know how the settings should be changed, first continue the operation without specifying settings and check the results.* To stop scanning and return to the screen in step3, press . The scanned image will be deleted when you return to the previous screen.
-
Move
 to frame the image for the pattern.
-
Press OK .
>>The screen for confirming the converted image appears.
-
In the screen for confirming the converted image, you can adjust the “Gray-Scale Detection level” again, if necessary.
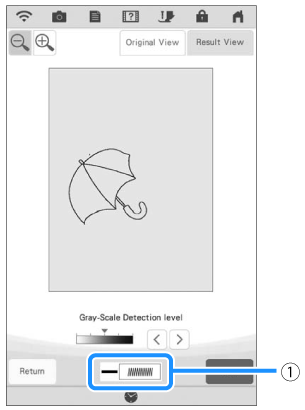
(1) The settings for the lines to be sewn appear.
* If you do not know how the settings should be changed, first continue the operation without specifying settings and check the results.* To enlarge the image, press .
* To display the image before being converted, press
 . Compare the images before and after being converted, and then change the settings if necessary.
* To return to the previous screen, press
 .
>> After changes to the settings for “Detection level” is applied,
 changes to
  .
.
Press to check that the image is as desired.
-
Press
 .
.
>> The pattern drawing screen is displayed.
-
If necessary, edit the scanned image.
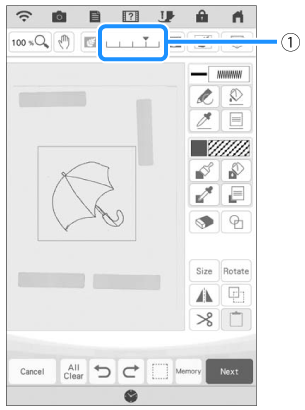
After the scanned image is converted to stitching, it appears as a background in the pattern drawing screen.
Use gauge (1) to adjust the transparency of the background.
Each press of lightens the background, making the line pattern darker.
Each press of darkens the background, making the line pattern lighter.
During scanning, the small dots that appear and unnecessary lines can be erased.
