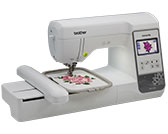
Innov-is NS1150E
FAQs & Troubleshooting |
"The bobbin thread is almost empty." message appears on the LCD. What does it mean?
Be careful not to bump the embroidery unit carriage or the presser foot when removing or attaching the embroidery frame. Otherwise, the pattern will not embroider correctly.
This message is displayed when the bobbin thread is running out.
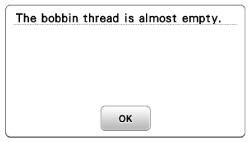
If very little sewing remains, you can embroider approximately 10 final stitches without rethreading the machine by pressing "OK".
The machine will stop after sewing approximately 10 stitches.
If you wind/replace the bobbin thread, follow the directions below.
-
Raise the presser foot lever.
-
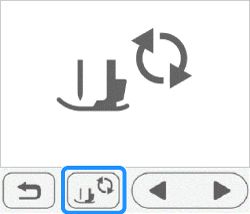
Cut the threads and press
 .
.
The screen changes, and all keys and operation buttons are locked (except ).
).
-
While pushing the lever of the embroidery frame holder to the left, slightly lift the back and then the front of the embroidery frame up to clear the pins, and then remove the frame.
Hold the lever lightly to the left.Be careful not to apply strong force to the fabric at this time. Otherwise, the fabric may loosen in the frame.

(1) Lever
Remove the back mounting bracket from the pin.
(1) Back mounting bracket
(2) Back pin
Remove the front mounting bracket from the pin.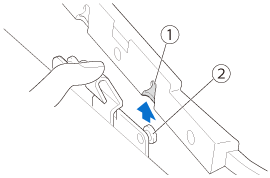
(1) Front mounting bracket
(2) Front pin
-
Remove bobbin cover and insert a wound bobbin into the machine.
Refer to How do I set the bobbin?
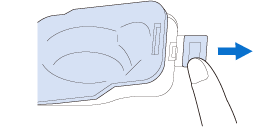
-
Reattach the embroidery frame.
-
Press
 to unlock all keys and buttons.
To return to the area in the pattern where you stopped embroidering, follow the procedure below. -
Press
 .
.
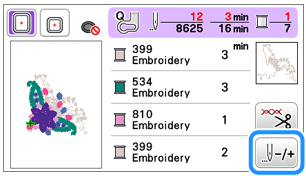
-
Press
 two or three times to move the needle back to the area where the thread was cut.
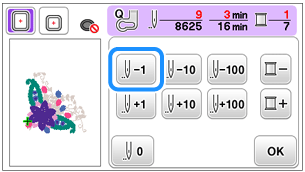
- Check that the needle drop point is positioned where stitches have already sewn.
- It is recommended to stitch over the top of the last two or three stitches for complete coverage.
-
Press "OK" to return to the original screen.
-
Lower the presser foot lever to lower the presser foot,and press the “Start/Stop” button to continue sewing.
