TD-4000
FAQs & Troubleshooting |
How do I use the Screen Capture tool? (P-touch Editor 5.x for Windows)
There are two ways to import the image of an area on your desktop/screen into a label.
Method 1: Using Snap mode
Method 2: Using Professional mode
-
Click the Snap button on the left bottom corner. The "Description of Snap mode" window appears. Click the OK button.
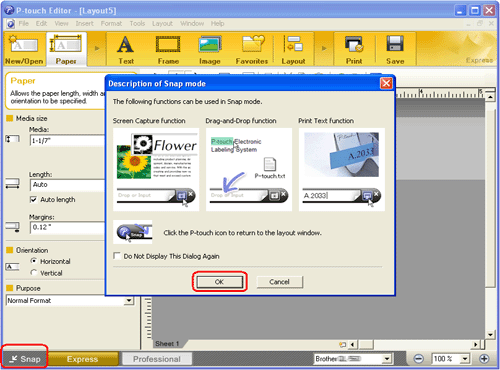
Snap mode starts.

-
Click the "Screen Capture" button
 . Snap mode disappears and the shape of the pointer changes.
 -
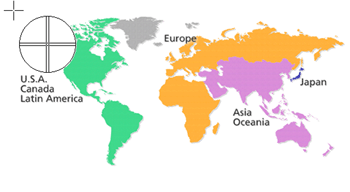
Specify the area you want to import by drawing a rectangle around it.
Click the start point of the area you want to select.
-
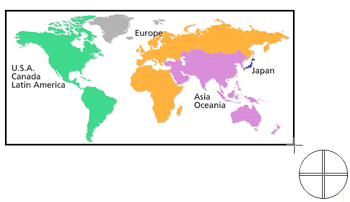
Click the end of the area.
-
The image data of the selected area is imported into the edit screen.
<Using the screen of Express mode as an example>
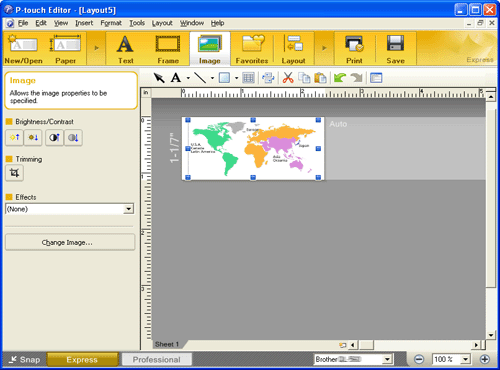
- You can also specify the area by dragging the mouse from the start point to the end point.
- When you want to cancel Screen Capture mode, click the right mouse button or press the Esc key.
Method 2: Using Professional mode
Click the Professional button on the left bottom corner to change to Professional mode.
-
Click the Screen Capture button on the side bar. The current screen disappears and the shape of the pointer changes.
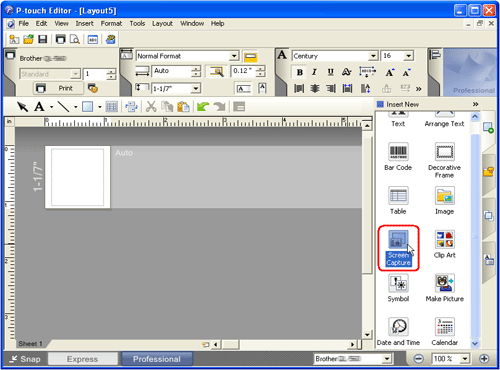
- Take the same steps as Method 1 to import the data.
Related Models
PT-1650, PT-2300, PT-2700, PT-2730, PT-7600, PT-9200DX, PT-9500PC, PT-9700PC, PT-9800PCN, PT-D450, PT-D600, PT-E550W, PT-P710BT, PT-P750W, PT-P900W, PT-P950NW, QL-500, QL-570, QL-580N, QL-700, QL-720NW, QL-800, QL-820NWB, TD-2020/2020A, TD-2130N, TD-2135N, TD-2135NWB, TD-4000, TD-4100N, TD-4410D, TD-4420DN, TD-4520DN, TD-4550DNWB
Content Feedback
To help us improve our support, please provide your feedback below.
