Innov-is XV
Întrebări frecvente şi depanare |
How to Create a Pattern with Illustration Scan. [My Design Center]
Custom patterns can be created from color illustrations. You can create patterns by scanning an illustration using the included scanning frame or importing an image from USB media or a computer.
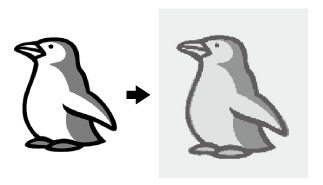
Recommended illustrations for Illustration Scan
- Patterns that are clearly drawn, with no gradation, fading or blurriness.
- Patterns that are at least a 5 mm square
- Patterns that are extremely simple images
Using the Scanning Frame to Create a Pattern with Illustration Scan
-
Press
 (My Design Center).
You can also start the function by pressing
 in “Embroidery” mode.
 -
Press
 .
.
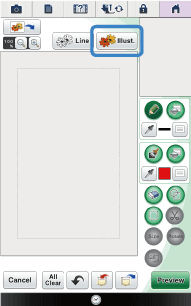
→ The image display screen appears.
-
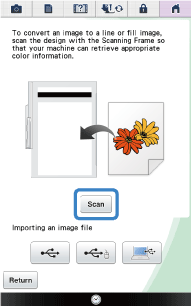
Press " Scan ".
-
To import an image from USB media or a computer, press
 ,
,  or
or  .
.
For details, Refer to "Importing the Background image" on the operation manual. -
If you scan the image, make sure that the scan frame is attached to the machine.
Refer to “Using the Scan Frame” on the operation manual.
→ When the following message appears, press " OK ".

→ Scanning begins.
* To stop scanning and return to the screen in step 3, press "Cancel". -
To import an image from USB media or a computer, press
-
When scanning is finished, specify the necessary settings in the scan image confirmation screen.
Change the settings to adjust the image so it can easily be converted to the desired pattern.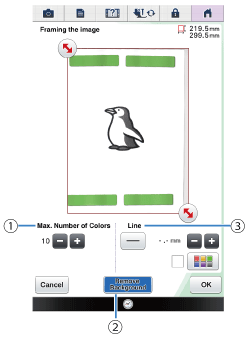
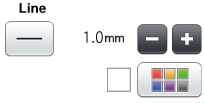
(1) Max. Number of Colors The number of colors in an image will reduced less than the number specified here, and then the outline will be extracted. (2) Remove Background Select whether or not the background color will be included as one of the colors. (3) Line Select whether or not the outline will be detected as a line. A thick outline can also be detected as a region. When detected as a line, the line thickness and color can be specified. * To stop scanning and return to the screen in step 3, press "Cancel".
-
Press
 to detect the outline. Line thickness can be specified from 1.0 mm (1/16 inch) to 5.0 mm (3/16 inch).
-
By touching the scanned image, select the color that wanted to be detected as the outline.
-
The
 moves to the point you touched. You can also move
 by using
  .
.
-
Press
-
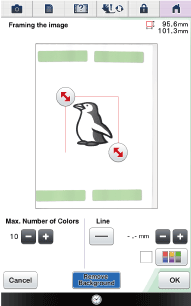
Move
 to frame the image for the pattern.
-
Press "OK".
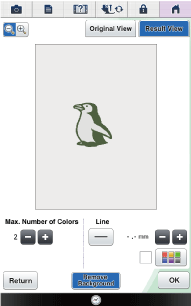
The screen for confirming the converted image appears.
-
In the screen for confirming the converted image, adjust the image as necessary as in step 4.
-
To enlarge the image, press
 .
. - To display the image before being converted, press "Original View". Compare the images before and after being converted, and then change the settings if necessary.
- To return to the previous screen, press "Return".
→ After changes to the settings described above have been applied, "OK" changes to "Retry". Press "Retry" to check that the image is as desired.
-
To enlarge the image, press
-
Press " OK ".
-
Press " Set ".
In this screen, the pattern can be resized, rotated or moved.
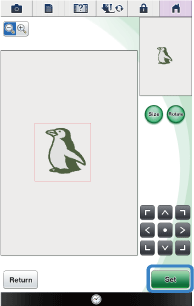
→ The pattern design editing screen for My Design Center appears.
* To return to the previous screen, press "Return".
-
Follow the procedure described on the operation manual to Edit the Pattern as desired.
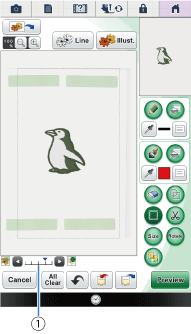
The original image is displayed in the background. Use gauge
 to adjust the transparency of the background.
Each press of
 lightens the background, making the line pattern darker.
Each press of darkens the background, making the line pattern lighter.
During scanning, the small dots that appear and unnecessary lines can be erased.
