Innov-is A150
FAQs & Troubleshooting |
How to select a stitch pattern
A stitch can be selected from the following methods available.
Stitch patterns can be selected through either direct select (by pressing the designated key for a specific stitch) or number selection (by entering the number for the stitch pattern).
When the stitch mode is changed, the message "OK to cancel the current pattern selection?" will be displayed.
Press OK key to change the stitch mode.
Direct selection
With direct selection, there are two stitch modes listed below. Each press of ![]() switches the modes.
switches the modes.
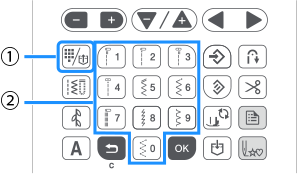 |
(1) Preset utility stitch/saved stitch pattern key (2) Numeric keys |
When selecting from the preset utility stitches
The most frequently used utility stitches have been assigned to the numeric keys.
These stitches can be selected simply by pressing the designated key.
-
Check
 that appears in the upper-left corner of the screen.
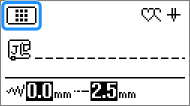
If a different icon is displayed, press .
.
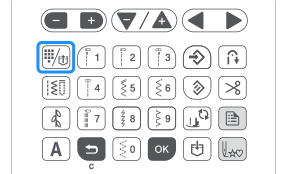
-
Press the numeric key on which the desired stitch is printed.
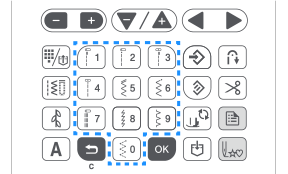
>> The selected stitch is displayed on the LCD screen.
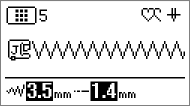
For details on the stitch patterns assigned to the numeric keys, refer to "Preset utility stitches" on the operation manual.
Saved stitch patterns
Frequently used stitch patterns and combined stitch patterns can be saved on the machine's memory and easily retrieved using ![]() (Preset utility stitch/saved stitch pattern key).
(Preset utility stitch/saved stitch pattern key).
For details, refer to "How do I retrieve a stitch pattern saved in the machine's memory?".
Number selection
After selecting a stitch category, use the numeric keys to type in the number for the desired stitch.
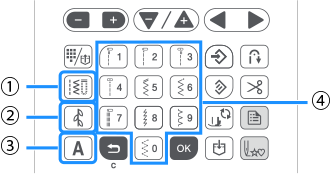 |
(1) Utility stitch key (2) Decorative stitch key (3) Character stitch key (4) Numeric keys |
When selecting a utility stitch
There are various utility stitches, including straight stitches, overcasting stitches and buttonhole stitches.
-
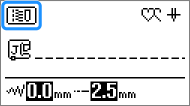
Press
 (Utility stitch key) .
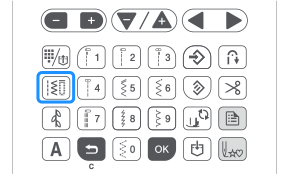
>> is displayed on the upper-left corner of the LCD screen.
-
Enter the number of the desired stitch using numeric keys.

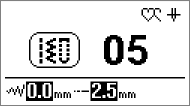
>> The selected stitch is displayed on the LCD screen.
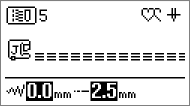
- For number of each stitch, refer to "Utility stitches" in the Stitch Chart on the operation manual.
- For stitches 01 through 09, the stitch can also be selected by using the numeric keys to type in a one-digit number, then pressing OK key.
- Depending on the stitch number, the stitch may be selected without pressing OK key.
-
When using one-digit numbers and it is entered incorrectly, press
 (Back key) to erase the entered number.
When selecting decorative stitch patterns
There are various decorative stitches, satin stitches and cross stitches.
-
Press
 (Decorative stitch key) .
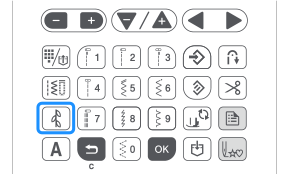
>> is displayed on the upper-left corner of the LCD screen.
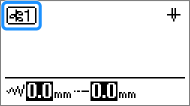
There are three decorative stitch modes.
Each press of
 changes the mode in the following order.

(1) decorative stitch 1 mode
(2) decorative stitch 2 mode
(3) decorative stitch 3 mode -
Select the category containing the desired stitch, and then specify the number of the stitch.

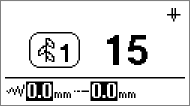
>> The selected stitch is displayed on the LCD screen.

- For the decorative stitch category and the number of each and stitch, refer to "Decorative stitches" in the Stitch Chart on the operation manual.
- For stitches 01 through 09, the stitch can also be selected by using the numeric keys to type in a one-digit number, then pressing OK key.
- Depending on the stitch number, the stitch may be selected without pressing OK key.
-
When using one-digit numbers and it is entered incorrectly, press
 (Back key) to erase the entered number.
When selecting character stitch patterns
The machine is equipped with various font of character stitch patterns.
-
Press
 (Character stitch key) .
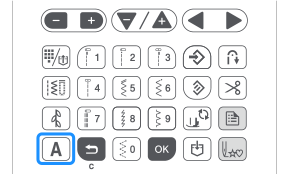
>> is displayed on the upper-left corner of the LCD screen.
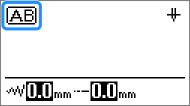
There are four character stitch modes.
Each press of
 changes the mode in the following order.

(1)Gothic font mode
(2)Handwriting font mode
(3)Outline font mode
(4)Japanese font mode -
Select the category containing the desired stitch, and then specify the number of the stitch.

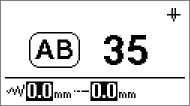
>> The selected stitch is displayed on the LCD screen.
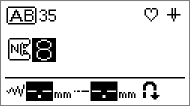
- For the character stitches category and the number of each and stitch, refer to "Character stitches" in the Stitch Chart on the operation manual.
- For stitches 01 through 09, the stitch can also be selected by using the numeric keys to type in a one-digit number, then pressing OK key.
- Depending on the stitch number, the stitch may be selected without pressing OK key.
-
For character stitch patterns 01 through 99 in the
 (Japanese font) category, the stitch can also be selected by using the numeric keys to type in a one- or two-digit number, then pressing OK key .
(Example: For the stitch 001, pressing ("1" key) and then pressing OK key.)
 -
When using one-digit numbers and it is entered incorrectly, press
 (Back key) to erase the entered number.
