QL-800
 |
FAQs & Troubleshooting |
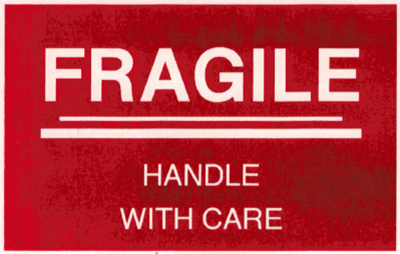
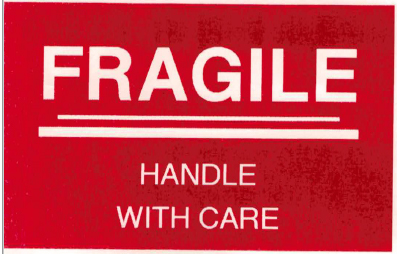
When printing solid red areas, the color may be uneven.

If your print looks like the above image, try the following steps:
For Windows:
-
Open the Printer Setting Tool on your computer.
-
Click the [Device Settings] button.
-
Click the [Advanced] tab and select "-6" from the drop-down menu in [Print Density (RD)].
-
Click the [Apply] button.
-
Try printing again.
For Mac:
-
Open the Printer Setting Tool on your computer.
-
Click the [Advanced] tab and select "-6" from the pull-down menu in [Print Density (Red)].
-
Click the [Apply Settings to the Printer] button.
-
Try printing again.

If the print result is top light, increase the print density setting value to adjust it to your desired density.
For QL-820NWB users:
You can also specify these settings from your printer. Follow the steps below:
-
Press the [Menu] button to display the [Settings] menu. Press the [OK] button.
-
Make sure that [Print Density (2 colors)] is highlighted and press the [OK] button.
-
Select [Color 2 (Red)] and press the [OK] button.
-
Press the cursor buttons to select "-6", and press the [OK] button.
If your question was not answered, have you checked other FAQs?
Have you checked manuals?
If you need further assistance, please contact Brother customer service:
Related Models
QL-800, QL-820NWB
Content Feedback
To help us improve our support, please provide your feedback below.


