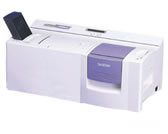
SC-2000
FAQs & Troubleshooting |
How to make a stamp
Brother has developed and perfected a totally new and revolutionary way to impose images onto rubber stamp surfaces. After you create the image on your computer and insert the text, the rest of the process will take just a few minutes. Ink never touches your fingers... this process is absolutely clean, dry, and environmentally safe.
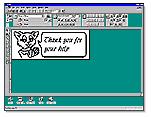
Please follow the instructions below:
-
Start the Stamp Editor on your computer, then create any image you wish.
-
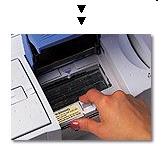
The Stampcreator PRO™ will instantly transfer the image you have prepared on your computer screen onto a transparent film, which will be loaded automatically from the magazine tray inside. 600 dpi thermal transfer printing will reproduce every detail from your graphics. Open the window and you will see the film (positive master) for your stamp positioned above the Xenon Flash Assembly.
-
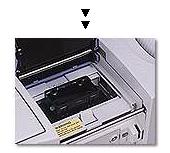
Position a blank stamp in the stamp creation bay above the Xenon flash assembly.
-
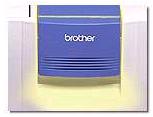
When the door to the stamp creation bay is shut, the Xenon flash is automatically triggered.
-
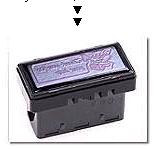
The surface of the stamp is made of a light sensitive rubber material specially developed for the Brother Stampcreator PRO™. Light from the Xenon flash causes millions of micro-pores in the stamp surface to close. Only pores protected by the black printing on the positive master film will remain open.
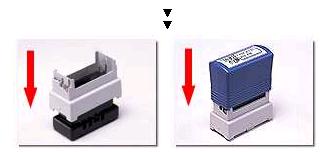
- Attaching the stamp handle causes the ink pack embedded in the stamper base to open. Keep the stamp upright for a few minutes for all the ink to drain. After a brief cure time, the ink is absorbed by the stamp material and the stamp will be ready to use. The ID label can be printed in the same way by the Stampcreator PRO™ and attached to the handle for proper identification.
Content Feedback
To help us improve our support, please provide your feedback below.

