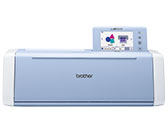
SDX1200
FAQs & Troubleshooting |
Draw Patterns with Calligraphy Pen
This FAQ describes the process of using the calligraphy pen after creating data.
You must activate the Calligraphy Starter Kit and create the pattern before drawing. Refer to the linked FAQs.
-
Activate the Calligraphy Starter Kit on the CanvasWorkspace (Web).
How to Activate the Calligraphy Kit .
-
Create the data for the Calligraphy Starter Kit.
Create the Data for the Calligraphy Starter Kit.
-
Install the Calligraphy Pen.
Install the Calligraphy Pen.
Draw patterns on a material with a calligraphy pen.
-
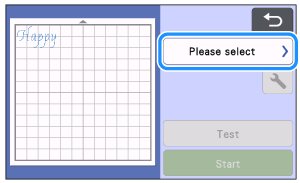
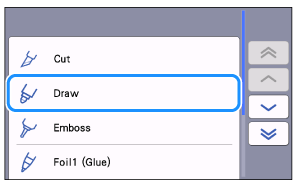
After checking the pattern in the preview screen, select [Draw].

-
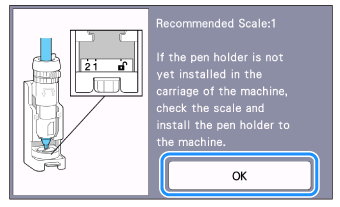
The following screen appears, click [OK].
-
Touch
 .
.
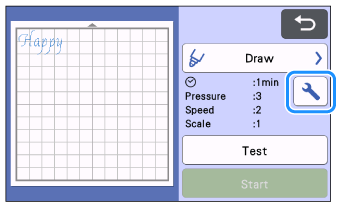
-
After adjusting [Draw Pressure] and [Draw Speed], click [OK].
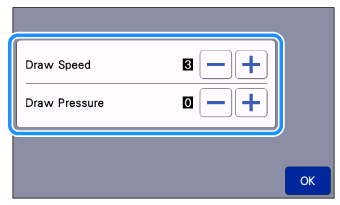
- If the drawing pressure is too high, the pen tip may become damaged or certain types of material may tear. Adjust it to the appropriate setting.
-
If the drawing speed is too high, the text or patterns may become blurry.
Adjust it to the appropriate setting. -
The appearance of the finished project differs depending on the specified drawing pressure setting.
Adjust the setting while checking the result of trial drawing using the same material as that used in your project.
-
Touch [Start] key to start drawing.
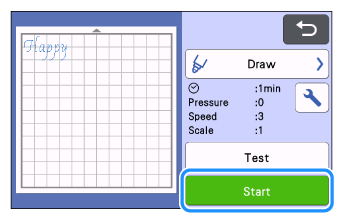
>>When drawing is finished, a message appears in the screen. Touch [OK] key to display the preview screen.
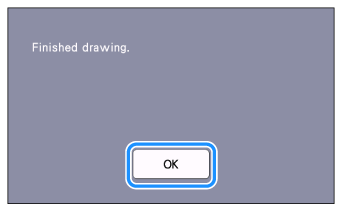
-
Before feeding out the mat, check the result, taking care not to touch the material.
Check the result of the material without feeding out the mat or touching the material.




If the result is as shown on the right, rotate the pen 180 degrees, and then draw again on top of the previously drawn pattern touch [Start] key in the preview screen .
Rotate the pen 180 degrees, refer to What Should I Do if the Text or Patterns Drawn with the Calligraphy Pen are Faint? to Cause 2 : The tip of the pen does not touch the material (paper) well.
Drawing on top of the pattern will make the drawn color darker, depending on the color of the pen.
-
Feed out the mat, and then carefully peel the material from the mat.
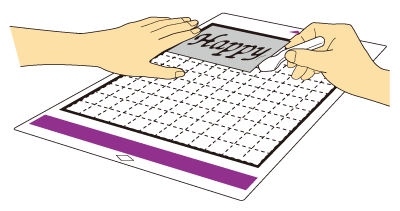
- The ink of the calligraphy pen may not dry well on some materials. Be aware that touching the ink before it is dry or excessively touching the drawn area may ruin the project.
- After using the calligraphy pen, be sure to return the dial on the calligraphy pen holder to the initial position and remove the pen.
- Attach the cap to the pen before storing it.
