CM110
FAQs & Troubleshooting |
Cutting/Drawing by Tracing an Image
There are two ways to trace an image.
-
Trace Outlines
The outermost outline of the pattern is traced.

-
Trace by Color
The image is divided into parts per color (regions), and then the outline of each of those parts (regions) is traced.

When an image consisting of multiple colors is traced using the color detection method, a pattern part is created for each color (region) (center illustration above).
Each pattern part can be selected separately and moved in the edit screen (right illustration above). After rearranging the parts in the screen, each part can be cut out from paper or fabric of different colors to create a project with a rich color scheme.
-
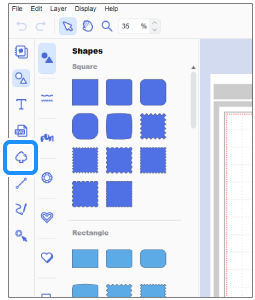
In the main screen, click
 (Image Trace icon).
-
Select An Image in the Computer or An Image Scanned by Your Machine.
If you select An Image in the Computer, go to step 3.
If you select An Image Scanned by Your Machine, go to step 4.
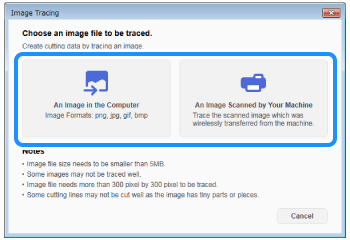
An Image Scanned by Your Machine menu is only available with the machine connected to a wireless network.
-
The imported image is displayed.
Select the tracing method.
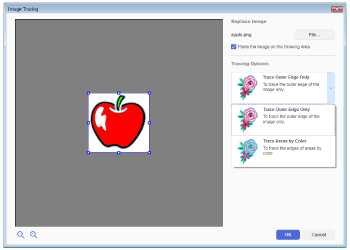
Light blue outlines appear in the image according to the tracing method that was selected.
Ex)When tracing by outlines When tracing by color 
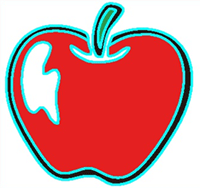
When selecting "Trace Areas by Color"
- Fill the "Include Background Outline" check box in Advanced Options to trace the background image.
- Change the value in the Number of Colors section.
Increasing the specified number of colors creates a more intricate tracing; reducing the number of colors creates a simple tracing with less lines.
-
Click OK.
-
The traced pattern appears in the drawing area.
-
Transfer the traced pattern to the cutting machine, and then cut (or draw) it.
For details, refer to Instructions for sending patterns created in CanvasWorkspace to the cutting machine for cutting or drawing.
