MFC-J2320
FAQ 및 문제 해결 |
Load photo paper
-
If you want to load standard paper, click here to see how to load standard paper.
- If you want to load envelopes, click here to see how to load envelopes.
Follow the steps below to load photo paper in your Brother machine's paper tray:
NOTE: Illustrations shown below are from a representative product and may differ from your Brother machine.
-
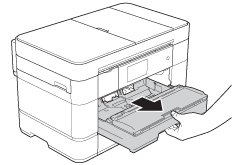
Pull the paper tray completely out of the machine.
-
Do one of the following:
-
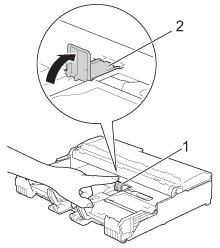
If you load Photo L (89 x 127 mm)/(3.5 x 5 in.) in the paper tray, lift up the Photo L stopper (1).
-
If you load Photo (10 x 15 cm)/(4 x 6 in.), in the paper tray, lift up the Photo stopper (2).
-
If you load Photo L (89 x 127 mm)/(3.5 x 5 in.) in the paper tray, lift up the Photo L stopper (1).
-
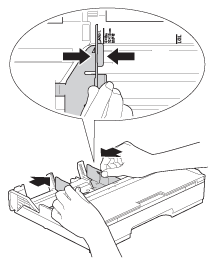
Gently press and slide the paper guides to fit the paper size.
-
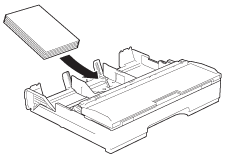
Load up to 20 sheets of Photo or Photo L paper in the paper tray print side down.
More than 20 sheets of photo paper may cause paper jams.
-
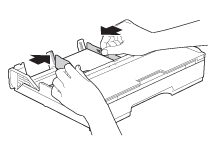
Gently adjust the paper guides to fit the paper.
Make sure the paper guides touch the edges of the paper and the paper is flat in the tray.
-
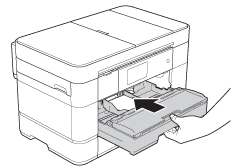
Slowly push the paper tray completely into the machine.
-
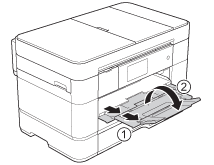
While holding the paper tray in the machine, pull out the paper support (1) until it locks into place, and then unfold the paper support flap (2).
내용 피드백
지원을 개선하는 데 도움이 되도록 아래에 피드백을 제공하십시오.
