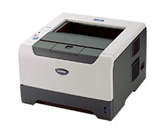
HL-5250DN
FAQ 및 문제 해결 |
How do I install the Optional Tray Unit?
-
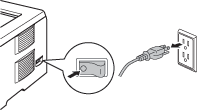
Turn off the printer power switch, and remove all the cables from the machine.
-
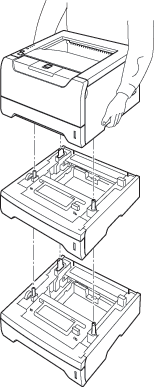
Lift the printer carefully with both hands and place it onto the lower tray unit, so that the alignment pins of the lower tray unit are inserted into the guide holes on the bottom of the printer. If you want to install two lower tray units, first combine both optional tray units, and then place the printer onto the lower tray unit.
-
Remove the paper tray from the lowest optional unit, and swap it with the tray already fitted in your machine. Failure to swap the paper trays will cause paper jams in the lower tray option. Reconnect all cables and switch on the printer.
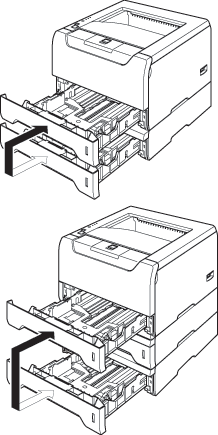
-
If you want to store different paper sizes in each tray, and have the printer automatically select the correct tray, follow these steps:
For Windows Users go to Start > Settings > Control Panel > Printers (Printers and Faxes for Windows XP users).
Right-click on your printer icon and choose Properties.
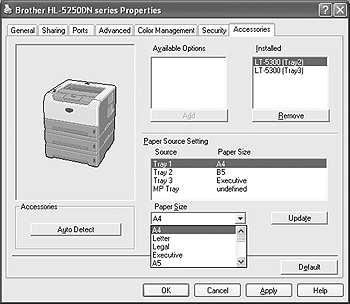
Choose the Accessories tab and click Auto Detect. In Paper Source Setting click each tray, and then in Paper Size select the appropriate paper size for each tray.
Click Update, and then click Apply.
(Under certain conditions Auto Detect may not be available. If this situation occurs, you can manually add the options you have installed. In Available Options select the option you have installed, click Add and then Apply.)
