PR670E / PR670EC
FAQs & Troubleshooting |
How do I adjust the tension of the bobbin thread ?
The following procedure describes how to adjust the thread tensions. After adjusting the tension of the bobbin thread, adjust the tension of the upper thread for each needle bar.
- Be sure to check the tension of the bobbin thread each time that the bobbin is changed. Depending on the bobbin thread type and whether a prewound bobbin is used, the tension of the bobbin thread may differ. For example, when replacing an empty prewound bobbin with one of the same type, be sure to check the tension of the bobbin thread and adjust the tension if necessary.
- Be sure to adjust the tension of the bobbin thread before adjusting the tension of the upper thread.
- In order to check the finished embroidery before sewing on your project, sew trial embroidery using the same fabric and thread as those in your project.
-
Tie the included weight to the end of the thread extending from the bobbin case.
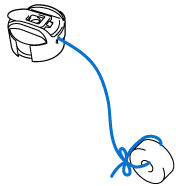
Different weights are used to adjust pre-wound bobbins and metal bobbins.
Pre-wound bobbins: Only weight (L)
Metal bobbins: Weight (L) and weight (S)* Weight (S) is included with the optional bobbin winder.
-
As shown in the illustration, hold the bobbin case against a smooth vertical surface.
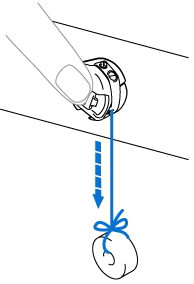
If the thread with the weight attached is slowly pulled out, the thread tension is correct.
-
Use the included standard screwdriver to turn the tension-adjusting screw and adjust the thread tension.
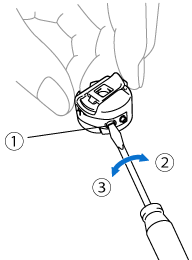
(1) Tension-adjusting screw
(2) Tighter
(3) Looser
-
After making the adjustments, try embroidering with all needle bars to check the thread tension.
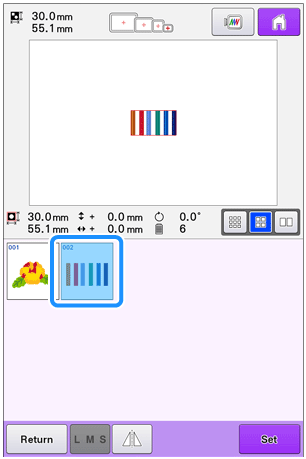
In the built-in embroidery patterns, one pattern is used for checking the thread tension. By sewing this pattern, the thread tension can easily be checked. For details, refer to "How do I check the thread tension ?".
