HL-5050
FAQs & Troubleshooting |
How do I print on transparencies?
Special paper types to avoid are as follows:
Damaged, curled, wrinkled, or irregularly shaped paper

Before using paper with holes such as organizer sheets, you must fan the stack of paper well to avoid paper jams and misfeeds.

- Do not use paper with perforations at the edge.
- Do not place the punched holes of organizer sheets near the actuator (paper sensor).
- Do not use organizer sheets that are stuck together. The glue on them might cause damage to the printer.
- Do not load different types of paper at the same time in the paper cassette because it may cause paper jams or misfeeds.
- For correct printing, you must select the same paper size from within your software application as the paper in the tray.
- If your application software does not support paper size selection in its Print menu, you can change the paper size on the printer's control panel under the PAPER menu.
Printing on transparencies from the paper tray:
-
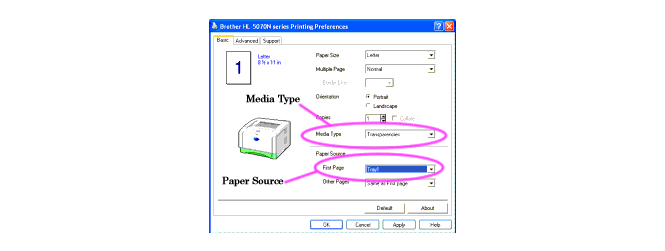
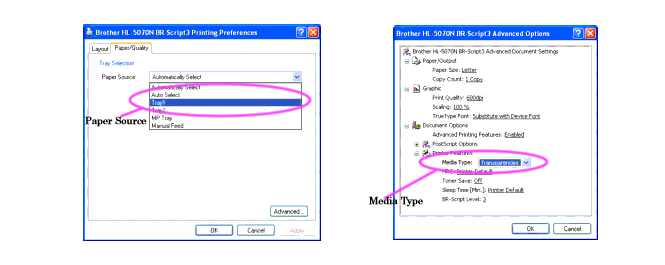
Select the Paper Size, Media Type, Paper Source, and other settings in the printer driver.
Media Type: Transparencies
Paper Source: Tray1
PCL Driver:
PS Driver:
-
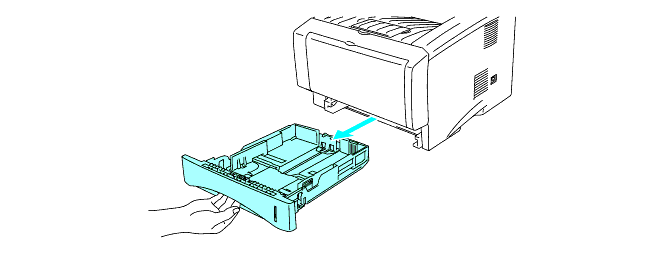
Pull the paper tray completely out of the printer.
-
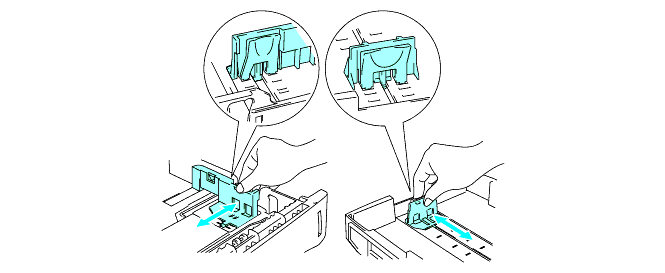
While pressing the blue paper-guide release levers, slide the paper guides to fit the transparency size. Check that the guides are firmly in the slots.
-
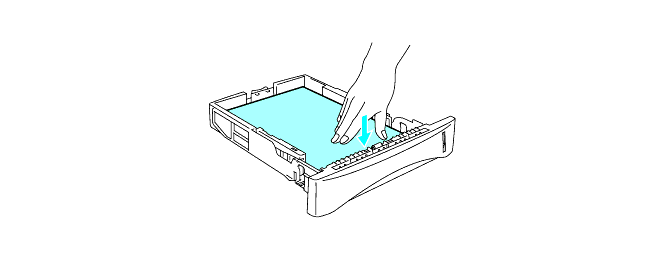
Put transparencies in the tray. Check that the transparencies are flat and below the maximum paper mark (t).
Do not put more than 10 transparencies in the tray at any one time, or it may cause a jam.
-
Put the paper tray firmly back in the printer.
Pull out the support flap to prevent transparencies from sliding off the top output tray.

-
Send the print data to the printer.

DO NOT touch transparencies that have just been printed because they are very hot!
Printing on transparencies from the manual feed tray:
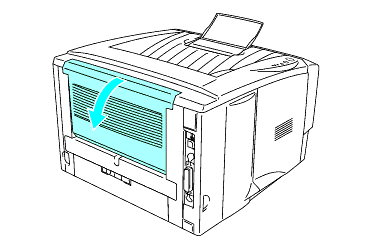
When the back output tray is open, the printer has a straight paper path from the manual feed tray to the back output tray.
-
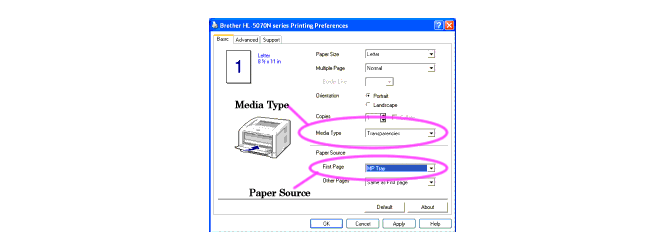
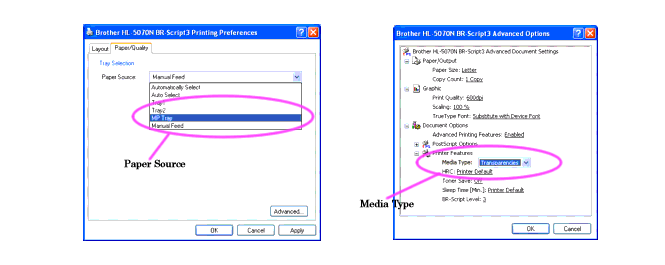
Select the Paper Size, Media Type, Paper Source, and other settings in the printer driver.
Media Type: Transparencies
Paper Source: MP Tray
PCL Driver:
PS Driver:
-
Send the print data to the printer.
-
Send the print data to the printer.
A NO PAPER status is shown by the control panel LEDs until you put a transparency in the MP tray.

-
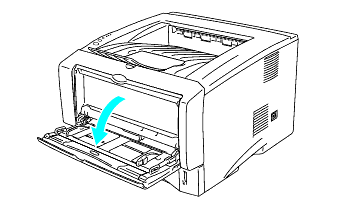
Open the MP tray and lower it gently.
-
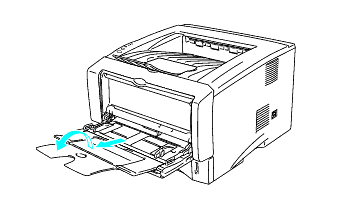
Pull out the MP tray support flap.
-
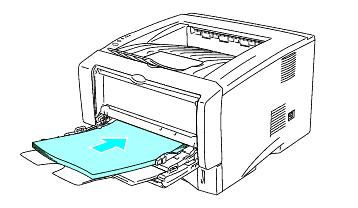
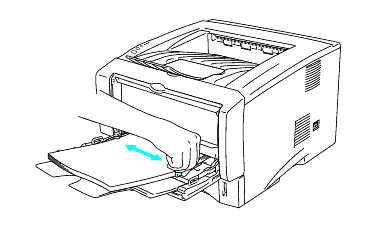
When putting transparencies in the MP tray, make sure they touch the back of the tray and remain below the maximum paper mark (t). Do not put more than 10 transparencies in the MP tray at any one time, or it may cause a jam.
-
While pressing the paper-guide release lever, slide the paper guide to fit the transparency size.
-
After you finish printing, close the back output tray.
DO NOT touch transparencies that have just been printed because they are very hot!
