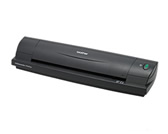
DS-700D
FAQs & Troubleshooting |
Install the scanner driver (For Windows)
Please follow the steps below to install the driver.
NOTE: Illustrations shown below are from a representative product and operating system, and may differ from your Brother machine and operating system.
Install the driver first before connecting your scanner.
- Make sure that your computer is ON and you are logged on with Administrator rights.
- Put the Installation DVD into your computer.
If you do not have the Installation DVD, please go to Downloads section of this website and download Scanner Driver. First, follow the installation instructions on the download page. Once the installation screen appears, follow the steps from STEP 5.
- The installation screen will appear automatically. If prompted, choose your model and language.
NOTE: If the installation screen does not appear automatically, click here to see how to open the installation screen.
- Choose Install Scanner Driver.
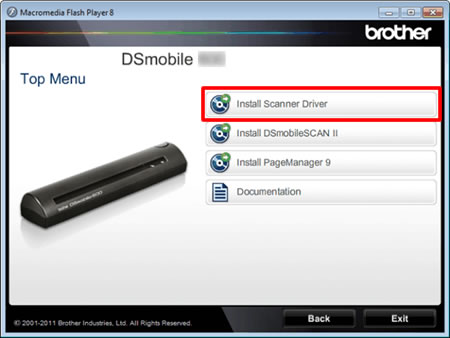
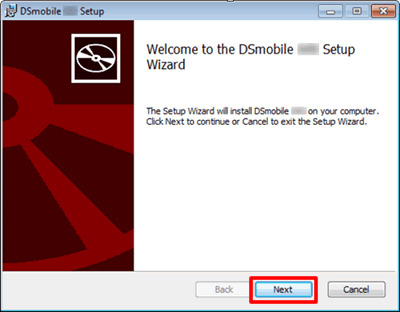
- Click Next.
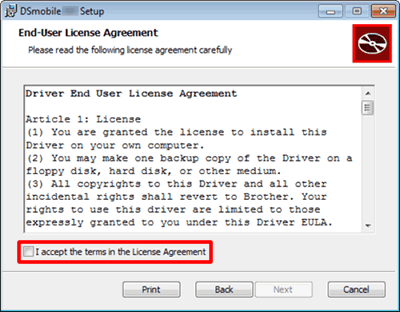
- Read the agreement and check the I accept box.
- Click Next.
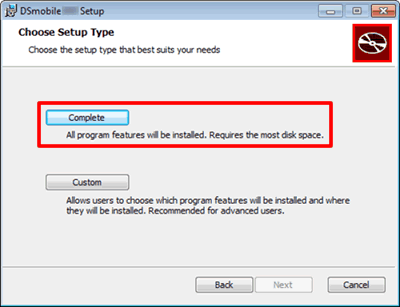
- Click Complete.
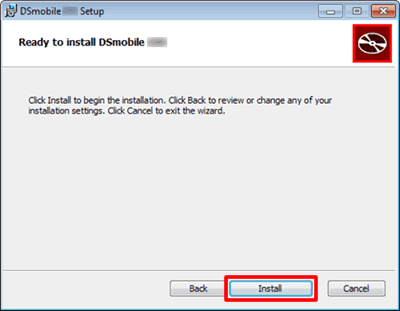
- Click Install.
NOTE: When the User Account Control screen appears, click Allow or Yes.
- The SCANNER CONNECTION box will appear.
Follow the onscreen instructions to complete the installation.
Content Feedback
To help us improve our support, please provide your feedback below.
