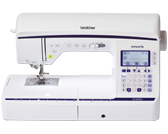
Innov-is NV1800Q
FAQs & Troubleshooting |
How do I adjust a stitch width or length?
This machine is preset with the default settings for the stitch width and stitch length for each stitch. Some models are also preset with the default settings for upper thread tension for each stitch.
You can change the settings for the stitch width and length for each stitch by following the procedure described in this section.
Stitch settings return to their defaults if they are changed, when the machine is turned off or a different stitch is selected before the stitch setting is saved, refer to Saving stitch settings.
Setting the stitch width
The stitch width (zigzag width) can be adjusted to make the stitch wider or narrower.
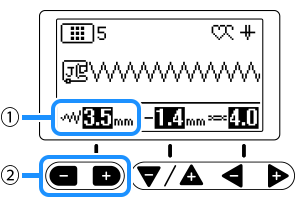 |
(1) Shows the stitch width (2) Stitch width keys |
Each press of "-" makes the zigzag stitch narrower.
Each press of "+" makes the zigzag stitch wider.
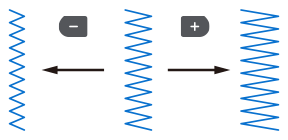
- If the straight stitch such as theleft needle position or triple stretch stitch was selected, changing the stitch width changes the needle position. Increasing the width moves the needle to the right; reducing the width moves the needle to the left.
-
If the stitch width of the selected stitch cannot be adjusted,
 appears to the right of
  in the LCD.

After adjusting the stitch width, slowly turn the handwheel toward you (counterclockwise) and check that the needle does not touch the presser foot. If the needle hits the presser foot, the needle may bend or break.
Setting the stitch length
The stitch length can be adjusted to make the stitch coarser (longer) or finer (shorter).
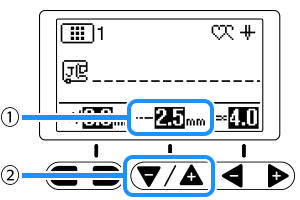 |
(1) Shows the stitch length (2) Stitch length keys |
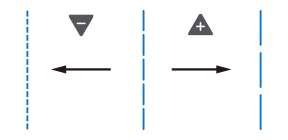
Each press of "-" makes the stitch finer (shorter).
Each press of "+" makes the stitch length coarser (longer).
-
If the stitch length of the selected stitch cannot be adjusted,
 appears to the right of
  in the LCD.

Saving stitch settings
If you wish to save specific settings for a stitch so that they can be used later, press ![]() after changing the settings to save the new settings with the selected stitch.
after changing the settings to save the new settings with the selected stitch.
This feature can be used only with utility stitches.
The following is the procedure to save the settings to use a stitch length of 2.0 mm for the straight stitch.
- Select a straight stitch.
-
Set the stitch length to 2.0 mm.
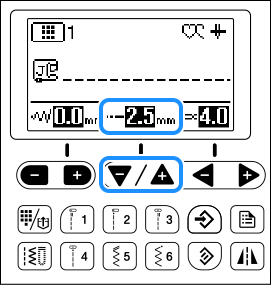
-
Press
 (Manual memory key).
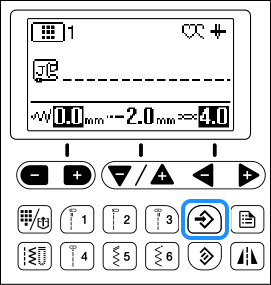
-
The next time that the same straight stitch is selected, the stitch length is set to 2.0 mm.
To return the saved settings for the selected stitch to its default values
-
Press
 (Reset key) , and then press
  (Manual memory key).
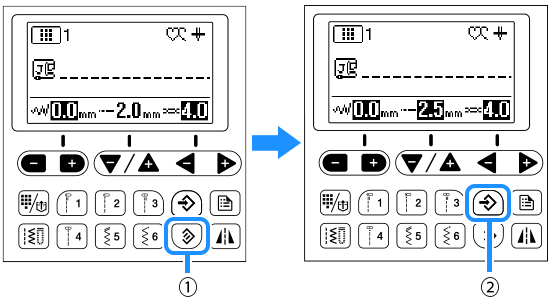
(1) Reset key (2) Manual memory key - The default settings are saved to the machine instead of the former settings.
-
Both of the stitch width (zigzag width) and stitch length are saved, not just the setting that was changed. The setting for upper thread tension is also saved, even if it was not changed. When the same stitch pattern is selected, the last settings saved are displayed even if the machine was turned off. If the settings are changed again, or if
 is pressed to reset the setting to its default, the new settings are not saved unless
  is pressed another time.
 -
Even if
 is pressed, the settings for programmed thread cutting and automatic reverse/reinforcement stitching cannot be reset.
