To create labels with a 3.5 mm width tape, you need to set the top and bottom margins of the tape. Otherwise the printed text may extend beyond the width of the tape because a 3.5 mm tape cassette is detected as a 6 mm tape cassette.
Follow the procedures below to set the tape margins in order to print the text correctly.
Insert a 3.5mm width tape into your P-touch.
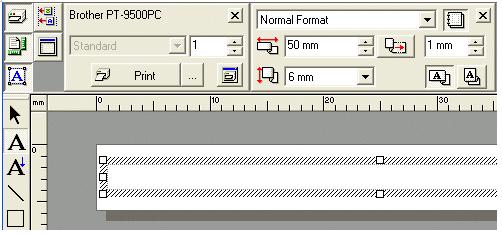
Start up P-touch Editor.
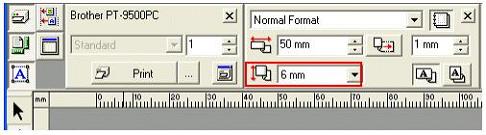
Make sure that the tape width is set to 6mm.
If not, select 6mm from the pull-down menu.
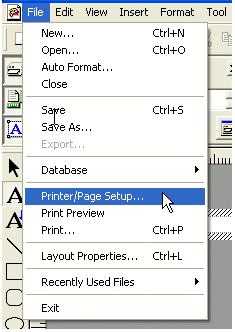
Click on the "File" on the menu bar and then select the "Printer/Page Setup…" to display the Printer Setup dialog box.
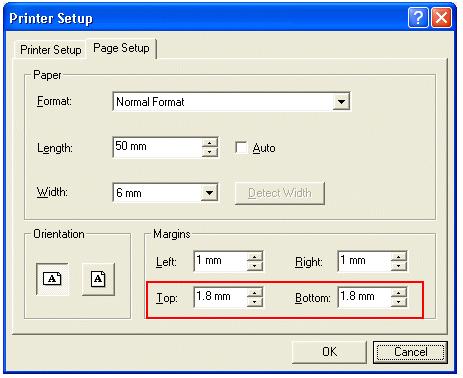
In the Printer Setup dialog box, select the "Page Setup" tab.
Under the Margins, set the top and bottom margins to 1.8mm (Recommended value).
Click the OK button to apply the setting.
Click and then type in the text.
If your question was not answered, have you checked other FAQs?
 and then type in the text.