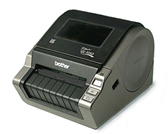
QL-1050N
 |
FAQs & Troubleshooting |
How to use the "Auto Format" function.
To use the "Auto Format" function,
-
Click the "Auto Format" button to open the "Auto Format" dialogue box.

-
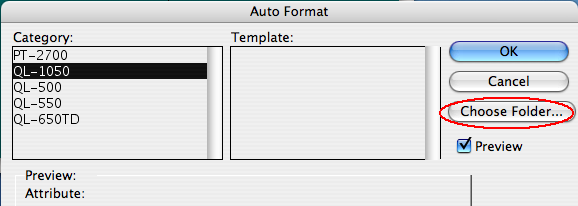
In the "Category" list box, select your P-touch or QL machine.
-
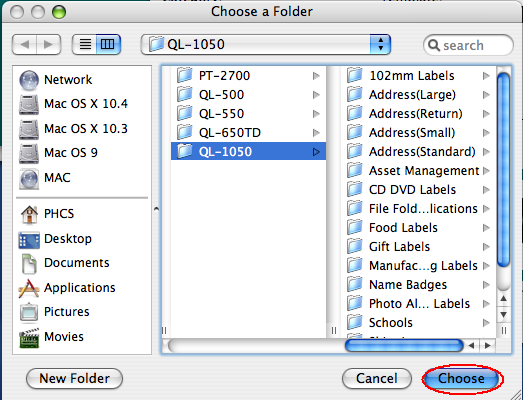
Click the "Choose Folder..." button to open the "Choose a folder" dialogue box.
-
Click the "Choose" button.
-
The Category list and Template list will appear in the "Auto Format" dialogue box.
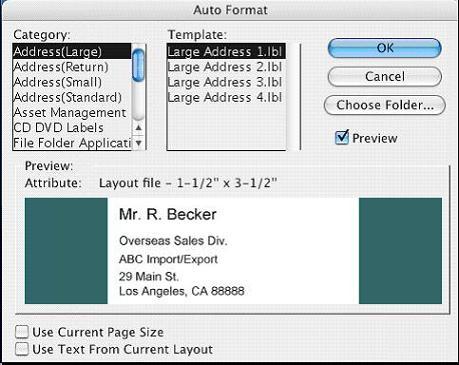
The templates displayed will depend on the type of your machine.
-
In the "Category" list box, choose the category containing the template that you wish to use.
-
In the "Template" list box, choose the desired template and then click the "OK" button.
-
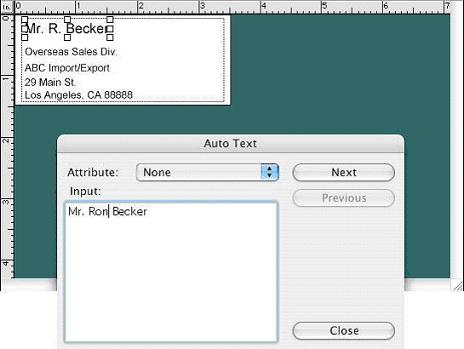
A new layout containing the pre-formatted text is created and the "Auto Text" dialogue box is displayed.
-
Click the "Next" button until the text that you wish to change is displayed in the "Input:" edit box.
-
Click inside the "Input:" edit box to place the cursor in the box, and then change the text.
-
Click the "Next" button to display the next line of text in the "Input:" edit box.
-
Repeat steps 8 to 9 until you have finished making your change.
-
Click the "Close" button to add the new text to the layout in the print area.
If your question was not answered, have you checked other FAQs?
Have you checked the manuals?
If you need further assistance, please contact Brother customer service:
Related Models
PT-2700, QL-1050, QL-1050N, QL-500, QL-500A, QL-550, QL-560, QL-650TD
Content Feedback
To help us improve our support, please provide your feedback below.


