SDX2200D
FAQs & Troubleshooting |
How do I perform the initial setting (position adjustment) for region embossing?
Perform the region emboss initial setting according to the following procedure.
Prepare the following.
| Paper | Adjustment sheet for region embossing (included in the box)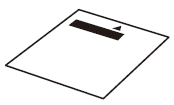 |
|
| Mat |
Low Tack Adhesive Mat |
|
| Blade | Auto Blade (Black) | |
-
Adjustment sheet for region embossing can be substituted with thick paper with one white side.
Size : 12" × 12" (305 mm × 305 mm)
Thickness: Thick paper equivalent to 150 g/m2 through 200 g/m2 - Perform the region emboss initial setting by auto blade. Even if you have the optional Standard Cut Blade Holder, use the auto blade to cut the Adjustment sheet for region embossing.
-
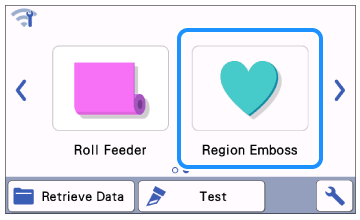
Select Region Emboss on page 2 of the Home screen.
-
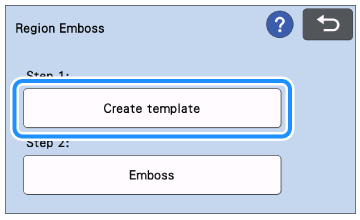
Press the Create template to perform the region emboss initial setting .
-
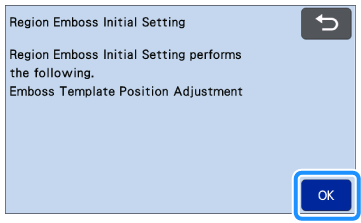
Press OK key.
You can also follow the on-screen instructions.
-
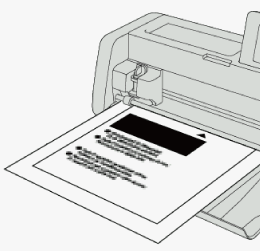
Attach the Adjustment sheet to the low tack adhesive mat.
Make sure that the printed side is facing up and the arrow and black bar in first when attaching the sheet to the mat.
-
Install the auto blade holder into the carriage of the machine.
-
Load the mat into the machine.
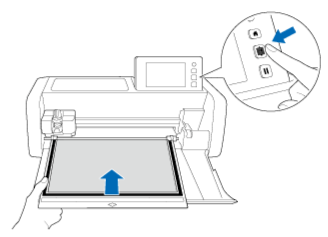
-
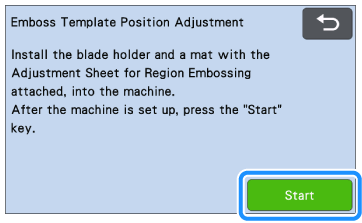
Press Start key to start cutting.
-
Press OK key when the cutting is finished.
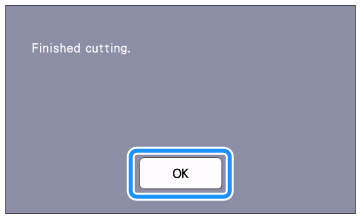
-
Press
 to upload the mat, and then peel off the material from the mat.
-
Fold the Adjustment Sheet in half along the dotted line as shown the following illustration.
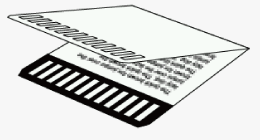
-
Overlap
 .
.
Referring to the numbers below the rectangles, press or
or  to enter the number for the cutout that is perfectly aligned on the left and right.
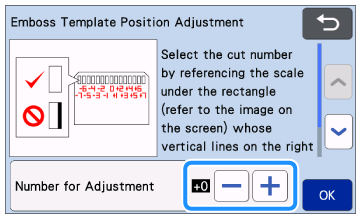
-
Press the OK key.
-
Press the OK key.
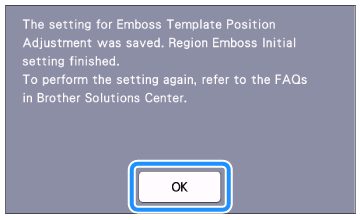
>> The region emboss initial setting is finished.
Continue to perform region embossing referring to the Instruction Manual for Embossing Starter Kit.Refer to What should I do if I want to change the initial setting (position adjustment) for region embossing? if you want to change the setting.
Content Feedback
To help us improve our support, please provide your feedback below.
