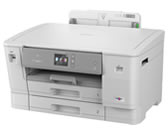
HL-J6000DW
FAQs & Troubleshooting |
Install the Self-signed Certificate for Windows users with Administrator Rights
The following steps are for Microsoft® Internet Explorer®. If you use another web browser, consult the documentation for your web browser to get help with installing certificates.
NOTE: The screens may differ depending on the operating system being used and your Brother machine.
-
Do one of the following:
-
(Windows Server 2012 and Windows Server 2012 R2)
Click (Internet Explorer), and then right-click the
  (Internet Explorer) icon that appears on the taskbar.
 -
(Windows 10 and Windows Server 2016)
Click (Start) > Windows Accessories.
 -
(Windows 8 )
Right-click the (Internet Explorer) icon on the taskbar.
 -
(Windows 7 and Windows Server 2008)
Click (Start) > All Programs.
-
(Windows Server 2012 and Windows Server 2012 R2)
-
Right-click Internet Explorer, and then click Run as administrator.
If the User Account Control screen appears, click Yes.
If the More option appears, click More.
- Type "https://machine's IP address" in your browser's address bar to access your machine (where "machine's IP address" is the machine's IP address or the node name that you assigned for the certificate).
- Click Continue to this website (not recommended).
-
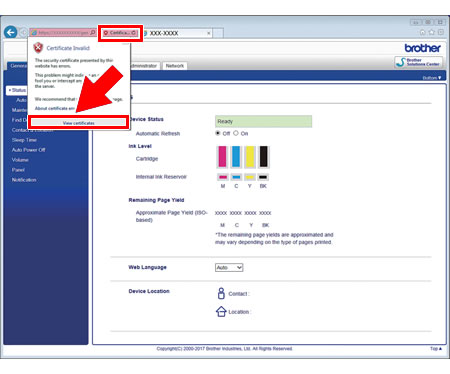
Click Certificate error, and then click View certificates.

- Click Install Certificate....
- When the Certificate Import Wizard appears, click Next.
- Select Place all certificates in the following store, and then click Browse....
- Select Trusted Root Certification Authorities, and then click OK.
- Click Next.
- Click Finish.
- Click Yes, if the fingerprint (thumbprint) is correct.
- Click OK.
The self-signed certificate is now installed on your computer, and SSL/TLS communication is available.
Content Feedback
To help us improve our support, please provide your feedback below.
