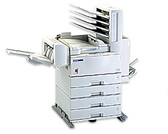
HL-3260N
FAQs & Troubleshooting |
How do I install an Optional HDD(Hard Disk Drive:HD-6G/HD-EX)?
If you install an optional HDD, you can save macros, print log and fonts on it. You can also select your print job and re-print it through the network.
Make sure that the box contains the following items:
|
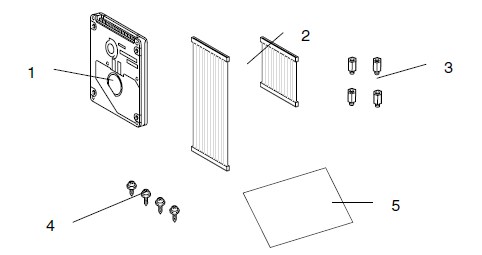 |
As indicated above, the HDD installation kit contains 2 Hard Disk cables. For this printer, use the longer of the two cables. The shorter one is for other Brother printer models.
- Turn off the printer power switch, and then unplug the printer. Disconnect the interface cable from the printer.
- Use a screwdriver to remove the six screws, and remove the printer board cover.
- Use a screwdriver to remove the three screws and remove the HDD base plate.
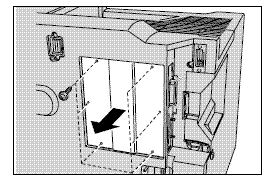
- Insert the 4 shoulder screws supplied with the HDD unit into the bottom of the HDD.
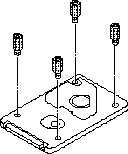
- Fit the HDD base plate by fitting the 4 Screws into the 4 holes of the HDD base plate and secure the base plate to the shoulder screws with a screwdriver.
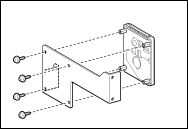
- Connect the longer cable to the HDD with the keyed side upwards, ensuring it is correctly aligned.
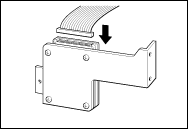
- Connect the flat cable to the main controller board.
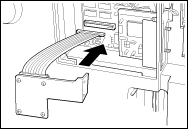
- Mount the HDD base plate and HDD assembly using the 3 screws that were removed in step 4 using a screwdriver to fasten the three screws.
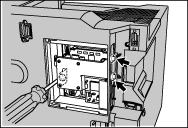
- Attach the printer board cover that was removed in step 3, and use the screwdriver to fasten the six screws.
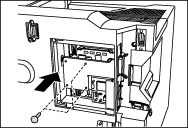
- Reconnect the interface cable to the printer. Plug the power cord into the AC outlet, and then turn on the printer.
- Format the HDD from the control panel.
Content Feedback
To help us improve our support, please provide your feedback below.
