HL-2600CN
FAQs & Troubleshooting |
How do I replace the transfer roller?
Press the Power button to turn the printer Off.
Open the Rear Access Cover.
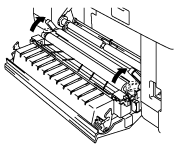
Release the Transfer Roller Lock Levers on the right and left hand sides, and then lift the Levers to release the Transfer Roller.
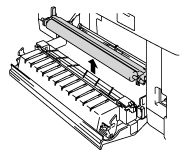
Remove the Transfer Roller by gently pulling the right handside up. Slide the Transfer roller to the right to remove it.
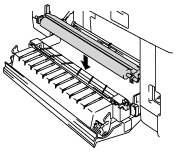
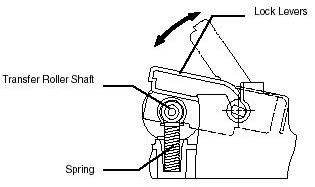
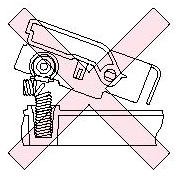
Install the new Transfer Roller by holding the Lock Levers of the Transfer Roller and adjusting the angle of the Transfer Roller Lever shafts (both sides) to match the Transfer Unit groove. Set the Transfer Roller onto the shafts and place the Roller onto the springs as shown below:
Push down the Lock Lever to lock the Transfer Roller into place.
Close the Rear Access Cover.
Plug the printer into the AC outlet.
