MFC-J497DW
FAQs & Troubleshooting |
Load envelopes
Follow the steps below to load envelopes in the paper tray or manual feed slot:
NOTE: Illustrations shown below are from a representative product and may differ from your Brother machine.
Using the Manual Feed Slot (For models with Manual Feed Slot)
Using the MP Tray (For models with MP Tray)
Using the Paper Tray
-
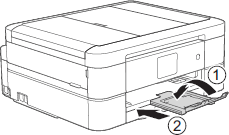
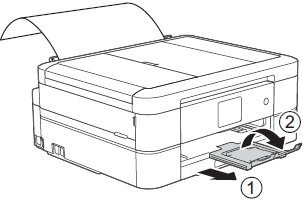
If the paper support flap (1) is open, close it, and then close the paper support (2).
-
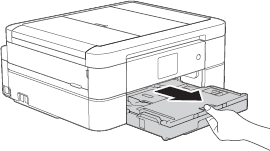
Pull the paper tray completely out of the machine.
-
Open the output paper tray cover (1).
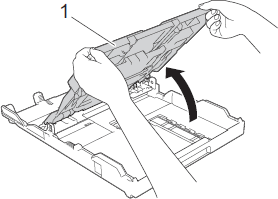
-
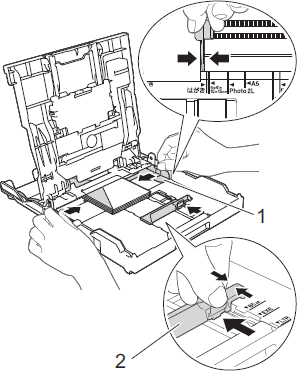
Load up to 10 envelopes in the paper tray with the printing surface face down. Loading more than 10 envelopes may cause paper jams. If the envelope flaps are on the long edge, load the envelopes with the flap on the left, as shown in the illustration. Gently press and slide the paper width guides (1) and paper length guide (2) to fit the size of the envelopes.
Make sure the envelopes are flat in the tray.
-
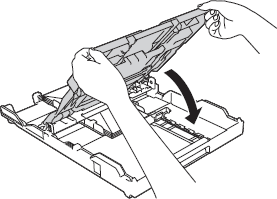
Close the output paper tray cover.
-
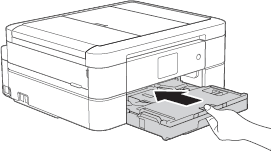
Slowly push the paper tray completely into the machine.
-
While holding the paper tray in the machine, pull out the paper support (1) until it locks into place, and then unfold the paper support flap (2).
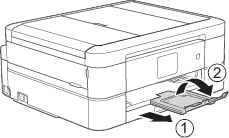
Using the Manual Feed Slot (For models with Manual Feed Slot )
-
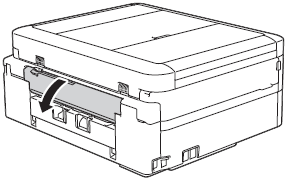
Open the manual feed slot cover.
-
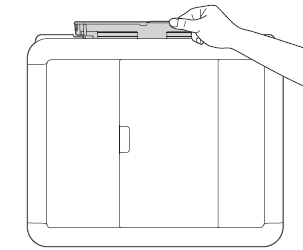
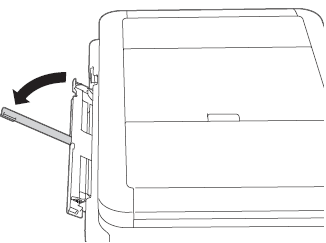
Lift the paper support.
-
Slide the manual feed slot paper guides to fit the width of the paper you are using.
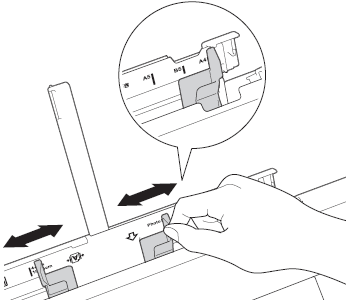
-
Load only one envelope in the manual feed slot with the printing surface face up.
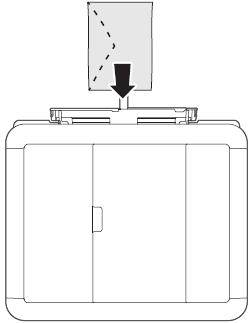
-
Using both hands, gently adjust the manual feed slot paper guides to fit the paper.
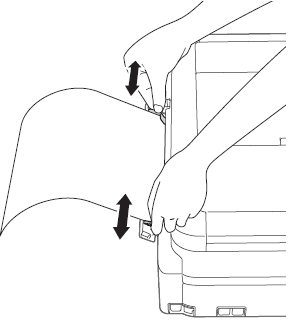
-
Using both hands, push one envelope into the manual feed slot until the front edge touches the paper feed rollers. Let go of the paper when you hear the machine pull it. The LCD displays Manual Feed Slot ready.. Read the instruction displayed on the LCD, and then press OK.
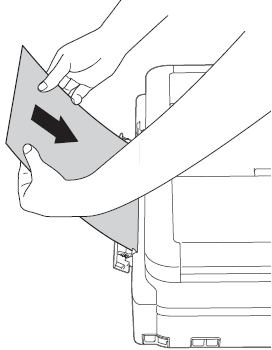
-
While holding the paper tray in the machine, pull out the paper support (1) until it locks into place, and then unfold the paper support flap (2).
Using the MP Tray (For models with MP Tray)
-
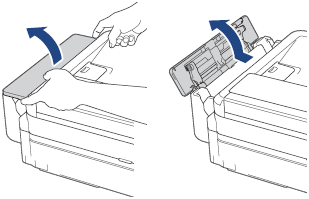
Open the MP tray using both hands.
-
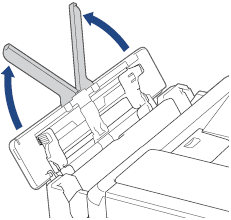
Lift up the paper support.
-
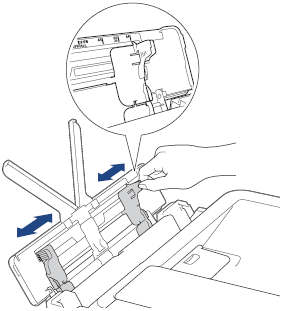
Gently press and slide the MP tray paper guides to match the width of the paper you are using.
-
Fan the stack of paper well to avoid paper jams and misfeeds.
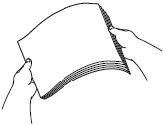
- Always make sure the paper is not curled or wrinkled.
- You can load only one sheet of Legal/Mexico Legal/India Legal/Folio size paper into the MP tray at a time.
-
When using envelopes, load the envelopes with the printing surface face up and the flap on the left as shown in the illustration.
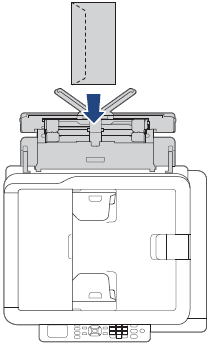
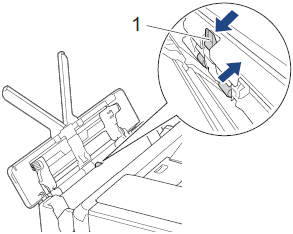
If you are having difficulty loading paper in the MP tray, push the release lever (1) towards the back of the machine, and then load the paper.
-
Using both hands, gently adjust the MP tray paper guides to fit the paper.
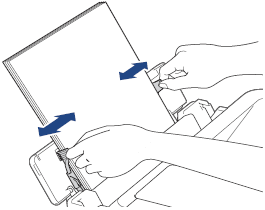
- DO NOT press the paper guides too tightly against the paper. Doing this may cause the paper to fold and jam.
- Place the paper in the centre of the MP tray between the paper guides. If the paper is not centred, pull it out and insert it again in a central position.
-
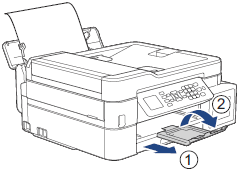
Pull out the paper support (1) until it locks into place, and then unfold the paper support flap (2).
-
Change the paper size and paper type settings in the MP Tray Settings menu, if needed.
Make sure printing has finished before you close the MP tray.
An MP tray cover is supplied with your machine in some countries. The cover is designed to prevent dust from entering the machine through the slot when you are using the MP tray. Follow these steps to install the
cover to the MP tray.
- Open the MP tray.
-
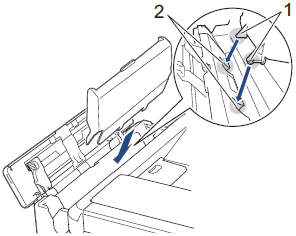
Using both hands, fit the two pins on the cover (1) into the holders in the front of the MP tray (2).
-
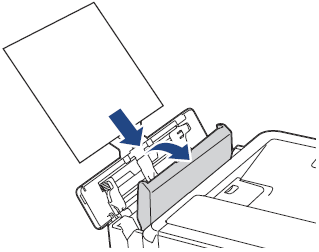
Pull the top of the MP tray cover slightly toward the front of the machine, and load paper in the MP tray with the printing surface face up.
-
Push the top of the MP tray cover until it is leaning against the MP tray.
