CM840
FAQs & Troubleshooting |
What should I do if the scanned and cut positions are misaligned?
If the scanned and cut positions are misaligned, they can be manually adjusted.
Prepare the following.
| Paper : |
White thick paper
Size: A4 (210 mm (8.3 in) × 297 mm (11.7 in)) or Letter (216 mm (8.5 in) × 279 mm (11.0 in)) |
| Mat : | Mat appropriate for the material |
| Cutting blade : | Holder (turquoise) |
If the paper described above is unavailable, the paper can be replaced with copy paper. Be sure to first test attaching it to a mat appropriate for the paper.
-
Make sure that the machine has been turned on.
-
Adjust the blade extension, and then insert the holder into the carriage.
-
Adjust the blade extension according to the material.
For details on the blade extension appropriate for the material, see “Adjusting the Blade Extension”.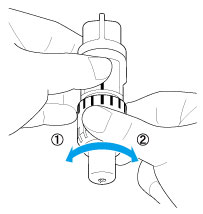
(1) Turn to the left to decrease the blade extension.
(2) Turn to the right to increase the blade extension.
-
Attach the paper to the mat so that is in the landscape orientation.
Align the upper-left corner of the paper with the upper-left corner of the mat.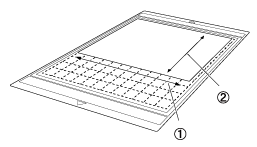
(1) Long side
(2) Short side
-
Touch
 beside “Scanning/Cutting Position Adjustment” in the settings screen.
This function is not available while scanning. First quit the scanning function.
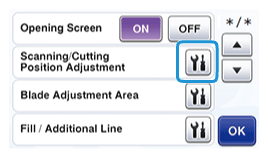
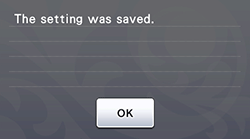
The following message appears.
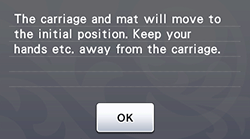
Touch the “OK” key.
-
Press
 to feed in the mat.
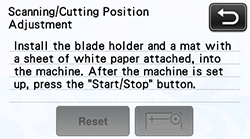
-
Press the “Start/Stop” button to start cutting.
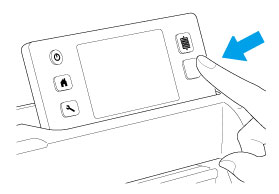
After position adjustment cuts are cut, the cuts are scanned.

Use the intersecting cuts on the left and right sides to adjust the scanning position.
-
When the scan of the cut (left) appears, touch the arrow keys to align the center of the red circle with the center of the cut.
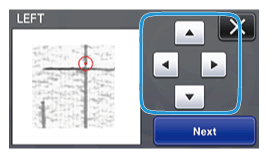
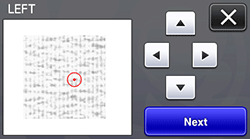
If the intersecting lines cannot be seen in the scan, as shown below, the material may not have been cut because of an insufficient blade extension.
Touch the key in the upper-right corner of the screen, and then perform the procedure again from the beginning.
For details on resolving this issue, see “What should I do if the adjustment of the scanning and cutting positions failed?”, and then perform the procedure again, starting from step 1.
-
Touch the “Next” key.
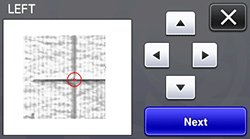
-
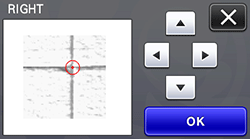
Adjust the right cut in the same way, and then touch the “OK” key.
-
When the following message appears, touch the “OK” key.
