Innov-is XP3
FAQs & Troubleshooting |
How do I Align the Embroidering Position (Using the Built-In Camera)?
- Aligning the Embroidering Position Using the Built-In Camera
- Using the Embroidery Position Sticker to Align the Embroidering Position
Aligning the Embroidering Position Using the Built-In Camera
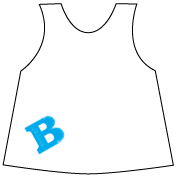
The camera built into this machine can be used to easily align the embroidering position. This is useful for patterns which need to be embroidered in a particular position as shown below.
-
Use a chalk pencil to draw a cross at the desired embroidering location.
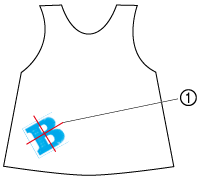
(1) Chalk pencil mark
-
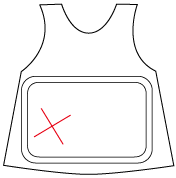
Hoop the fabric.
-
Select the pattern on your machine and press
 .
.
-
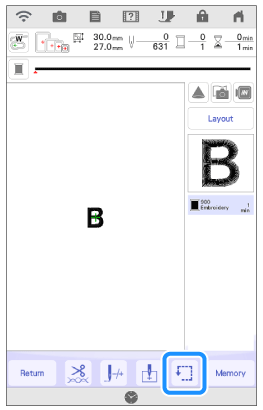
Press
 in the embroidering screen.
-
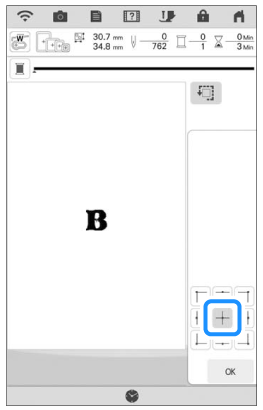
Press
 to set the starting point to the center of the pattern.
-
Press OK .
-
Press the Presser Foot Lifter button to lower the embroidery foot.
-
Press
 .
.
-
Press the positioning keys to move the embroidery frame until the cross-shaped chalk mark drawn on the fabric is displayed in the camera view window.
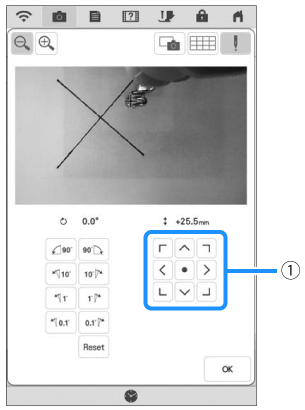
(1) Positioning keys
-
Press
 to display the grid lines.
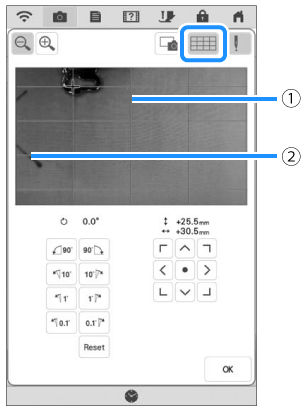
(1) Grid lines
(2) Chalk mark on the fabricPress
 to enlarge the camera view. By enlarging the camera view, you can make a close adjustment for the center point of the pattern moving the embroidery frame little by little.
-
Adjust the orientation of the pattern by pressing the orientation keys until the grid lines are parallel with the chalk mark drawn on the fabric.
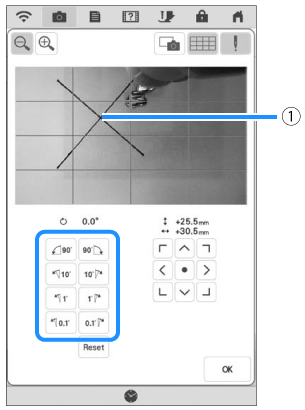
(1) Center point of the pattern
-
Press the positioning keys to move the embroidery frame until the center point of the pattern in the camera view window is aligned with the chalk mark drawn on the fabric.
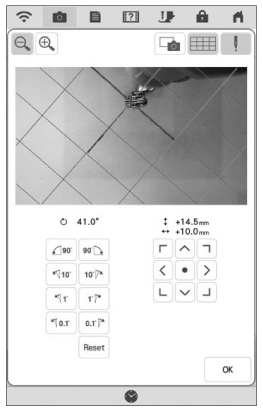
-
Press OK to return to the previous screen.
-
Press the Start/Stop button to begin embroidering.
Using the Embroidery Position Sticker to Align the Embroidering Position
The embroidering position can easily be aligned using the machine’s built-in camera and the included embroidery positioning sticker.
Depending on the type of fabric that is used, a part of the embroidery positioning sticker may remain attached when it is peeled off. Before using the embroidery positioning sticker, check that it can be cleanly removed from a scrap piece of the fabric to be used.
-
Press
 to display the editing window, and then press
  .
.
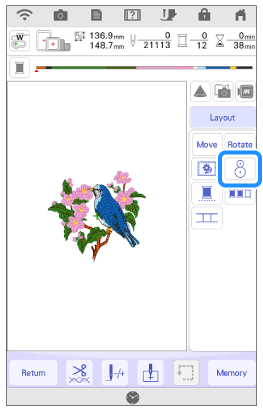
-
Following message appears. Press OK .
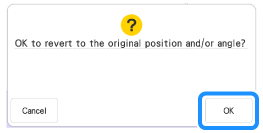
>> The embroidering position will return to the original position, even if you changed before.
-
Select the position you want to set as the reference point.
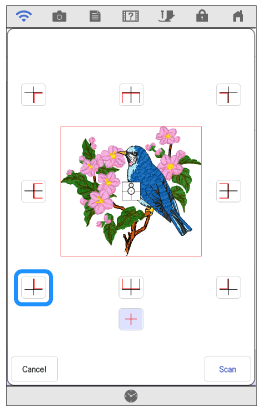
* Select if you want to embroider referring the embroidery positioning sticker as the center of the pattern.
-
Affix the embroidery positioning sticker to the location in the fabric to be embroidered. Place the embroidery positioning sticker so that the center of the larger circle is at the center or edge of the embroidery pattern.
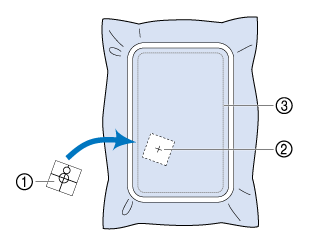
(1) Embroidery positioning sticker
(2) Center or edge of the embroidery pattern
(3) Embroidery field
-
Press
 .
.
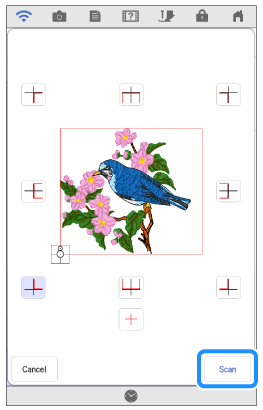 Attach embroidery foot "W" before pressing
 . The embroidery foot "W" lowers and check the fabric thickness, to help the built-in camera recognize the embroidery positioning sticker.
-
Following message appears. Press OK .
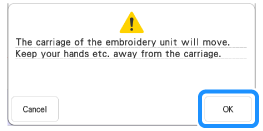
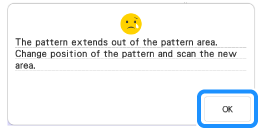
>> The built-in camera automatically searches for the embroidery positioning sticker, and then the carriage is moved so that the selected reference point of the embroidery pattern is aligned with the embroidery positioning sticker.If the following error message appears, press OK , rehoop the fabric so that the pattern is within the embroidery field, and then press
 again.
-
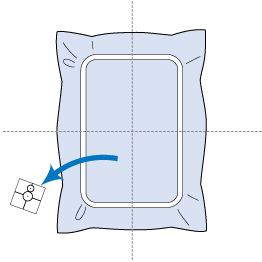
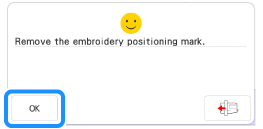
A reminder message appears. Remove the embroidery positioning sticker from the fabric, and press OK .
* To remove the embroidery positioning sticker more easily, press so that the carriage moves slightly forward and away from under the needle. After the embroidery positioning sticker is removed, press OK .
-
Press the Start/Stop button to begin embroidering.
After the included embroidery positioning stickers are used up, optional stickers are available. For details, refer to the Operation Manual (Sewing).
