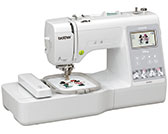
Innov-is M340ED
FAQs & Troubleshooting |
"The bobbin thread is almost empty." message appears on the LCD during embroidering and the machine has stopped. What does it mean?
When the bobbin begins to run out of thread during embroidering, the machine stops and the message below appears. If very little sewing remains, you can embroider approximately 10 final stitches without rethreading the machine by pressing OK key and restarting the machine. The machine will stop with displaying the same message after sewing approximately 10 stitches.
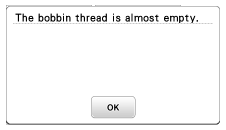
You need to replace the bobbin thread for continuing embroidering.
Follow the steps below.
-
If the message above remains on the display, press "OK" key to close the message.
-
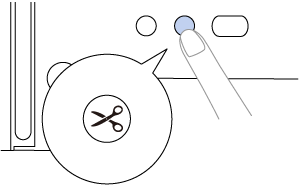
Press
 to cut the upper and bobbin threads.
-
Press
 .
.

-
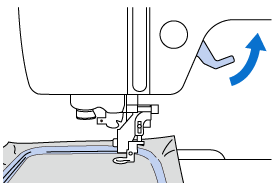
Raise the presser foot lever to raise the presser foot.
-
Press the part of the embroidery frame holder in the figure to the left side, and raise the embroidery frame.
>> The embroidery frame will separate from the embroidery frame holder.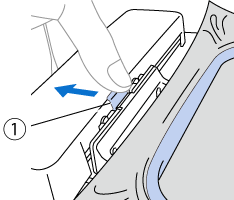
(1) Lever
-
Remove the embroidery frame under the presser foot while raising the presser foot lever even further.
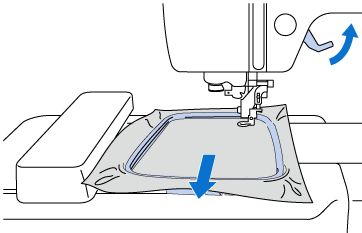 Do not hit the needle with your finger or the embroidery frame. It may cause injury or needle breakage.
- Be careful not to apply strong force to the fabric at this time. Otherwise, the fabric may loosen in the frame.
- Be careful when removing or attaching the embroidery frame. If the carriage is moved during the process, the pattern may be misaligned.
-
Slide the bobbin cover latch to the right and remove the bobbin cover.

-
Remove the empty bobbin.
-
Set a bobbin with one wound with plenty of embroidery bobbin thread in the bobbin case.

-
Reattach the bobbin cover.

-
Reattach the embroidery frame.

(1) Embroidery frame guide tabs
(2) Embroidery carriage frame holder slots
For details, refer to "How do I attach or remove the embroidery frame ?".Do not hit the needle with your finger or the embroidery frame. It may cause injury or needle breakage.
- Be careful not to apply strong force to the fabric at this time. Otherwise, the fabric may loosen in the frame.
- Be careful when removing or attaching the embroidery frame. If the carriage is moved during the process, the pattern may be misaligned.
-
Press
 to unlock all keys and buttons.
-
Press
 .
.
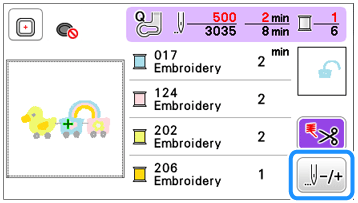
-
Press
 two or three times.
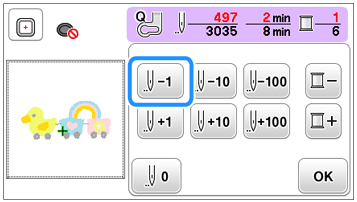
It is recommended to stitch over the top of the last two or three stitches for complete coverage.
-
Press "OK" key to return the embroidering screen.
-
Make sure that the upper threading is correct.
-
Lower the presser foot lever to lower the presser foot.
-
Press the "Start/Stop" button to continue embroidering.
