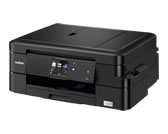
DCP-J785DW
FAQs & Troubleshooting |
Load photo paper
Follow the steps below to load photo paper in your Brother machine's photo paper tray (photo bypass tray):
NOTE: Illustrations shown below are from a representative product and may differ from your Brother machine.
-
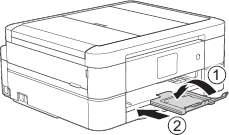
If the paper support flap (1) is open, close it, and then close the paper support (2).
-
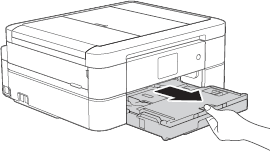
Pull the paper tray completely out of the machine.
-
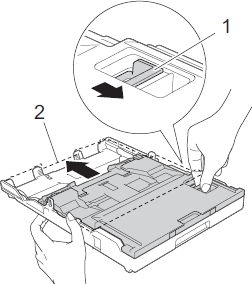
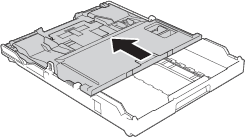
Press the blue photo paper tray (photo bypass tray) release button (1) and slide whole the output paper tray cover forward until it locks into the photo printing position (2).
-
Load up to 20 sheets of Photo or Photo L paper in the photo paper tray (photo bypass tray) with the printing surface face down.
Loading more than 20 sheets of photo paper may cause paper jams.
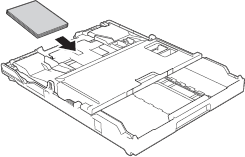
-
Gently adjust the paper width guides (1) to fit the paper.
Make sure the paper width guides touch the edges of the paper and the paper is flat in the tray.
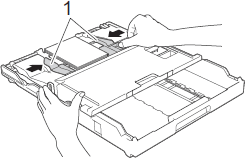
-
Slowly push the paper tray completely into the machine.
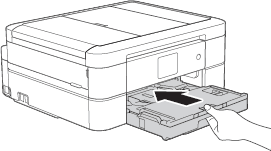
Do not open the paper support and the paper support flap when using the photo paper tray. Otherwise it is difficult to take out the printouts.
When you have finished printing photos, return the photo paper tray (photo bypass tray) to the Normal printing position. If you do not, you will get a No Paper Fed error when you use cut sheet paper.
Photo Paper Tray (photo bypass tray) in the Normal printing position
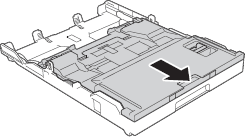
Photo Paper Tray (photo bypass tray) in the Photo printing position
Content Feedback
To help us improve our support, please provide your feedback below.
