MFC-795CW
FAQs & Troubleshooting |
Load photo paper into my machine.
- If you want to load envelopes, click here to see the instruction on how to load envelopes.
Use the photo paper tray (photo bypass tray), which is located on top of the output paper tray cover, to print on Photo (10 x 15 cm (4 x 6 in.)) and Photo L (89 x 127 mm (3.5 x 5 in.)) size paper.
When you use the photo paper tray (photo bypass tray), you do not have to remove the paper from the tray beneath it.
To load photo paper in your Brother machine's photo paper tray (photo bypass tray), follow these steps:
NOTE: Illustrations shown below are from a representative product and may differ from your Brother machine.
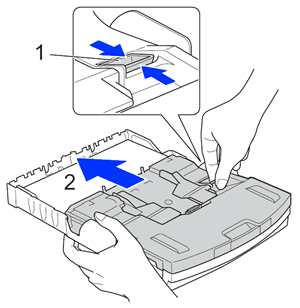
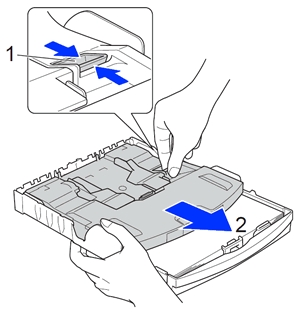
- Squeeze the photo paper tray (photo bypass tray) release (1) button with your right index finger and thumb and push the photo paper tray (photo bypass tray) forward until it clicks into the photo printing position (2).
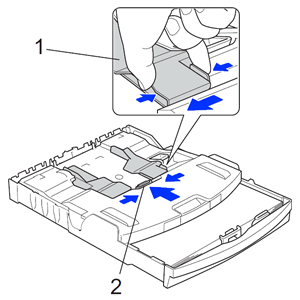
- Press and slide the paper side guides (1) and paper length guide (2) to fit the paper you are loading.
- Put the photo paper into the photo paper tray (photo bypass tray) and gently adjust the paper side guides to fit the paper.
- Load photo paper with the shiny side facing down.
- Make sure the paper side guides touch the sides of the paper.
- Verify the paper is flat in the tray. Overfilling the paper tray may cause paper jams.
- Always make sure the paper is not curled or wrinkled.
- Load photo paper with the shiny side facing down.
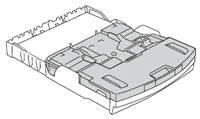
- When you have finished printing photos, return the photo paper tray (photo bypass tray) to the normal printing position. If you do not, the machine will produce a "No Paper Fed" error when you use A4, Letter or Legal size paper.
Squeeze the photo paper tray (photo bypass tray) release button (1) with your right index finger and thumb and pull the photo paper tray (photo bypass tray) back until it clicks into the normal printing position (2).
 |
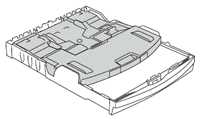 | |
| Normal Printing Position | Photo Printing Position |
Removing small printouts from the machine
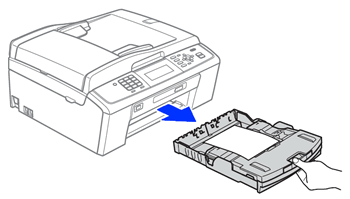
When your machine ejects small paper on to the output paper tray cover, you may not be able to reach it. Make sure printing has finished, and then pull the tray completely out of the machine.
