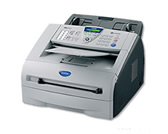
MFC-7225N
FAQs & Troubleshooting |
Replace the drum unit.
Follow the procedure below to replace drum unit.
The Brother machine has separate consumables the toner cartridge and the drum unit. Verify you replace only the drum unit and not the toner cartridge. If you want to know their difference, refer to "What is the difference between the toner cartridge and the drum unit?"
Do NOT use flammable substances or any type of spray to clean the inside or outside of the machine. Doing this may cause a fire or electrical shock.

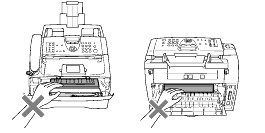
Just after you have used the machine, some internal parts of the machine are extremely HOT! Never touch the shaded parts shown in the illustration.
-
Open the front cover and pull out the drum unit and toner cartridge assembly.
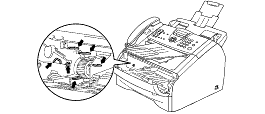
To prevent damage to the printer from static electricity, do not touch the electrodes shown below.
-
Hold down the lock lever on the left and pull the toner cartridge out of the drum unit.
- Discard the used drum unit according to local regulations, keeping it separate from domestic waste. Be sure to seal the drum unit tightly so toner powder does not spill out of the unit. If you have questions, call your local waste disposal office.
- Wait to unpack the new drum unit until immediately before installing it. Place the old drum unit into the plastic bag.

-
Unpack the new drum unit.
-
Reinstall the toner cartridge into the new drum unit. If you put it in properly, the lock lever will lift automatically.
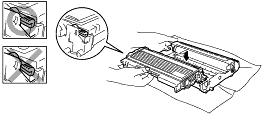
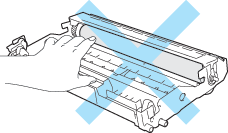
To avoid print quality problems, DO NOT touch the shaded part shown in the illustration.
If you accidentaly touch the shaded part, wipe the surface with a dry lint-free soft cloth.
-
Install the drum unit and toner cartridge assembly in the machine.
DO NOT close the front cover yet.
-
Press Options.


-
To confirm you are installing a new drum, press 1.
-
When the LCD shows Accepted, close the front cover.
