Innov-is VM6200D
FAQs & Troubleshooting |
How do I specify the embroidering location with the sensor pen?
(Specifying the embroidery pattern location by selecting the pattern center with the sensor pen.)
The following is the procedure specifying the embroidery pattern location by selecting the pattern center with the sensor pen.
This function can be performed in either "Embroidery" or "Embroidery Edit" mode, but the procedure described below is performed in "Embroidery" mode.
Normally, you will take the easy way to select the pattern center for specifying the embroidery location.
However, you have the option of taking the way to select the pattern edge for that.
It is useful in case of placing the name along a line.
If you want to specify the embroidery location at the pattern edge, refer to the procedure specifying the location by selecting the pattern edge with the sensor pen. >>> Click here
- Turn on the machine.
- Display the Embroidery screen.
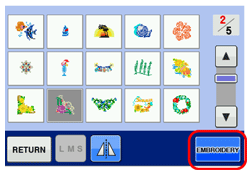
- Select the category for the pattern to be embroidered.
- In the pattern selection screen, press the key for the pattern to be embroidered.
- Press EMBROIDERY key.
- Hoop the fabric and attach the embroidery frame to the machine.
* Refer to "Hooping the Fabric in the Embroidery Frame" and "ATTACHING THE EMBROIDERY FRAME" on the operation manual.
- Press
 (Sensor function key).
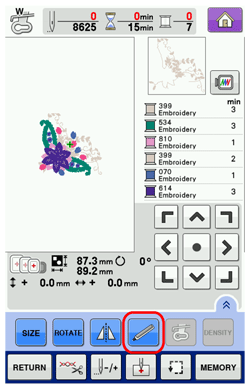
When you use the extra large embroidery frame, select the desired area and press OK key.
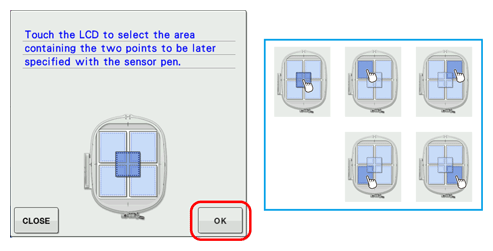
- Press OK key.
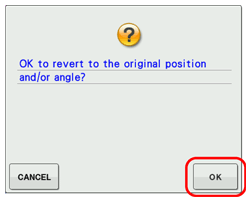
* The message in the screen may vary depending on the embroidery pattern.
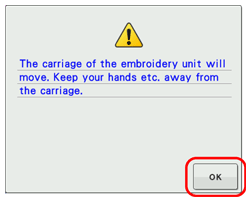
- The embroidering position selection screen appears.
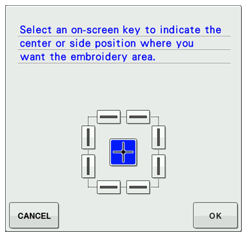
- Press OK key in the following screen.
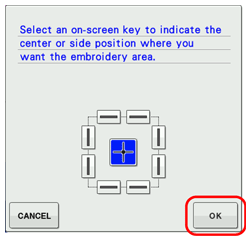
* The following screen appears.
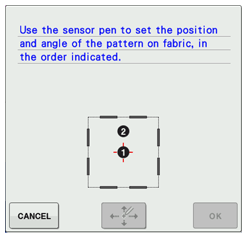
- With the sensor pen, touch the point on the fabric corresponding to center
 in the screen to set the center of the pattern.
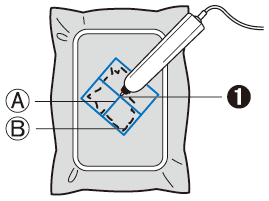
(A) Center line of the pattern
(B) Pattern position
(1) Center point of the pattern
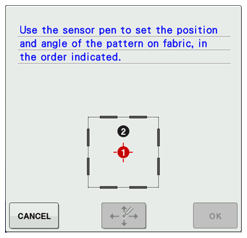
* Specified point number turns into red.
 (black) >>>
  (red)
(red)
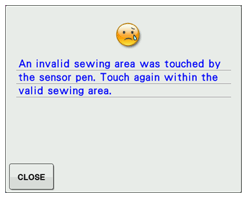
If you touch the invalid area of sewing with the sensor pen, the following message appears.
Press CLOSE key and touch the point again within the sewing area with the sensor pen.
- With the sensor pen, touch the point on the fabric corresponding to the number
 in the screen to set the angle of the pattern.
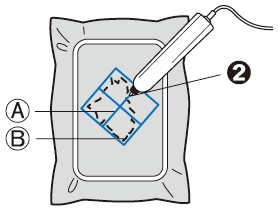
(A) Center line of the pattern
(B) Pattern position
(2) Point on the center line of the pattern to upper direction
* Specified point number turns into red.
 (black) >>>
  (red)
(red)
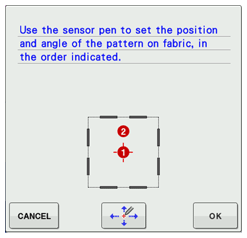
- Press
 (Position adjustment key) to adjust the positions.
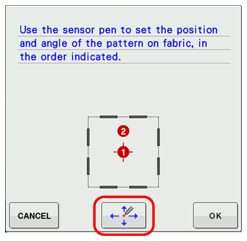
If you don't need to adjust the positions, press OK key and continue to step 19.
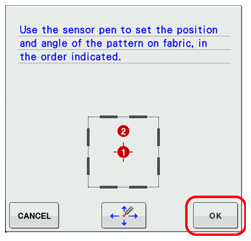
- Press OK key.
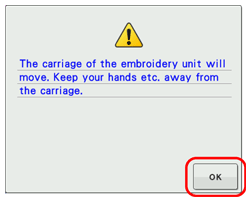
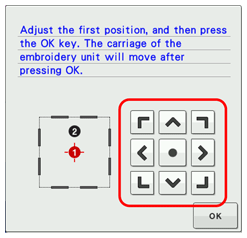
- Press
 to move the LED pointer on the fabric for adjusting the first position.
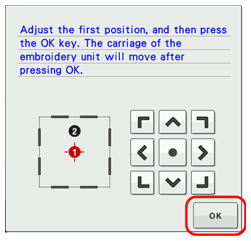
- Press OK key to apply the setting.
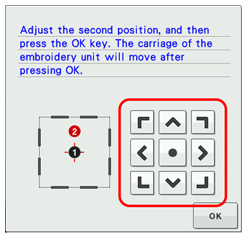
- Press
 to move the LED pointer on the fabric for adjusting the second position.
- Press OK key to apply the setting.
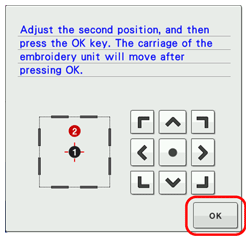
- Press OK key.
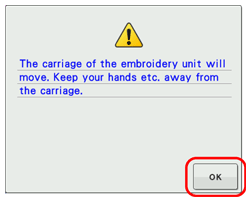
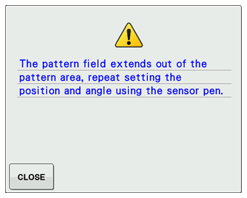
If the specified pattern position extends out of the pattern area, the following message appears instead of above message.
Press CLOSE key and specify the pattern position again within the embroidery field.
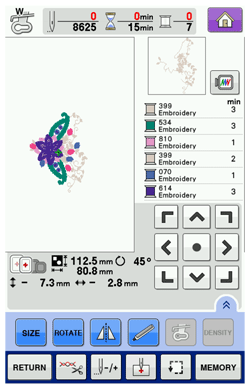
- The preview in the sewing screen is updated according to the specified embroidering position.
- Press the "Start/Stop" button to start embroidering.
When using the sensor pen to specify the embroidering position, it may not be possible to exactly specify the desired location.
In this case, move the embroidery frame to align the center of the pattern with the location indicated by the LED pointer.

