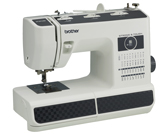
ST371HD
FAQs & Troubleshooting |
How do I change the needle ?
- Only use recommended home sewing machine needles. Use of any other needle may bend the needle or damage the machine.
- Never use bent needles. Bent needles can easily break, possibly resulting in injuries.
Checking the needle
-
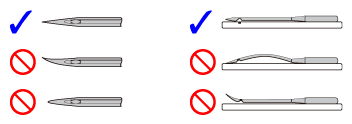
The sewing needle must always be straight and sharp for smooth sewing.
-
Put the flat side of the needle on a flat surface. Check the needle from the top and the sides. Dispose of any bent needles safely.

(1) Parallel space
(2) Level surface (bobbin cover, glass, etc.)
Replacing the needle
-
Turn off the machine.
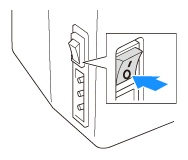
Always turn off the machine before you change the needle. Otherwise, injuries may occur if the foot controller is accidentally pressed and the machine starts sewing.
-
Raise the needle by turning the handwheel toward you (counterclockwise) so that the mark on the wheel points up.
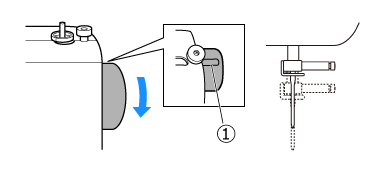
(1) Mark on the handwheel
-
Lower the presser foot lever.
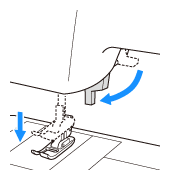
Before replacing the needle, place fabric or paper under the presser foot to prevent the needle from falling into the hole in the needle plate.
-
Hold the needle with your left hand, and then use a disc-shaped screwdriver to turn the needle clamp screw counterclockwise to remove the needle.
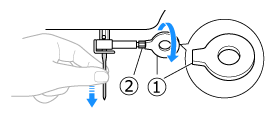
(1) Use a disc-shaped screwdriver
(2) Needle clamp screwDo not use excessive force when loosening or tightening the needle clamp screw, otherwise certain parts of the sewing machine may be damaged.
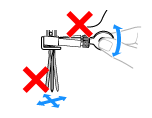
-
With the flat side of the needle toward the back of the machine, insert the needle until it touches the needle stopper. Next, tighten the needle clamp using a disc-shaped screwdriver.
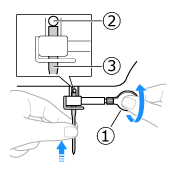
(1) Use a disc-shaped screwdriver
(2) Needle stopper
(3) NeedleMake sure you insert the needle until it touches the stopper, and securely tighten the needle clamp screw with a disc-shaped screwdriver, otherwise the needle may break or the machine may be damaged.
