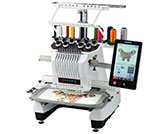
Tutorial videos on how to use the machine [Video instructions]

Tutorial videos for basic operations, various functions and maintenance.

Click on the image to play the video instructions.

* The movies are being streamed from YouTube. (Opening new window.)

* The movies are the same as those built into the product.


1. Basic Operation
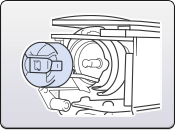
Basic Operation 01

Installing the bobbin into the machine


Basic Operation 02

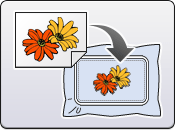
Selecting an embroidery pattern


Basic Operation 03A Basic Operation 03B

Editing an embroidery pattern


Note:

The key design will vary depending on the display language on the machine.


Basic Operation 04

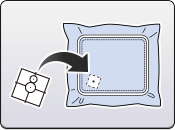
Aligning the embroidering position using the built-in camera and the embroidery positioning sticker


Basic Operation 05

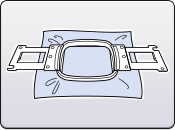
Hooping the fabric in the embroidery frame and Attaching the embroidery frame to the machine


Basic Operation 06

Checking the embroidery area


Basic Operation 07

Threading the upper thread


Basic Operation 08

Replacing the needle


Basic Operation 09

Using the Cap Frame (130 × 60 mm / 5 × 2-3/8 inches)

Preparing to use the cap frame and Attaching the cap frame.

Basic Operation 10

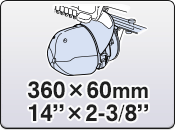
Using the Cap Frame (360 × 60 mm / 14 × 2-3/8 inches)

Preparing to use the cap frame and Attaching the cap frame.


2. Embroidery Function

Embroidery Function 01

Aligning the embroidering position with live camera positioning


Embroidery Function 02

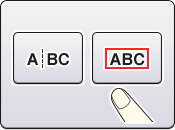
Selecting & editing the alphabet patterns


Embroidery Function 03

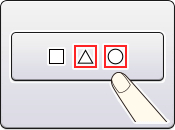
Selecting & Grouping multiple patterns


Embroidery Function 04

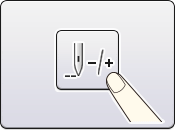
Forward / Backward stitch navigation


Embroidery Function 05

Using the thread color sorting function to optimize the embroidery color order


Embroidery Function 06

Specifying the pause locations where you wish to stop the machine


Embroidery Function 07

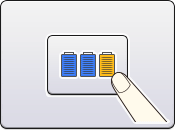
Assigning a specific thread color & sewing speed limitation to a certain needle bar manually (Reserved needle bar settings)


Embroidery Function 08

Changing the colors of the embroidery pattern


Embroidery Function 09

Aligning the embroidery position while displaying the fabric as a background image for the pattern


3. Maintenance

Maintenance 01

Oiling the machine


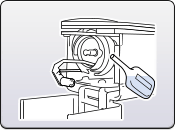
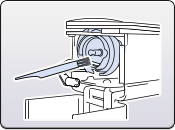
Maintenance 02

Cleaning the hook and the area around the needle plate


4. Settings

Settings 01

Updating the machine's software


5. My Design Center

  • To use My Design Center function, update the machine's software to the latest version (version 1.10 or later), and then perform the activation for this function.
  • My Design Center will be activated once the scanning frame has been attached.
  • The scan frame set may be provided as the optional accessory. That will vary depending on the country.
My Design Center 01

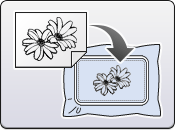
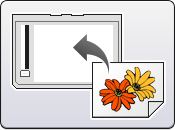
Creating a pattern from the line drawings with Line Scan function


My Design Center 02

Creating a pattern from color illustrations with Illustration Scan function


My Design Center 03

Activating My Design Center with the scanning frame


My Design Center 04

Creating a stippling design around the embroidery pattern with saved stamp shape


If your question was not answered, have you checked other FAQs?

Have you checked the manuals?

If you need further assistance, please contact Brother customer service:

Related Models

PR1050X

Content Feedback

To help us improve our support, please provide your feedback below.

Step 1: How does the information on this page help you?

Step 2: Are there any comments you would like to add?

Please note this form is used for feedback only.