PR1050X
FAQs & Troubleshooting |
Basting Embroidery
Before embroidering, basting stitches can be sewn along the outline of the pattern. This is useful for embroidering fabric that cannot have stabilizer material affixed with an iron or adhesive. By stitching stabilizer material to the fabric, shrinkage of the stitching or misaligned pattern can be minimized.
It is recommended to finish combining and editing the pattern before selecting the basting setting. If the pattern is edited after selecting the basting setting, the basting and pattern may become misaligned, and the basting under the pattern may be difficult to remove after embroidering is complete.
-
Touch
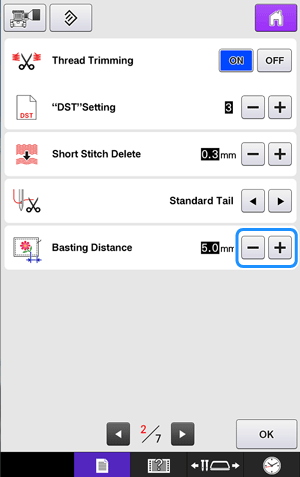
 , and then display page 2 of the settings screen.
 -
Use "-" and "+" to specify the distance from the pattern to the basting stitching.

- The higher the setting, the farther the basting is from the pattern.
- The setting remains selected even if the machine is turned off.
-
Touch "OK" to return to the embroidering settings screen.
-
Touch
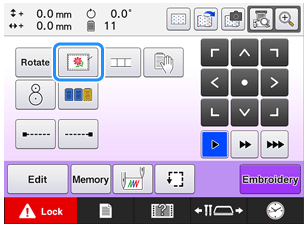
 to select the basting setting.

-
When
 is pressed, the pattern is moved to the center. After selecting the basting setting, move the pattern to the desired position.
 -
To cancel the setting, touch
 .
.
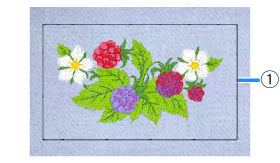
Basting is added to the beginning of the sewing order.
-
When
-
Touch
 to continue to the embroidering screen.
-
Touch
 , and then press the start/stop button to begin embroidering.
 -
When embroidering is finished, remove the basting stitching.

(1) Basting stitching
Content Feedback
To help us improve our support, please provide your feedback below.
