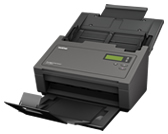
PDS-5000
FAQ & Fehlerbehebung |
Change the paper settings. (Using DS Capture)
Follow the steps below to change paper settings.
NOTE: Illustrations and instructions may vary depending on the application you are using.
(Windows)
-
Launch DS Capture.
- Confirm that the machine is connected to your computer via a USB cable.
-
Double-click the DS Capture icon
 on your desktop.
If the DS Capture icon
 is not visible on your desktop, follow the steps below.
(Windows 7 or earlier and Windows 10)
Click Start > (All Programs or All apps >) Brother PDS-XXXX Scanner (where XXXX is your model name) > DS Capture.
(Windows 8)-
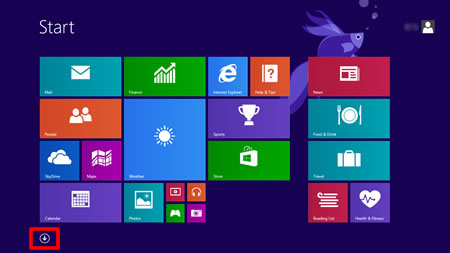
On the Start screen, click
 .
.
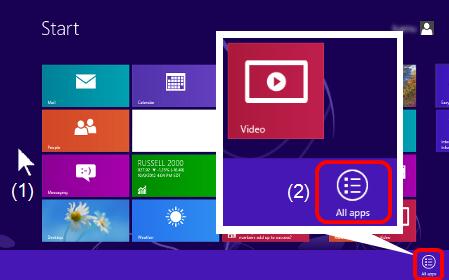
If is not on the Start screen, right-click somewhere on an empty spot (1), and then click, All Apps from the bar (2).
- Click DS Capture.
-
On the Start screen, click
-
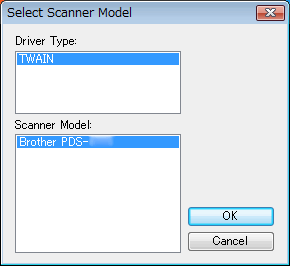
The Select Scanner Model dialog box appears. Under Scanner Model, choose your PDS scanner model, and then click OK.
-
DS Capture launches.
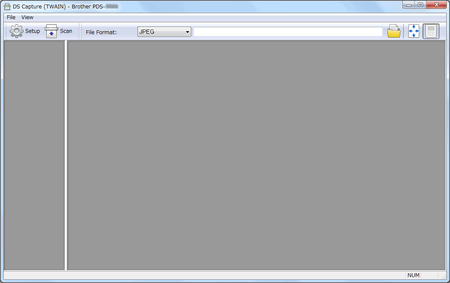
- Click Setup.
-
Click the Paper tab.
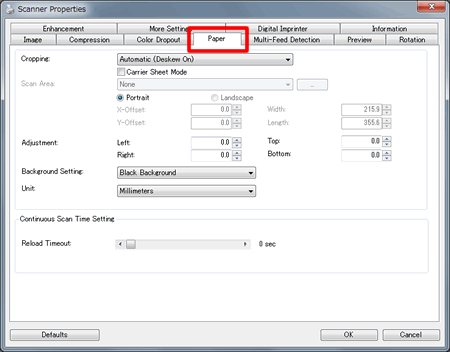
- Change the settings you want, and then click OK. Continue scanning operation.
(Macintosh)
- Confirm that the machine is connected to your computer via a USB cable.
-
Double-click the DS Capture icon
 .
. -
DS Capture launches.
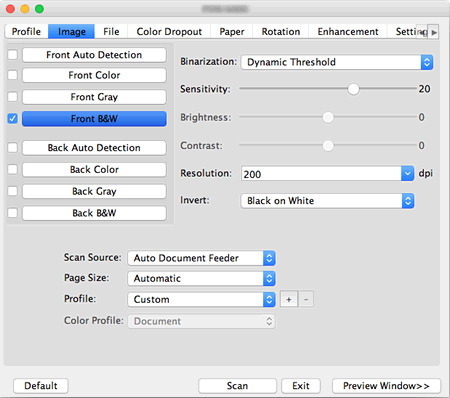
-
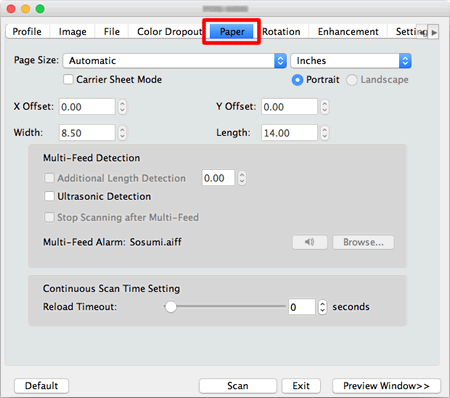
Click the Paper and change the settings you want. Continue scanning operation.
Rückmeldung zum Inhalt
Helfen Sie uns dabei, unseren Support zu verbessern und geben Sie uns unten Ihre Rückmeldung.
