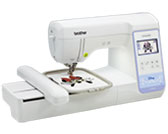
PE830DL
FAQs & Troubleshooting |
How do I remove or attach the presser foot ?
Only use embroidery feet designed specifically for this machine. Use of any other embroidery foot may result in injuries or damage to the machine.
-
Press
 (Needle position button) once or twice to raise the needle.
 -
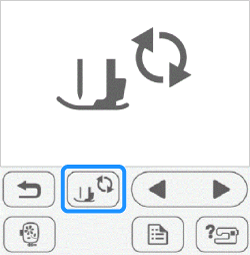
Press
 .
.
The screen changes, and all keys and operation buttons are locked (except ).
).
-
Raise the presser foot lever.
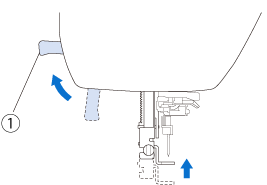
(1) Presser foot lever -
Use the included screwdriver to loosen the embroidery foot screw, and then remove the embroidery foot.
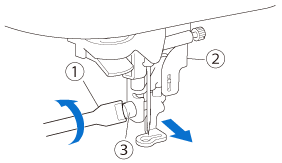
(1) Screwdriver
(2) Embroidery foot
(3) Embroidery foot screw
-
Hold the embroidery foot with your right hand, as shown.
Hold the embroidery foot with your index finger wrapped around the lever at the back of the foot.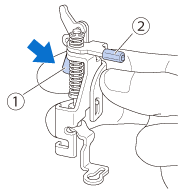
(1) Lever
(2) Embroidery foot
-
While pressing in the lever with your finger fit the embroidery foot bar over the needle clamp screw and then fit the presser foot holder screw into the presser foot mounting notch to attach the embroidery foot to the presser foot bar.
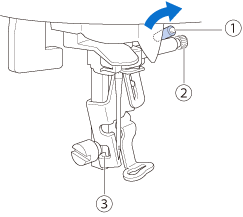
(1) Embroidery foot bar
(2) Needle clamp screw
(3) Mounting notch
-
Secure the embroidery foot with the presser foot holder screw.
Set the embroidery foot perpendicular.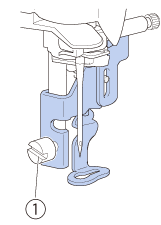
(1) Presser foot holder screw
-
Press
 to unlock all keys and buttons.

Content Feedback
To help us improve our support, please provide your feedback below.
