PR1050X
FAQs & Troubleshooting |
PR1050X
Date: 12/01/2016 ID: faqh00100044_001
Aligning the embroidering position using the built-in camera
The camera built into this machine can be used to easily align the embroidering position.
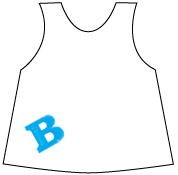
This is useful for patterns which need to be embroidered in particular position as shown below.
 |
-
Use a chalk pencil to mark the desired embroidering position.
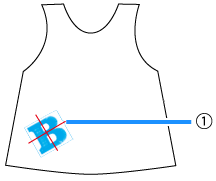
(1) Chalk pencil mark -
Hoop the fabric.
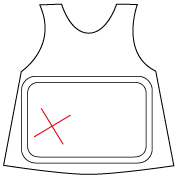
When hooping the fabric in the embroidery frame, make sure that the embroidery pattern will fit within the embroidering area of the frame being used.
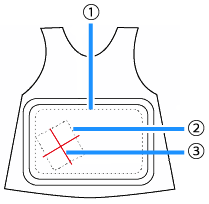
(1) Embroidering area
(2) Embroidery pattern size
(3) Chalk pencil mark - Select the pattern.
-
Touch
 in the embroidering settings screen.

-
Touch
 to set the starting point to the center of the pattern.
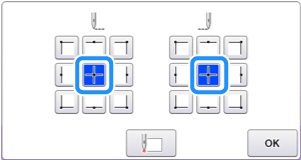
-
Touch "OK" .
-
Press
 .
.
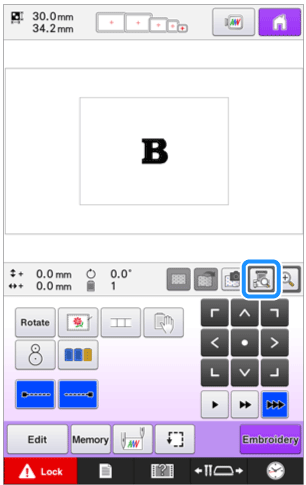
When the following message appears, press "OK" .
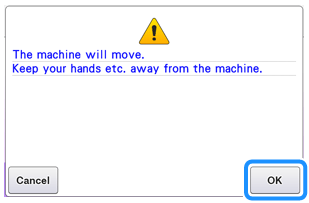
→ The embroidery frame moves. -
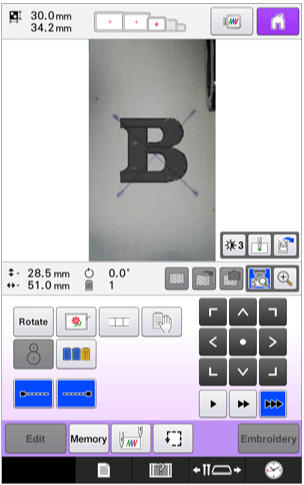
Touch the positioning keys to move the embroidery frame until the chalk mark drawn on the fabric is displayed in the camera view window.
Touch the frame movement speed keys to select the speed to move the frame. Refer to "Changing the embroidering position and Adjusting the angle".
(1) Positioning keys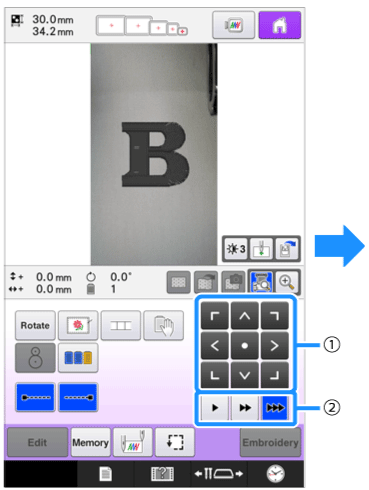
(2) Frame movement speed keys -
Touch
 to display the needle drop point.
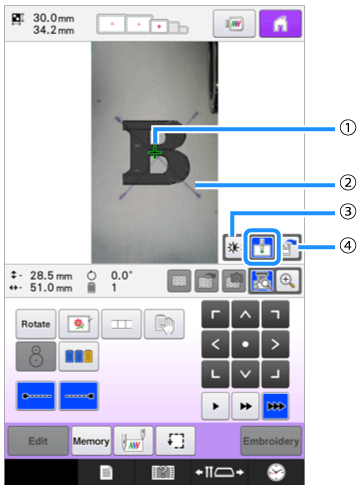
(1) Needle drop point
(2) Chalk mark on the fabric
(3) Each touch of this key changes
the brightness of the camera image.
(4) Touch to save the camera image
on the external device.-
Touch
 to change the brightness of the camera image.
The embroidering position can more easily be checked by making the image darker ( ) on lighter fabrics or lighter (
 ) on darker fabrics.
-
Touch
 to check the embroidering position.
-
Touch
 to enlarge the camera view. By enlarging the camera view, you can make a close adjustment for the center point of the pattern moving the embroidery frame little by little.。
-
Touch
-
Touch
 and adjust the orientation of the pattern until the pattern is parallel with the chalk mark drawn on the fabric.
Touch the positioning keys to move the embroidery frame until the pattern in the camera view window is aligned with the chalk mark drawn on the fabric.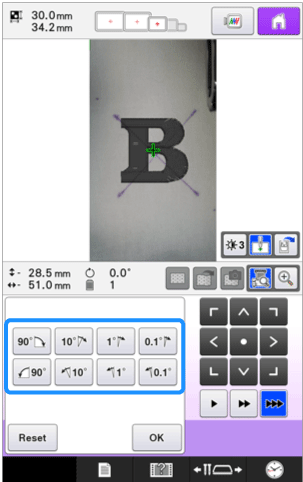

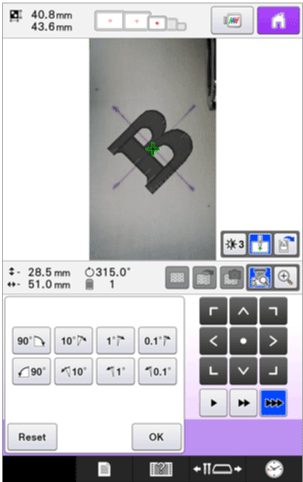
-
Touch
 to return to the previous screen.
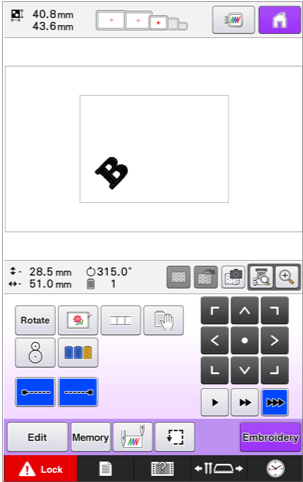
-
Touch
 .
.
-
Touch
 , and then press the start/stop button to start embroidering.
Enlarging the camera image
-
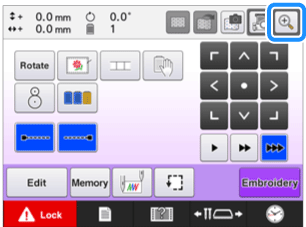
Press
 .
.
When the following message appears, press "OK".
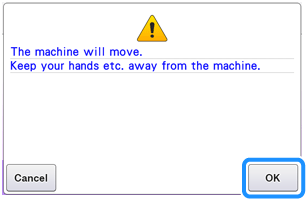
→ The embroidery frame moves. -
The camera image is displayed enlarged.
You can change the display settings that is specified in the normal camera image display.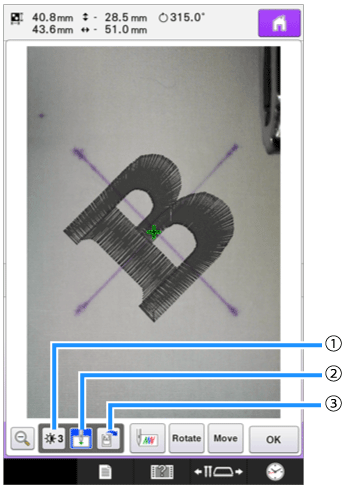
(1) Touch to save the camera image on the
external device.
(2) Touch to specify the needle drop point
mark on or off.
(3) Each touch of this key changes the
brightness of the camera image.
-
Touch
 ,
,  or
or  to display the keys for specifying the starting position, rotating the pattern or moving the embroidery frame.
-
For details on each of the keys, refer to the following sections.
"How do I specify the starting position or the ending position of embroidering?","Changing the embroidering position and Adjusting the angle" .
-
While using these three key panels in the enlarged camera image, panels will be invisible to show the pattern and the camera image clearly.
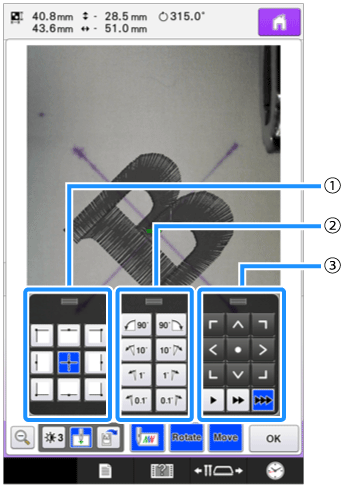
(1) Use these keys to adjust the
embroidering position by moving the
embroidery frame.
(2) Use these keys to rotate the pattern.
(3) Use these keys to specify the starting
position of sewing.
-
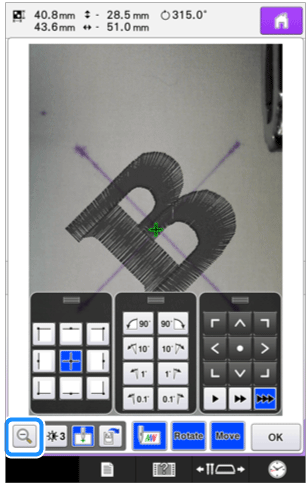
 When press
  , the screen returns to the normal camera image.

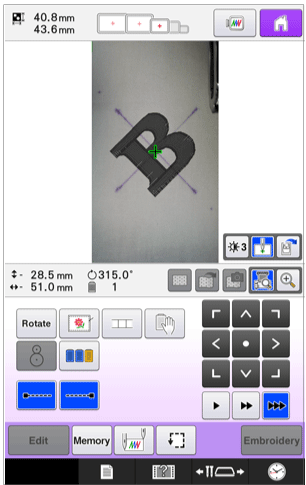
 When press "OK" , the screen reterns to the previous screen.
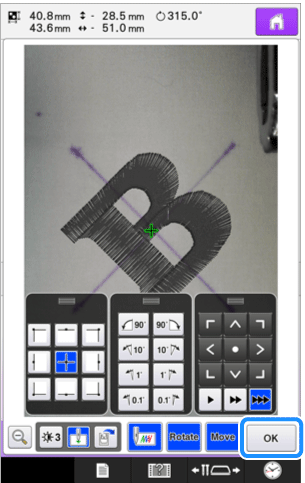


The three key panels can be repositioned so that the pattern can easily be viewed. Touch the center of the top of a key panel to view possible locations where the panel can be repositioned. Touch the desired location to move the selected key panel.
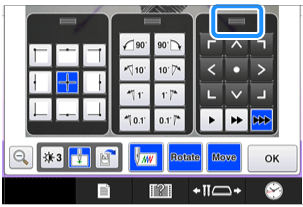

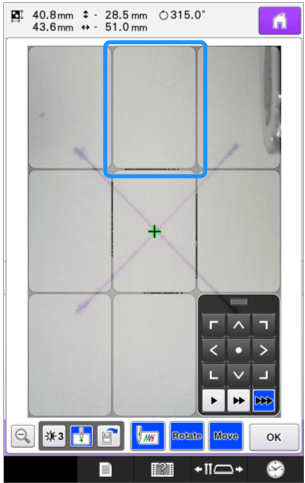
The possible locations for repositioning the panel appear in gray. 

The key panel moves to the selected location. When using the camera to align the embroidering position on thick fabric, use the thick fabric sensor as described in "Positioning the pattern on thick fabric" on "Displaying the fabric on the LCD when aligning the embroidering position".
Content Feedback
Please note this form is used for feedback only.